Caravel for Instructors
How to use Caravel as an Instructor
- 0. If you are coming from Moodle
- 1. Introduction to Caravel
- Background
- Setting up 2 Factor Authentication
- Dashboard
- Catalog
- Catalog Pages
- Staff
- Dark Mode
- Cart
- Conversations
- Account Settings
- 2. Your Course
- 3. Course Elements
- 4. Quiz Elements
- 5. Grading
- 6. Best Practices
- 7. Common FAQs
- 8. Support
0. If you are coming from Moodle
If you are coming from Moodle, please do not impose a Moodle-centric view of how an LMS should function, but be open-minded to different approaches. When we decided to create this LMS, we did not attempt to re-create Moodle and every part of it, otherwise, why not just use Moodle?
Our goal is to get about 80-90% of the functionality that almost every instructor uses in Moodle, while presenting it in a much more intuitive and easy-to-use manner. We also believe that by making more complex features more approachable, more instructors will feel comfortable using them. This does mean some features may not have made the cut - in which case, talk to us and we can discuss alternative methods of presenting the material.
1. Introduction to Caravel
Background
Caravel is a new, next-generation Learning Management System developed by Gabriel Sieben for Homeschool Connections. The goal with Caravel is to create a new, easier-to-use platform for teaching courses, which will fully replace our older Moodle platform.
The four main improvements ("pillars") compared to our older Moodle platform are the following:
- Simplified Design: With a new, streamlined design, teaching courses feels more like 2023 than 2008. This newer design is also customizable, providing students and teachers with a fresh user experience we can be proud of.
- One account for every family: Every family only has one username and password, with multiple student profiles underneath that account. It's similar to how Netflix or Prime Video work.
- Easier access to grades: With a unified Grades tab for each student, it is much easier for students and parents to keep track of their progress.
- Unified Systems: Registration, the "Grading Portal," and the Learning Website are now one system. Subscription management is also integrated, reducing confusion and removing incoherencies between systems.
Keep these pillars in mind as you continue reading how the system works.
Setting up 2 Factor Authentication
When you log in the first time as a teacher, you will be asked to turn on Two-Factor Authentication.
Our system uses app-based TOTP authentication, instead of authentication from a text message or a phone call. This is more secure, and although there is some inconvenience, the odds of you being hacked decline by over 75% when you have this feature enabled. This helps protect you, us, and our students.
This method of authentication requires a TOTP-compatible app to sign in. In the wizard you will be guided through, we recommend installing Google Authenticator. However, there are other options:
- Google Authenticator
- Authy
- Bitwarden
- 1Password
- iCloud Passwords
When you install the app of your choice, you will click "Scan QR Code," and then scan the QR Code on-screen from the wizard.
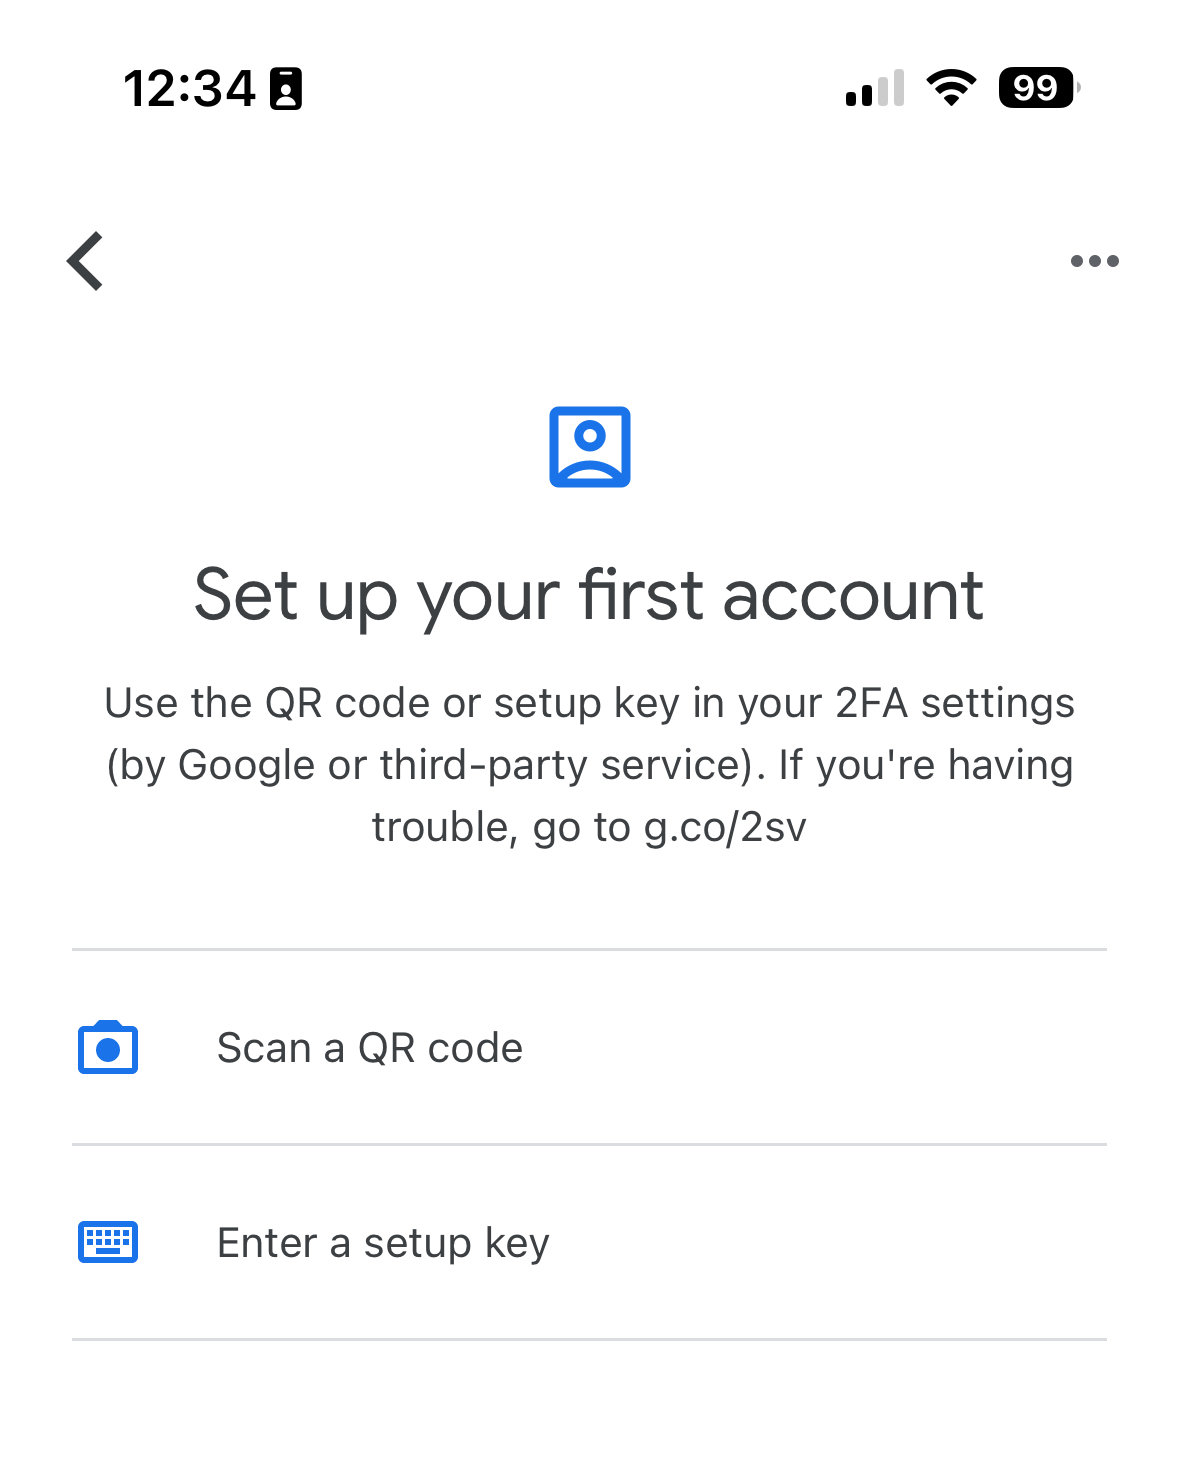
A number, which changes every 30 seconds, will appear. Type in that number to finish setting up 2FA. You will need that number every time you log in, so keep the app installed and ready.
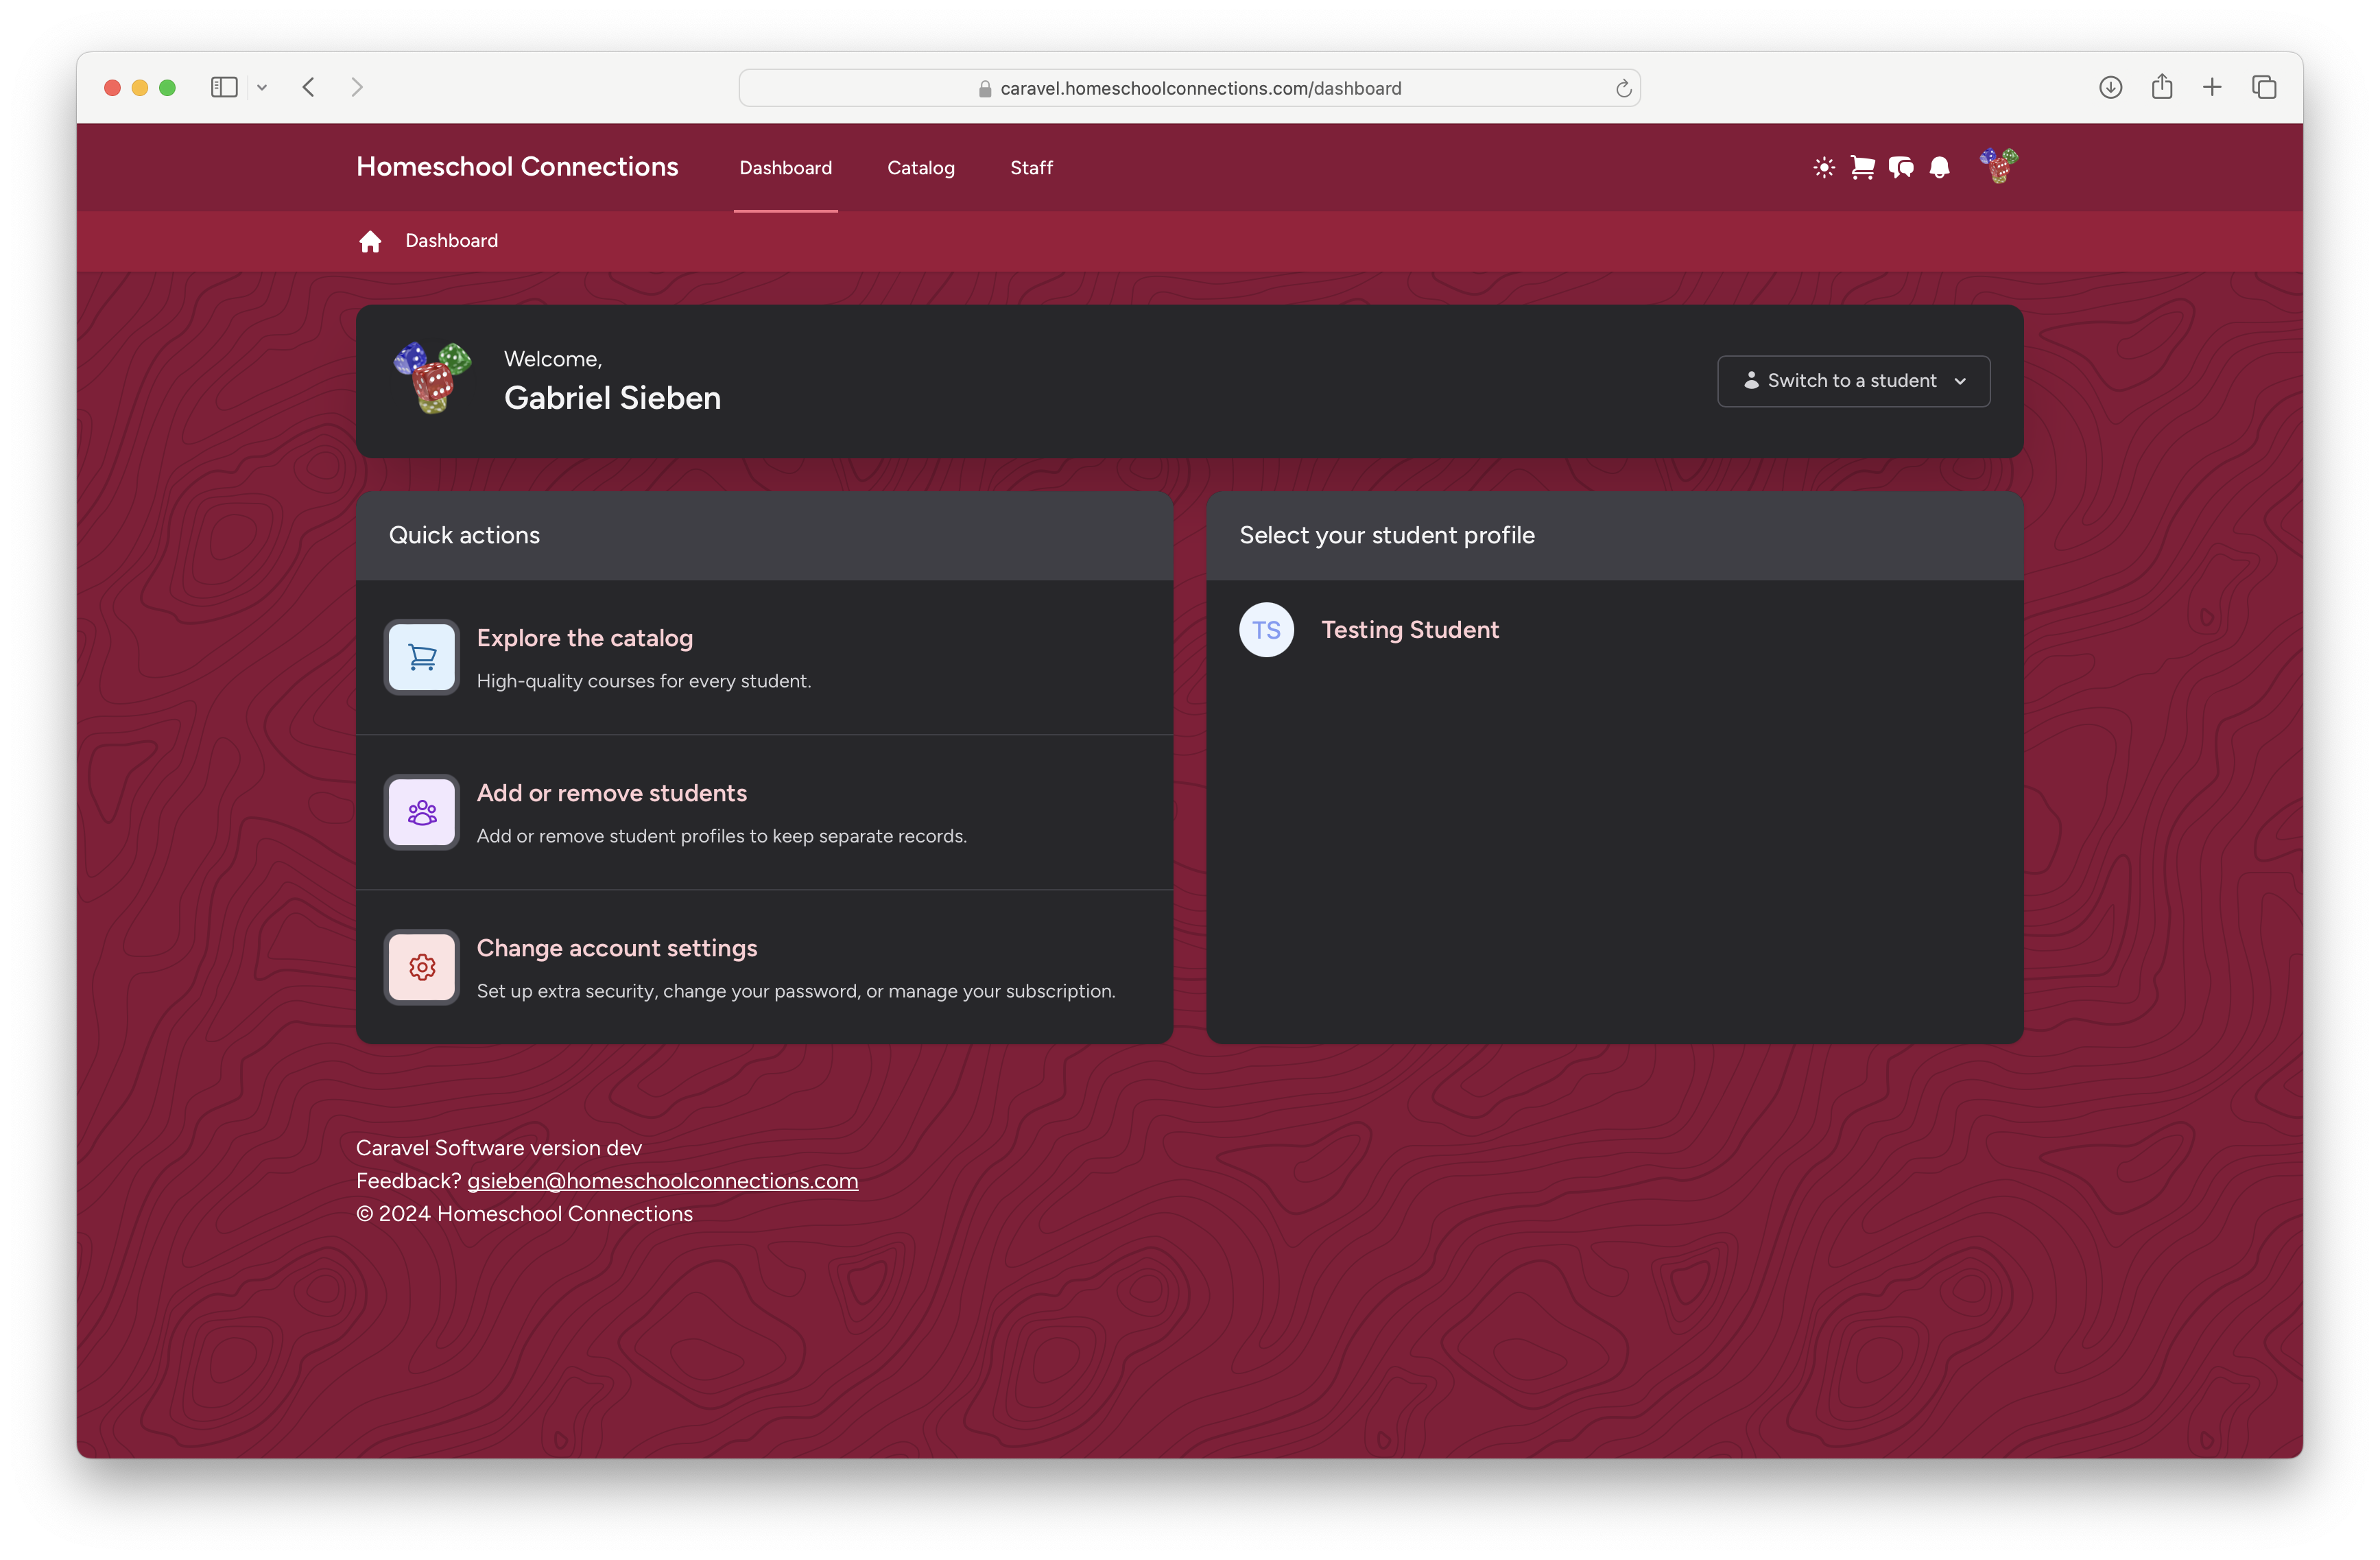
Dashboard
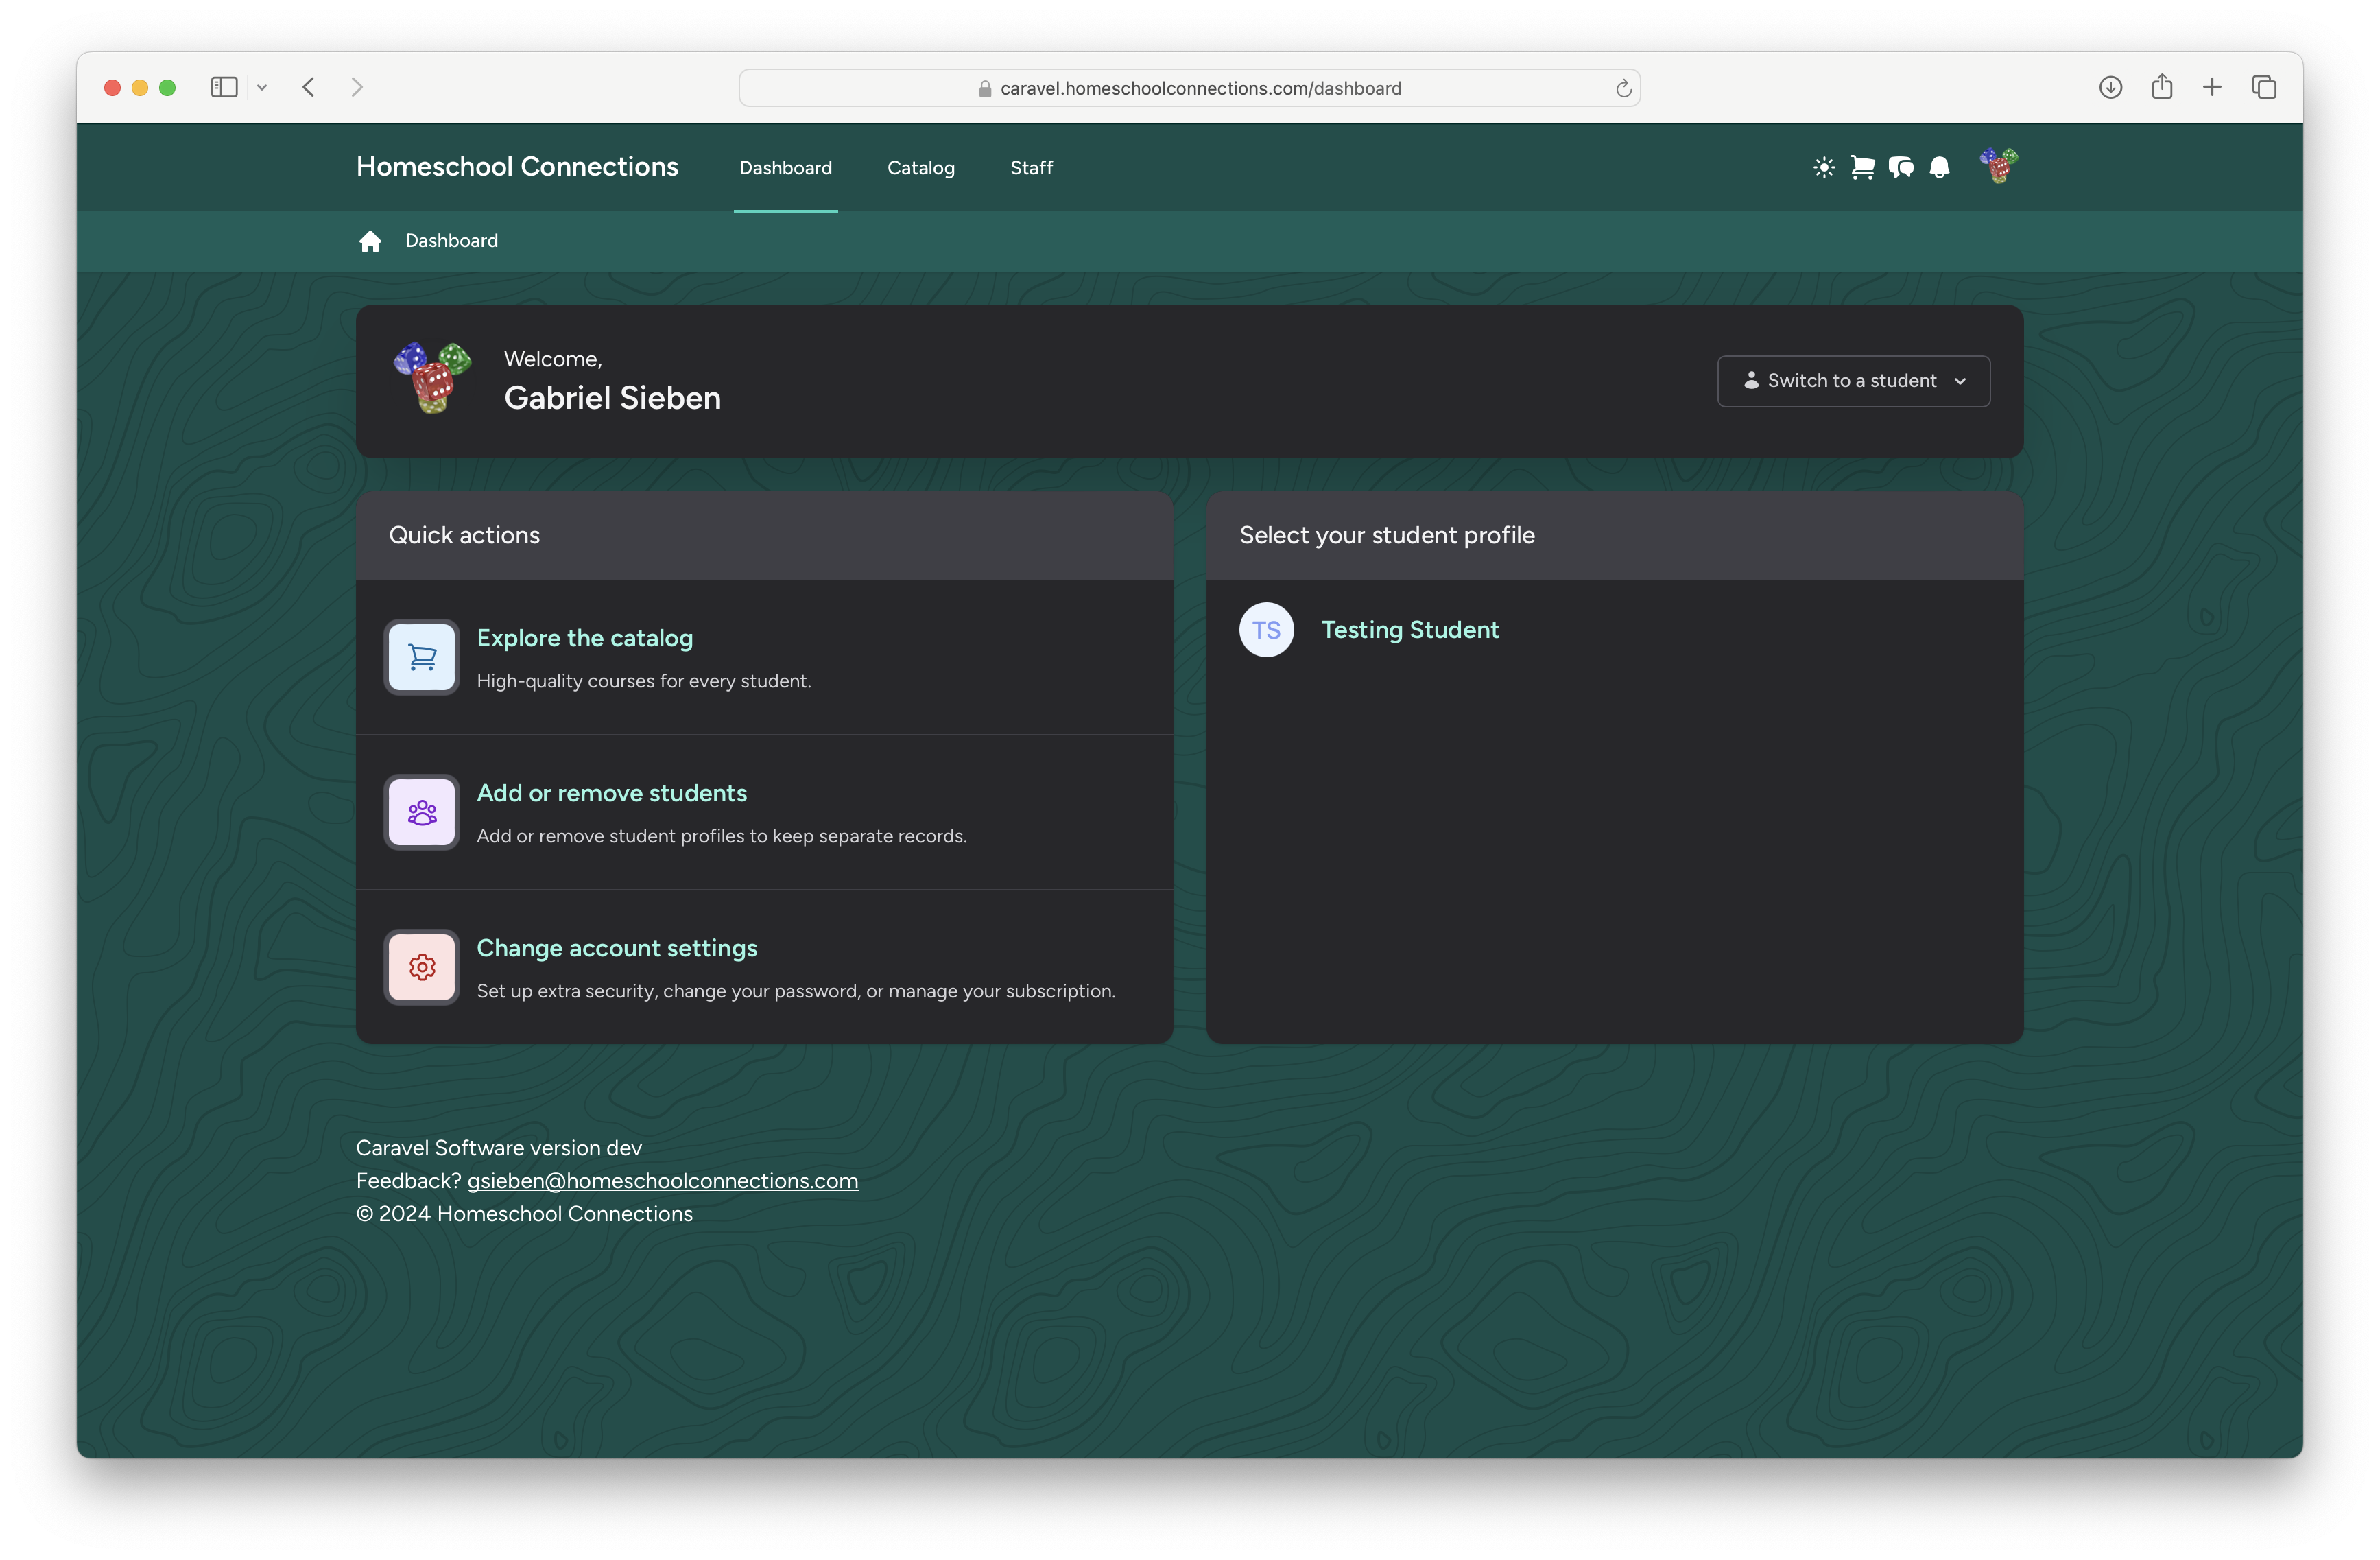
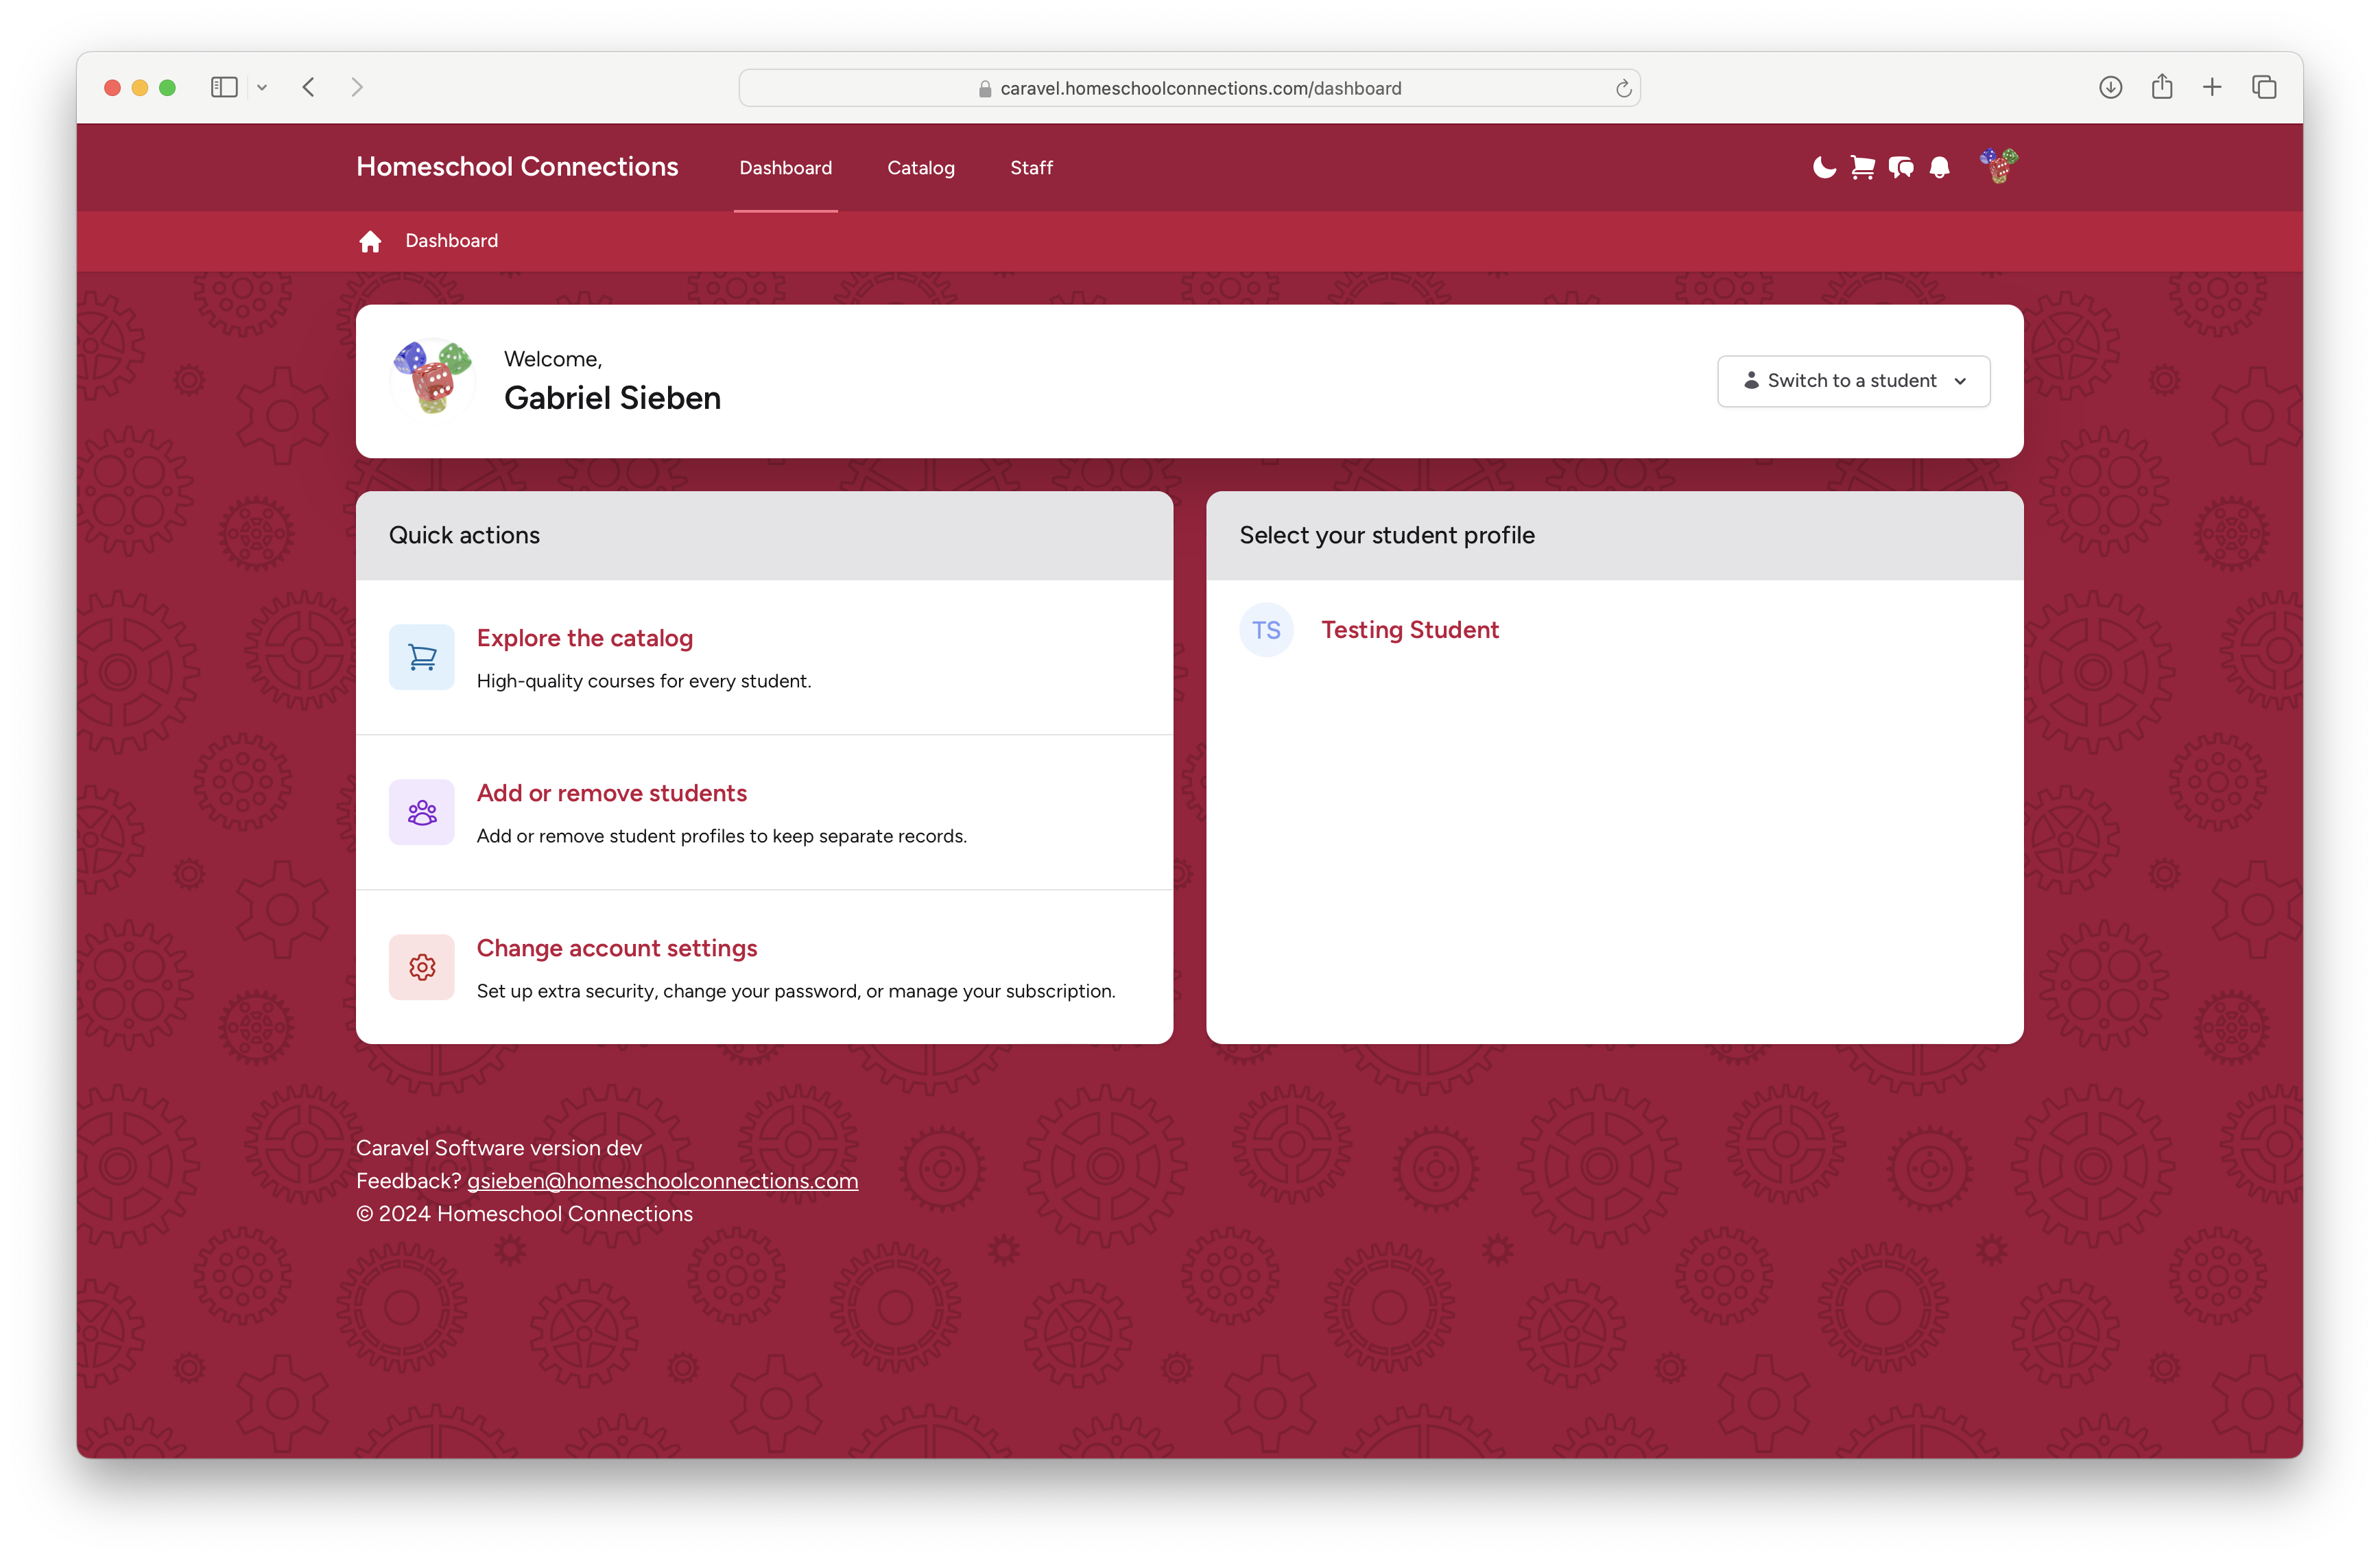
When you log in, you will see a screen which looks like this:
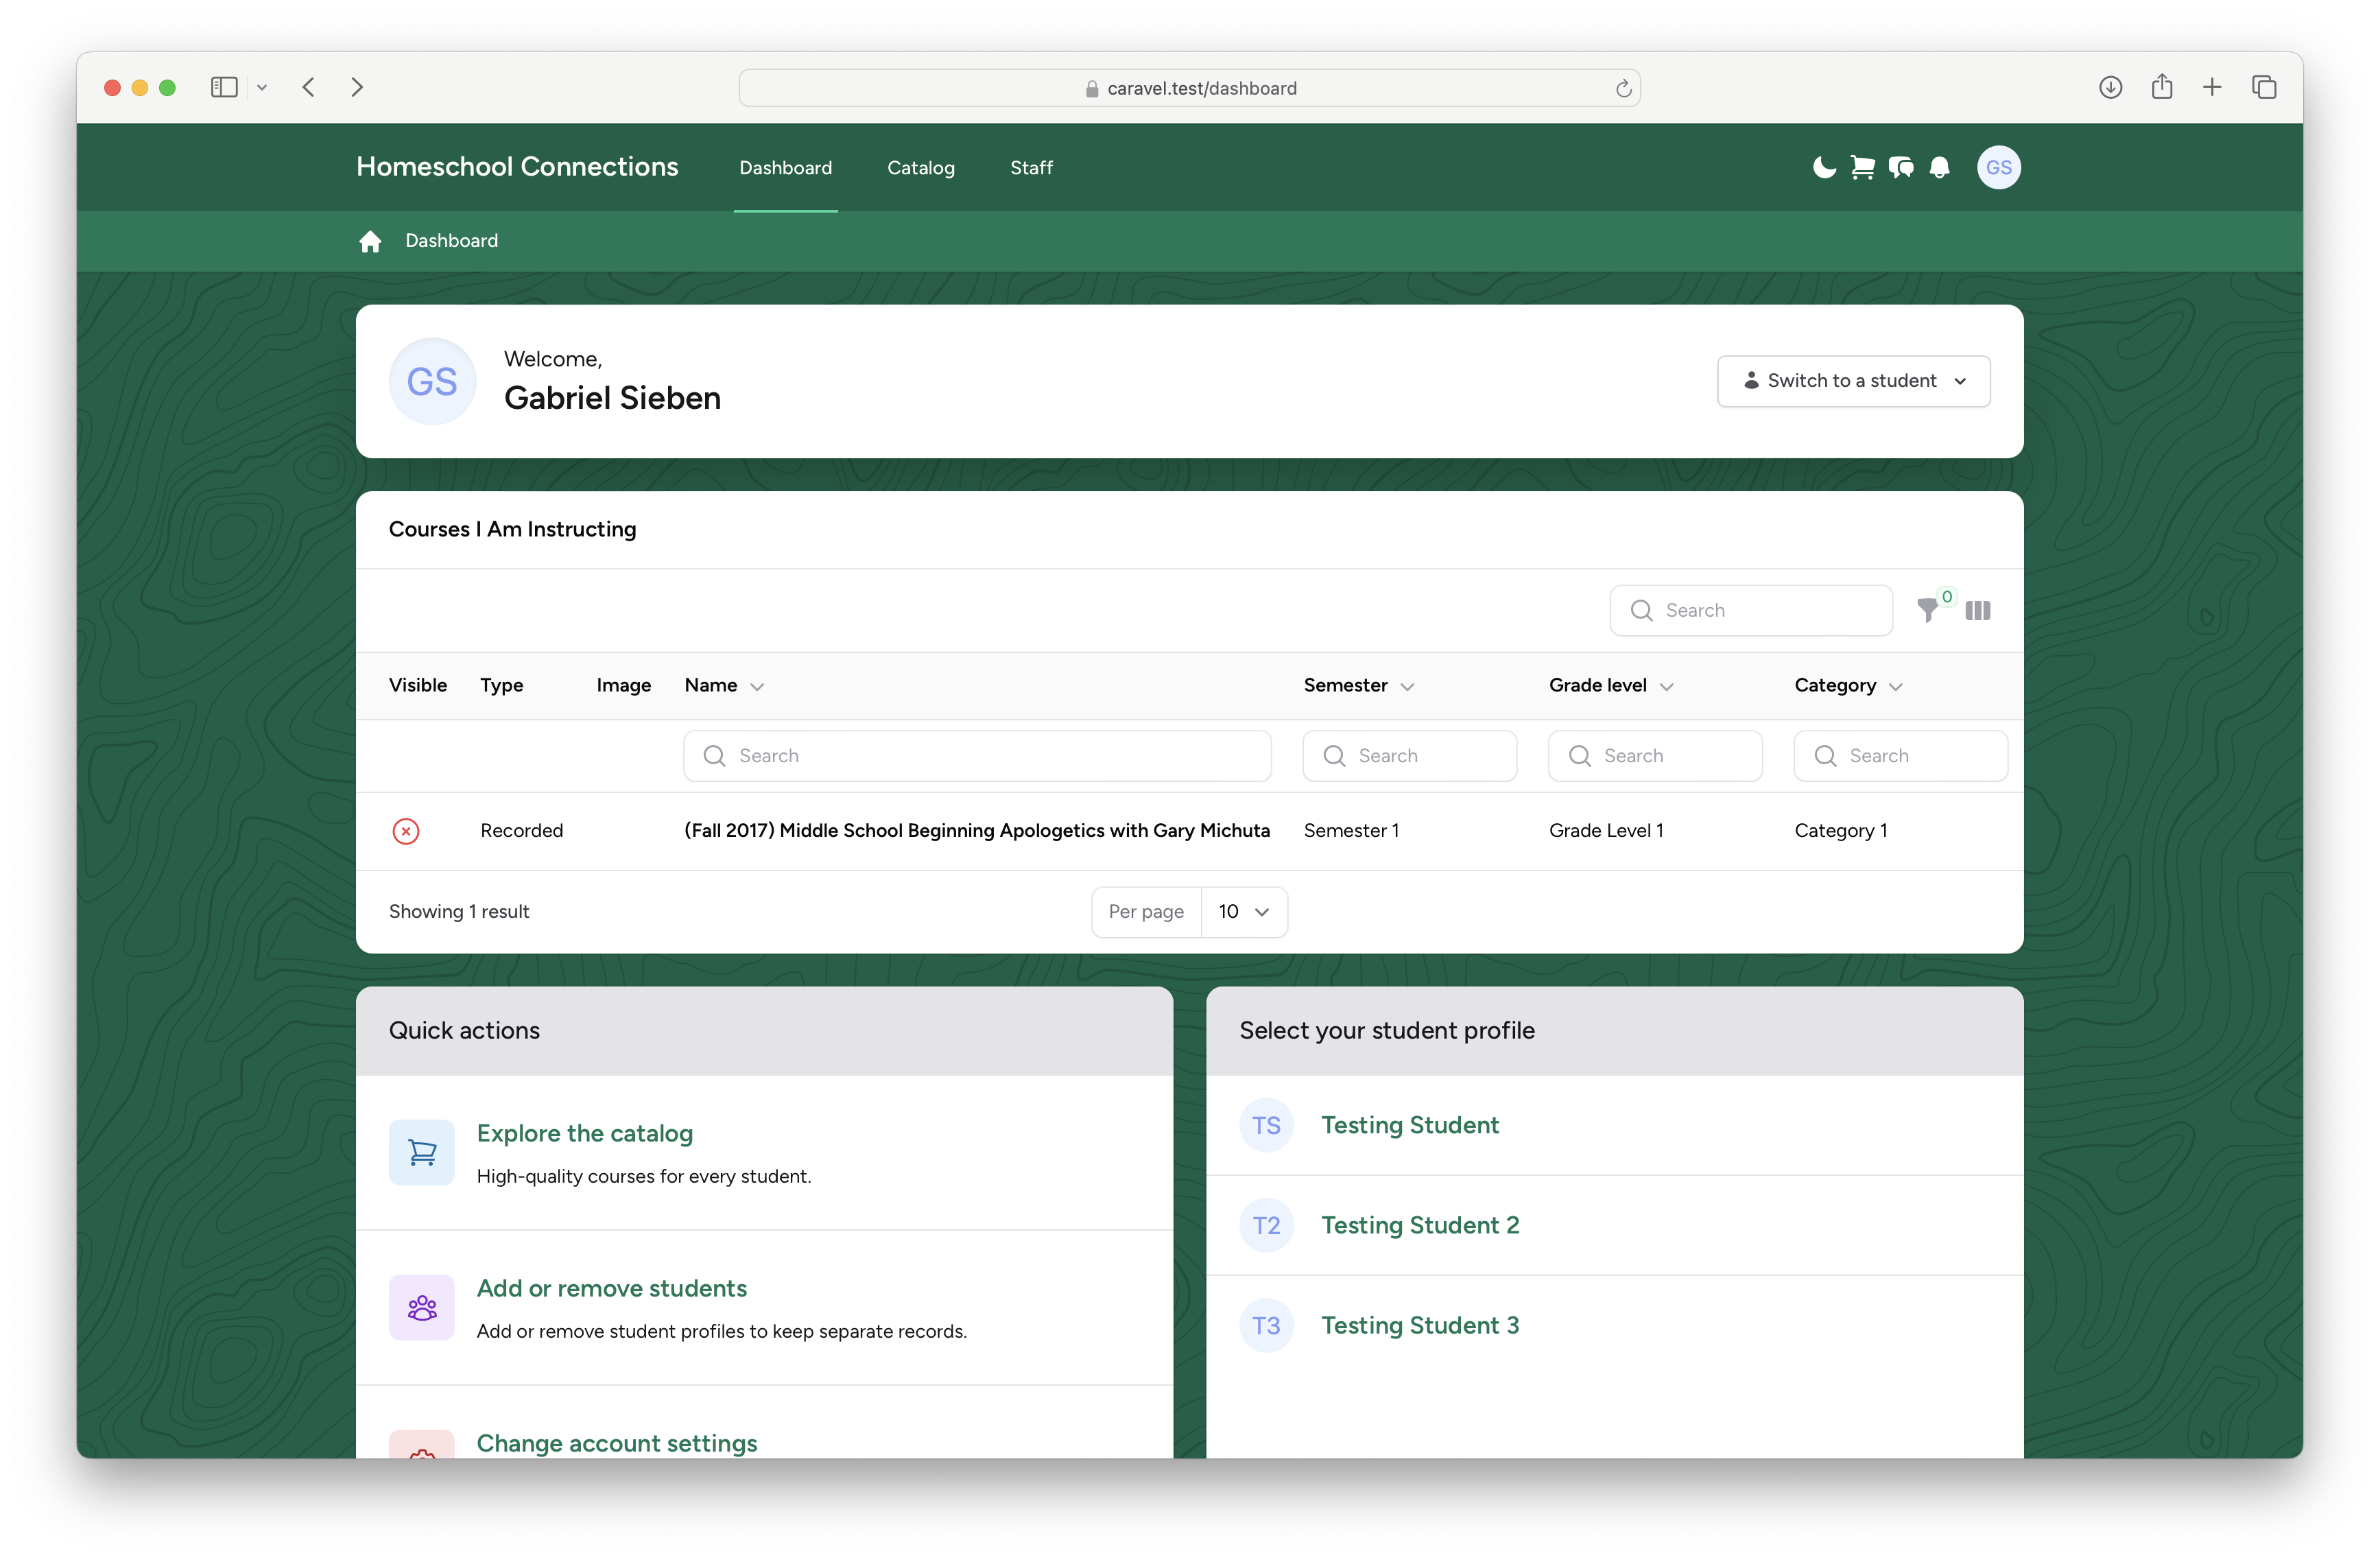
The Dashboard is comprised of several elements:
- The Navigation Bar: A narrow strip at the top of the page, containing the name of our website, a "Dashboard" button, a "Catalog" button, a "Staff" button, and some smaller icons. In order from left to right:
- Enable/disable Dark Mode
- Cart
- Conversations with Students
- Alerts
- Your Profile

- The Breadcrumbs Secondary Navigation Bar: On the Dashboard, this doesn't do much. However, as you navigate through the site, it will show you how deep you are navigating within the website's structure, making it easy to find where you are and get out if needed. For example, on a course page:

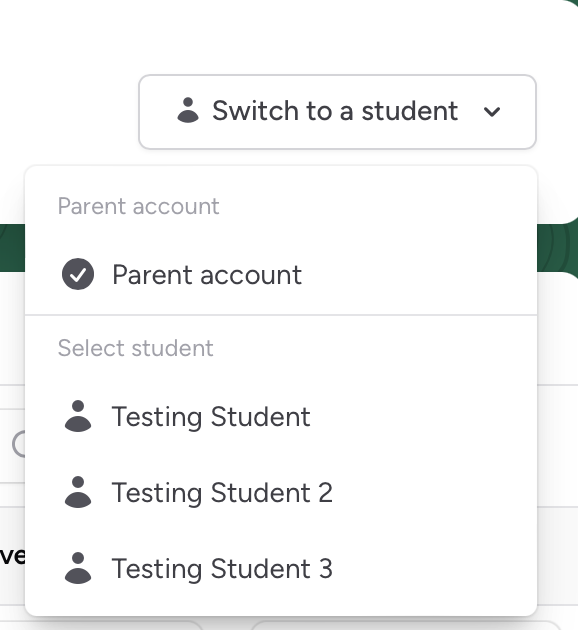
- The Welcome Bar: This simply says your name, and provides the ability to change into a Student view. Remember that Students are not separate users - but sub-profiles, kind of like a Netflix or Prime Video user. You, or a parent, can create up to 5 students on your profile. You can use the "Switch to a Student" button in the Welcome bar to become one:

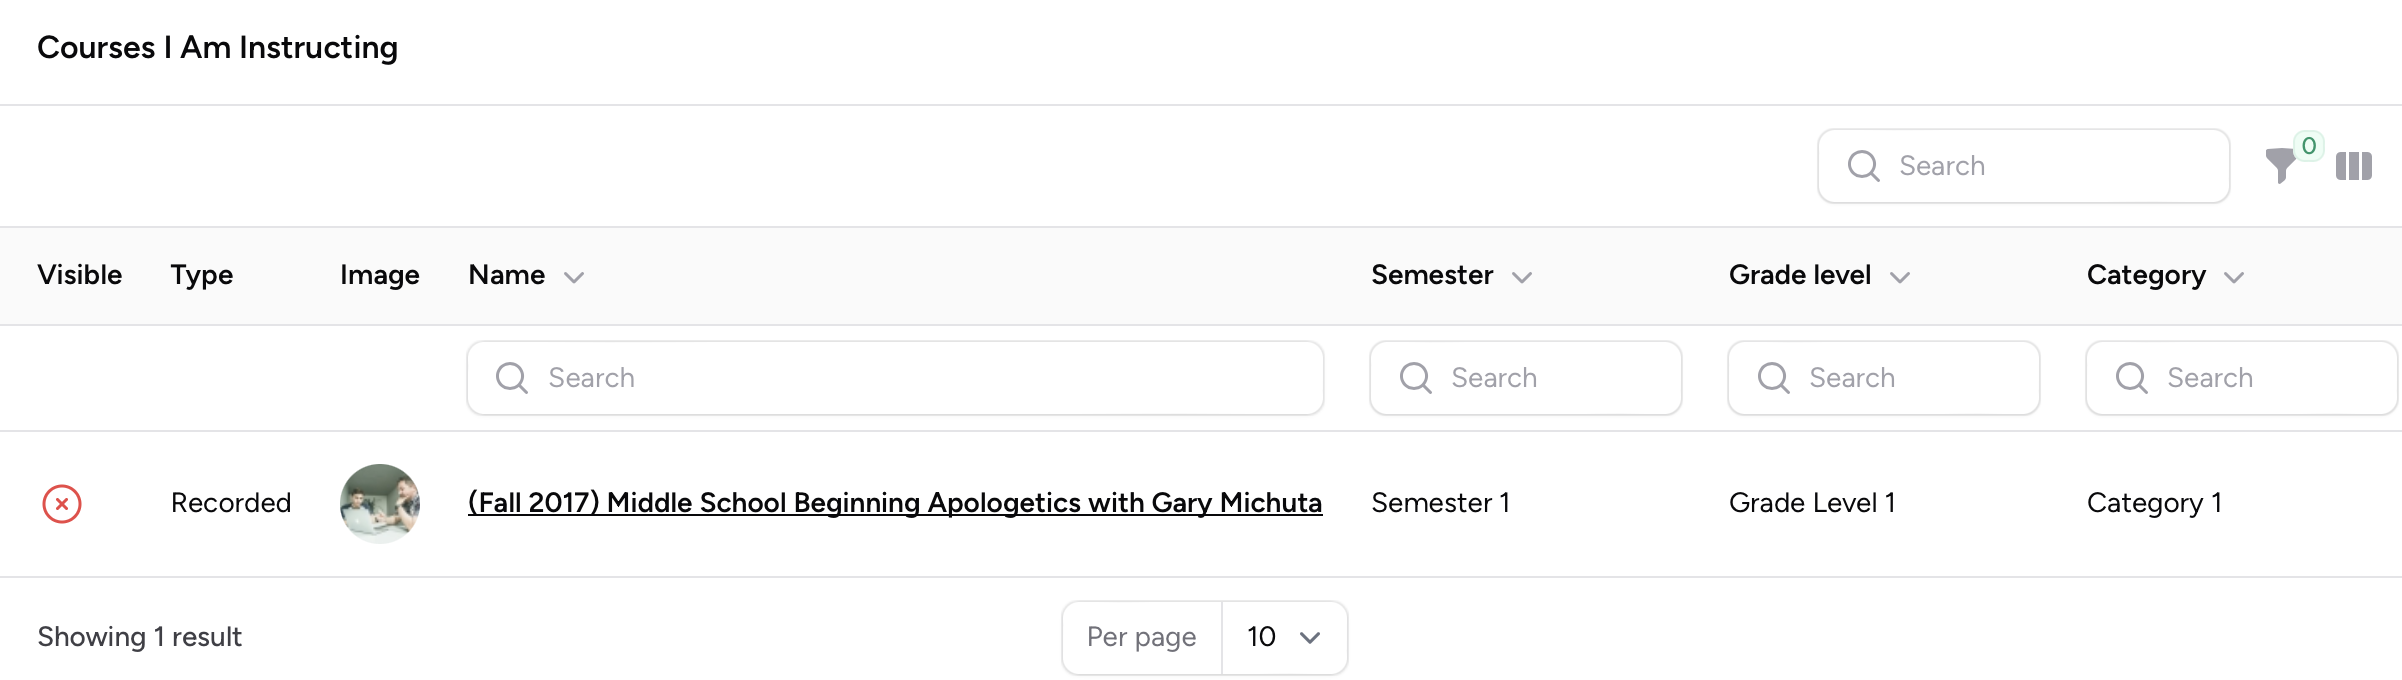
- Courses I am Instructing: Courses you are involved in teaching will appear here, for easy access. You'll notice several columns:
- Visible: If this is crossed out, no student is allowed to see this course, or enroll in it, or even know it exists, without exceptions. This warns you if this is an out-of-date course, a course being constructed, a testing course for your own uses, etc.
- Type: Recorded or Live.
- Image: Every course has a unique image to make it "stand out." This image is much bigger on the course page.
- Name, Semester, Grade Level, Category: I believe these are self-explanatory.

You may notice there are multiple search bars on the page. The "Search" in the upper right is a generic search, while the "Search" boxes under the column headers let you search that specific column. You can use multiple search boxes at the same time to narrow down a course you are looking for. - Quick actions: Parents, and Teachers, see the same set of Quick Actions. The first action is hidden if a subscription is active.

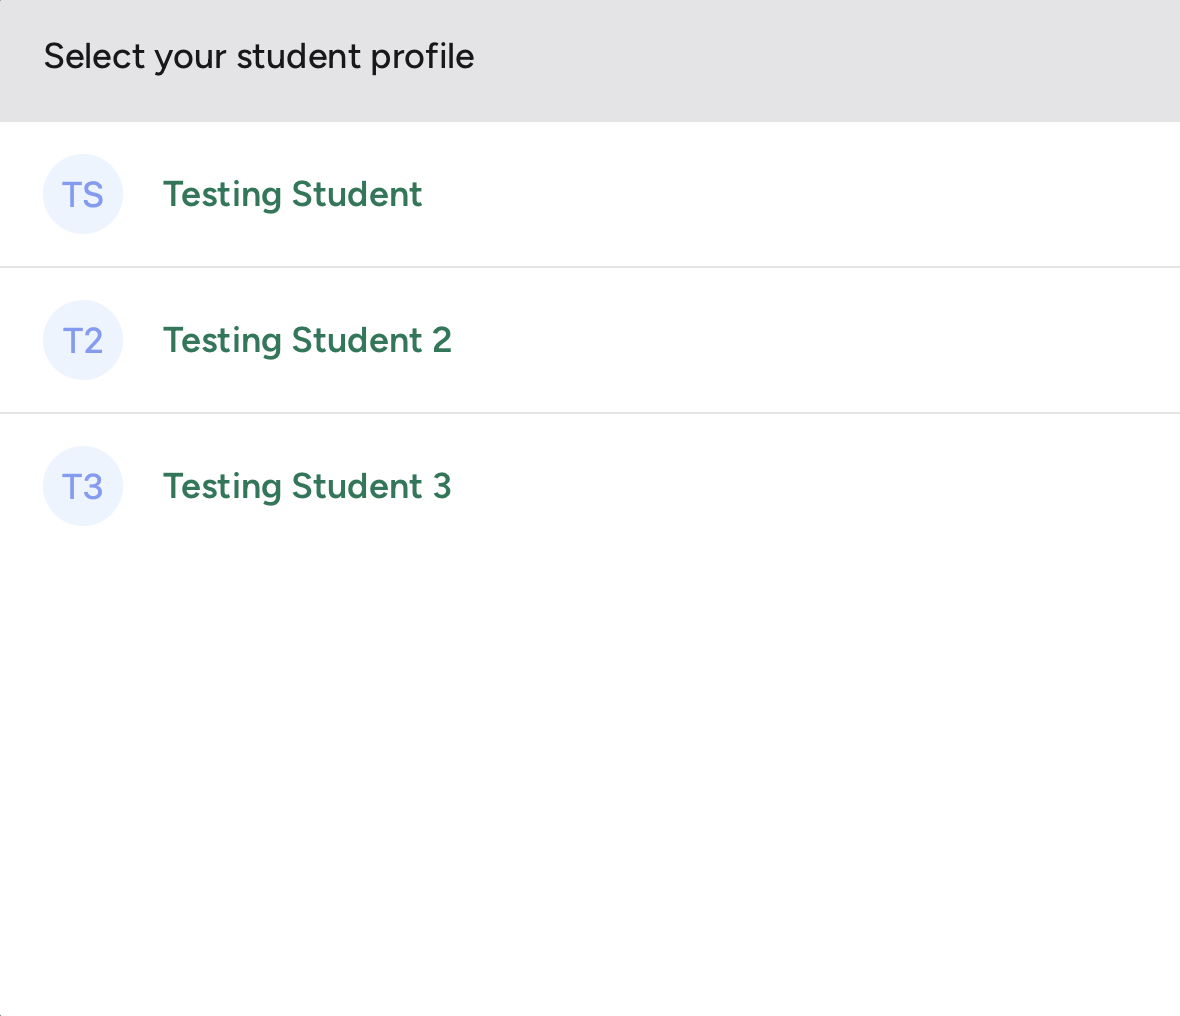
- Select a student profile: When logging in, this is where a user can switch to become a student. Because you are an instructor, it's not likely you will use this much, except with your own test students.


Catalog
The Catalog is where students, parents, teachers, and even admins can find courses. It looks similar to this:
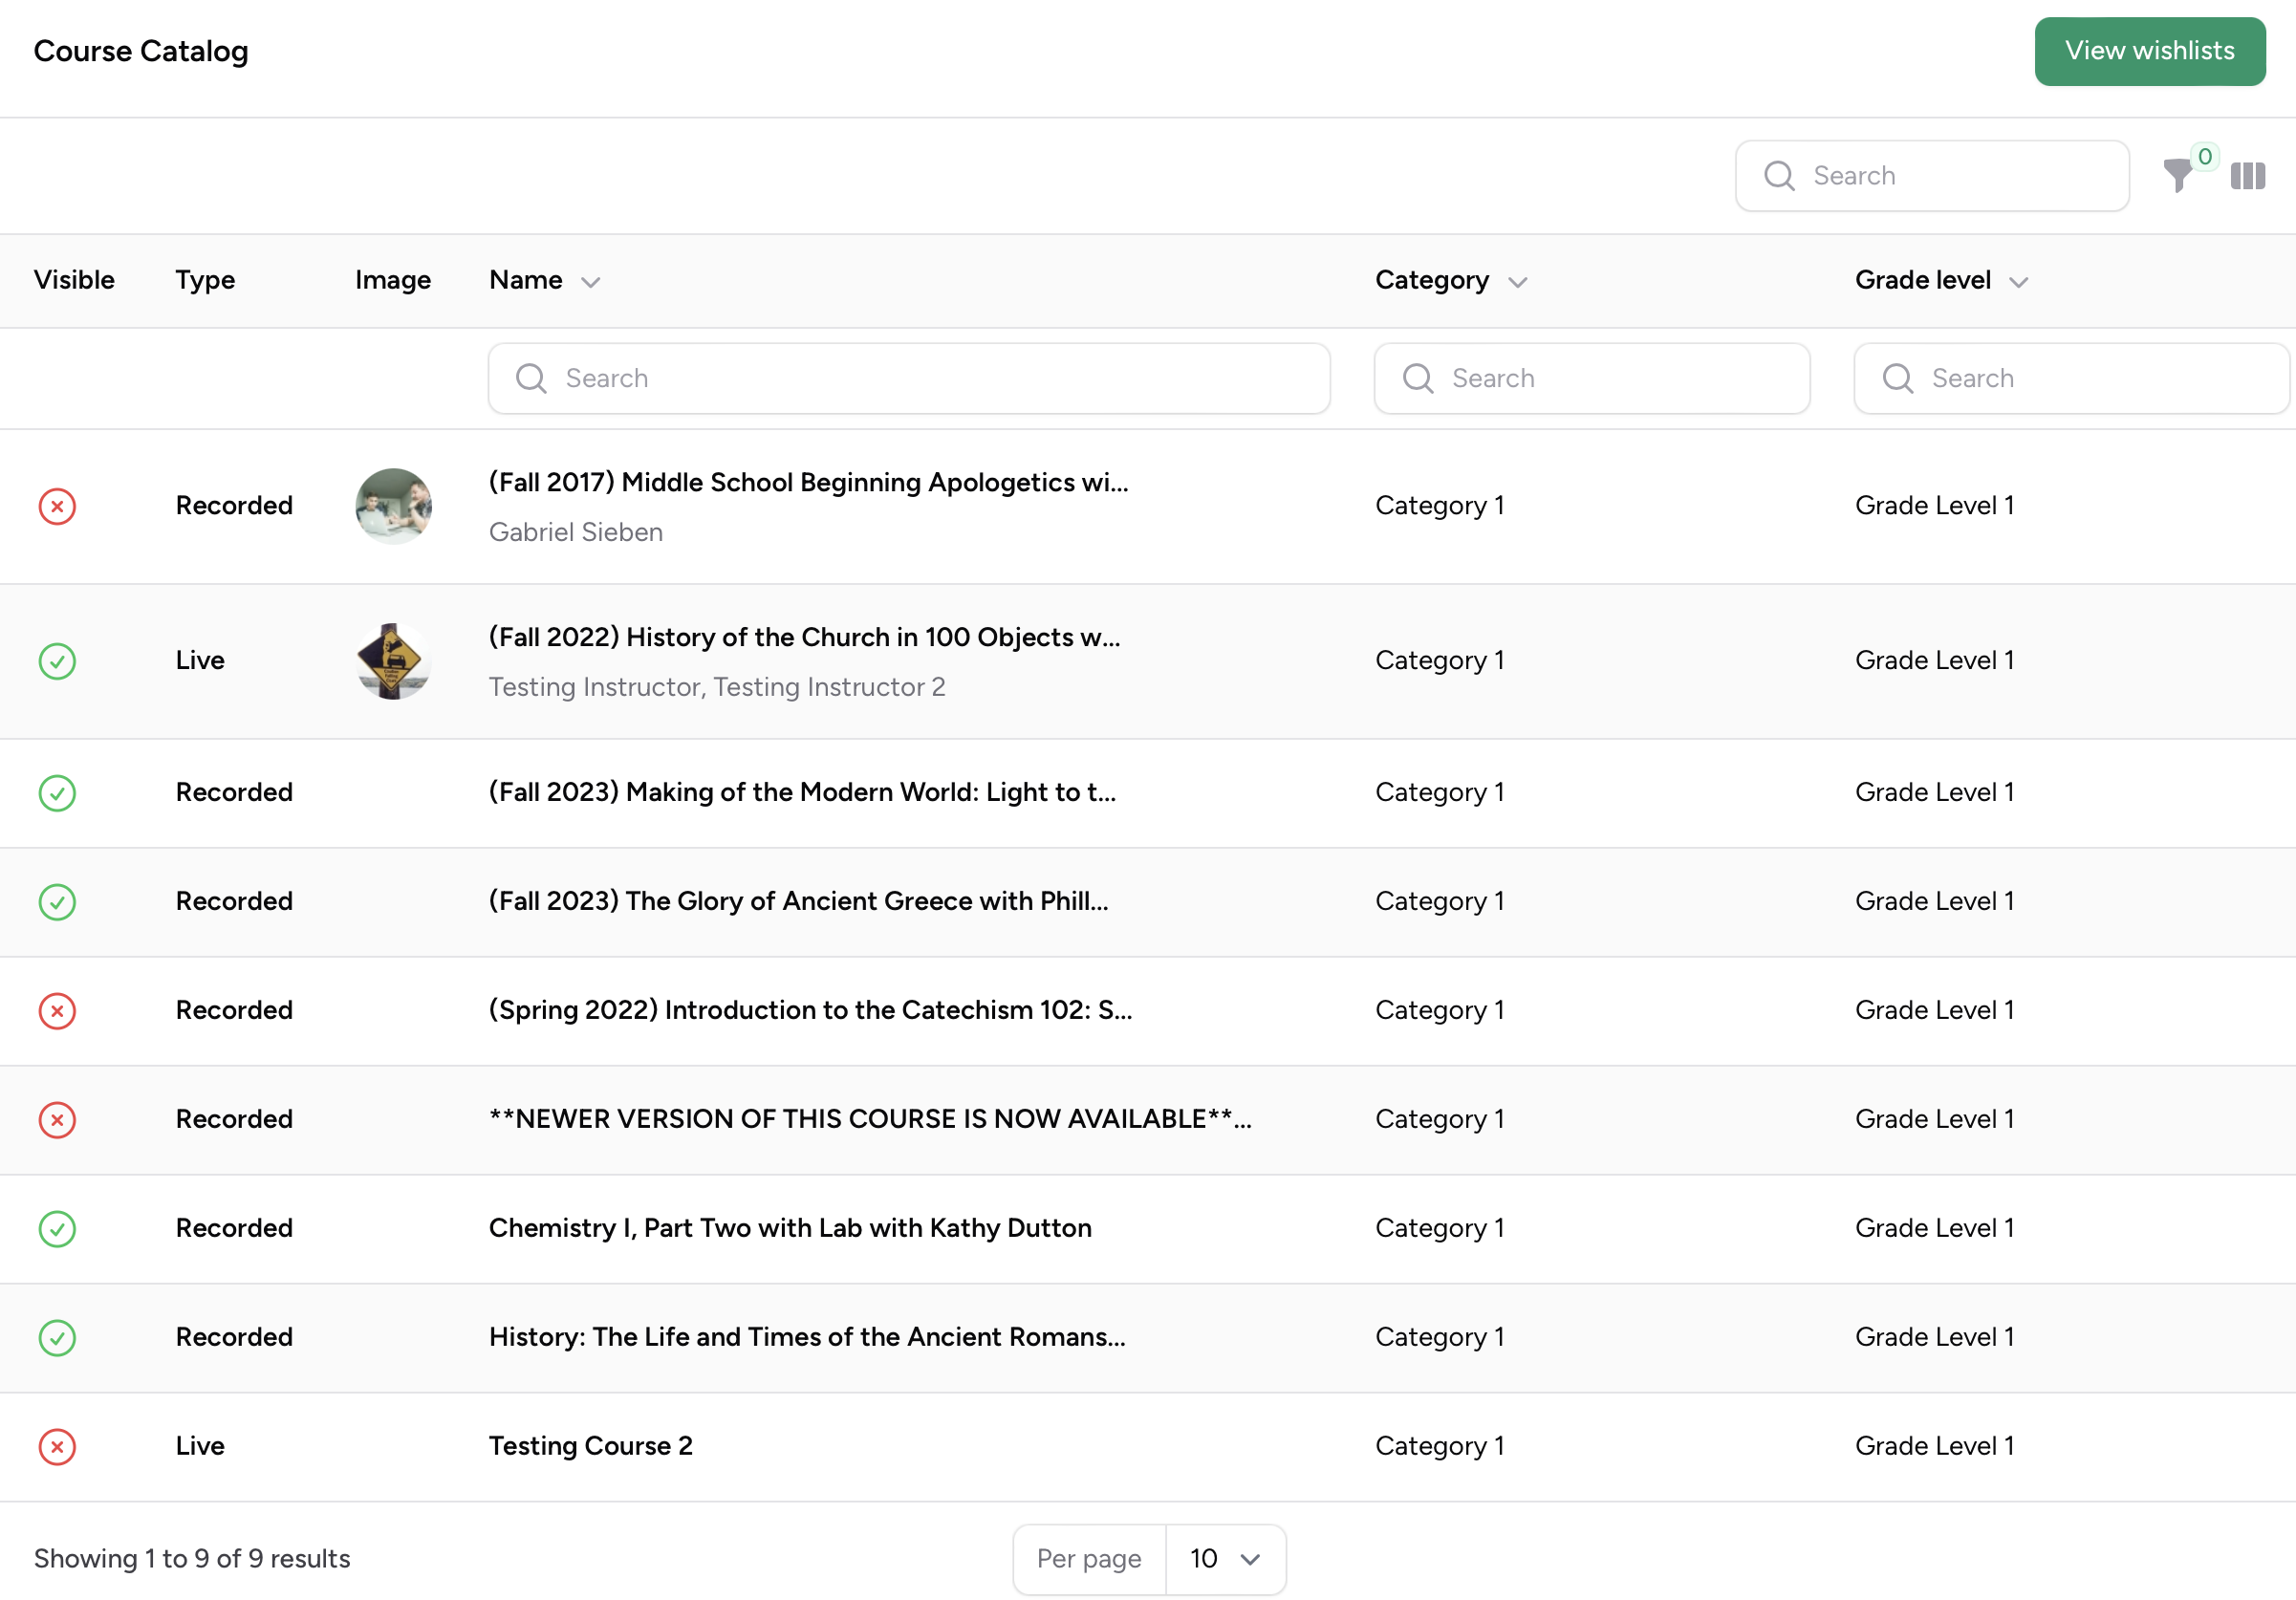
You will notice it looks very similar to the "Courses I am Instructing" block on the Dashboard. There are some differences:
- Students and Parents do not see the "Visible" column, because by definition, they can't see any items that aren't marked as visible.
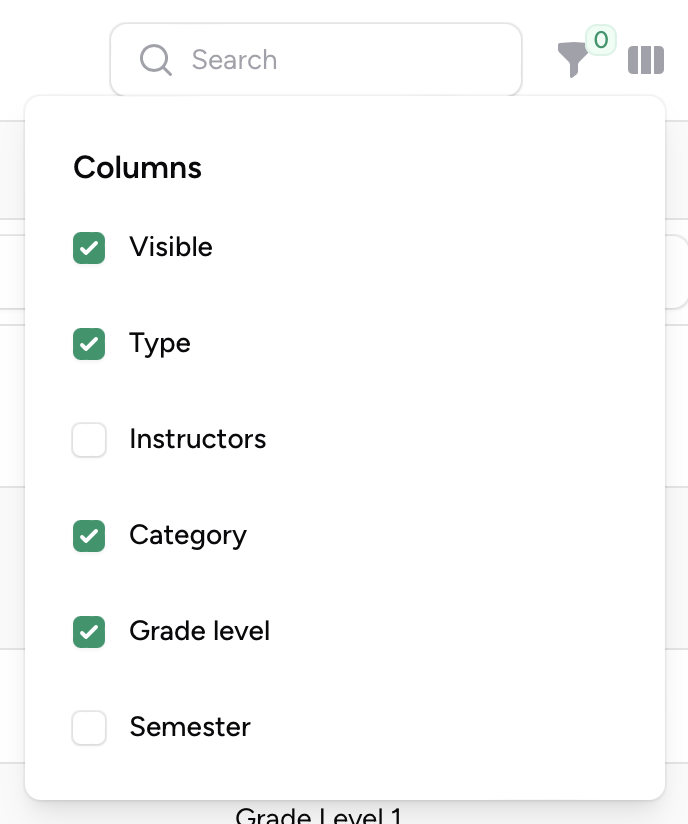
- Some columns are hidden. They can be shown by clicking the icon next to the funnel in the upper-right. Additional columns can be enabled:
Catalog Pages
When you click on a course in the catalog, you will see it's Catalog Page. It looks like this:
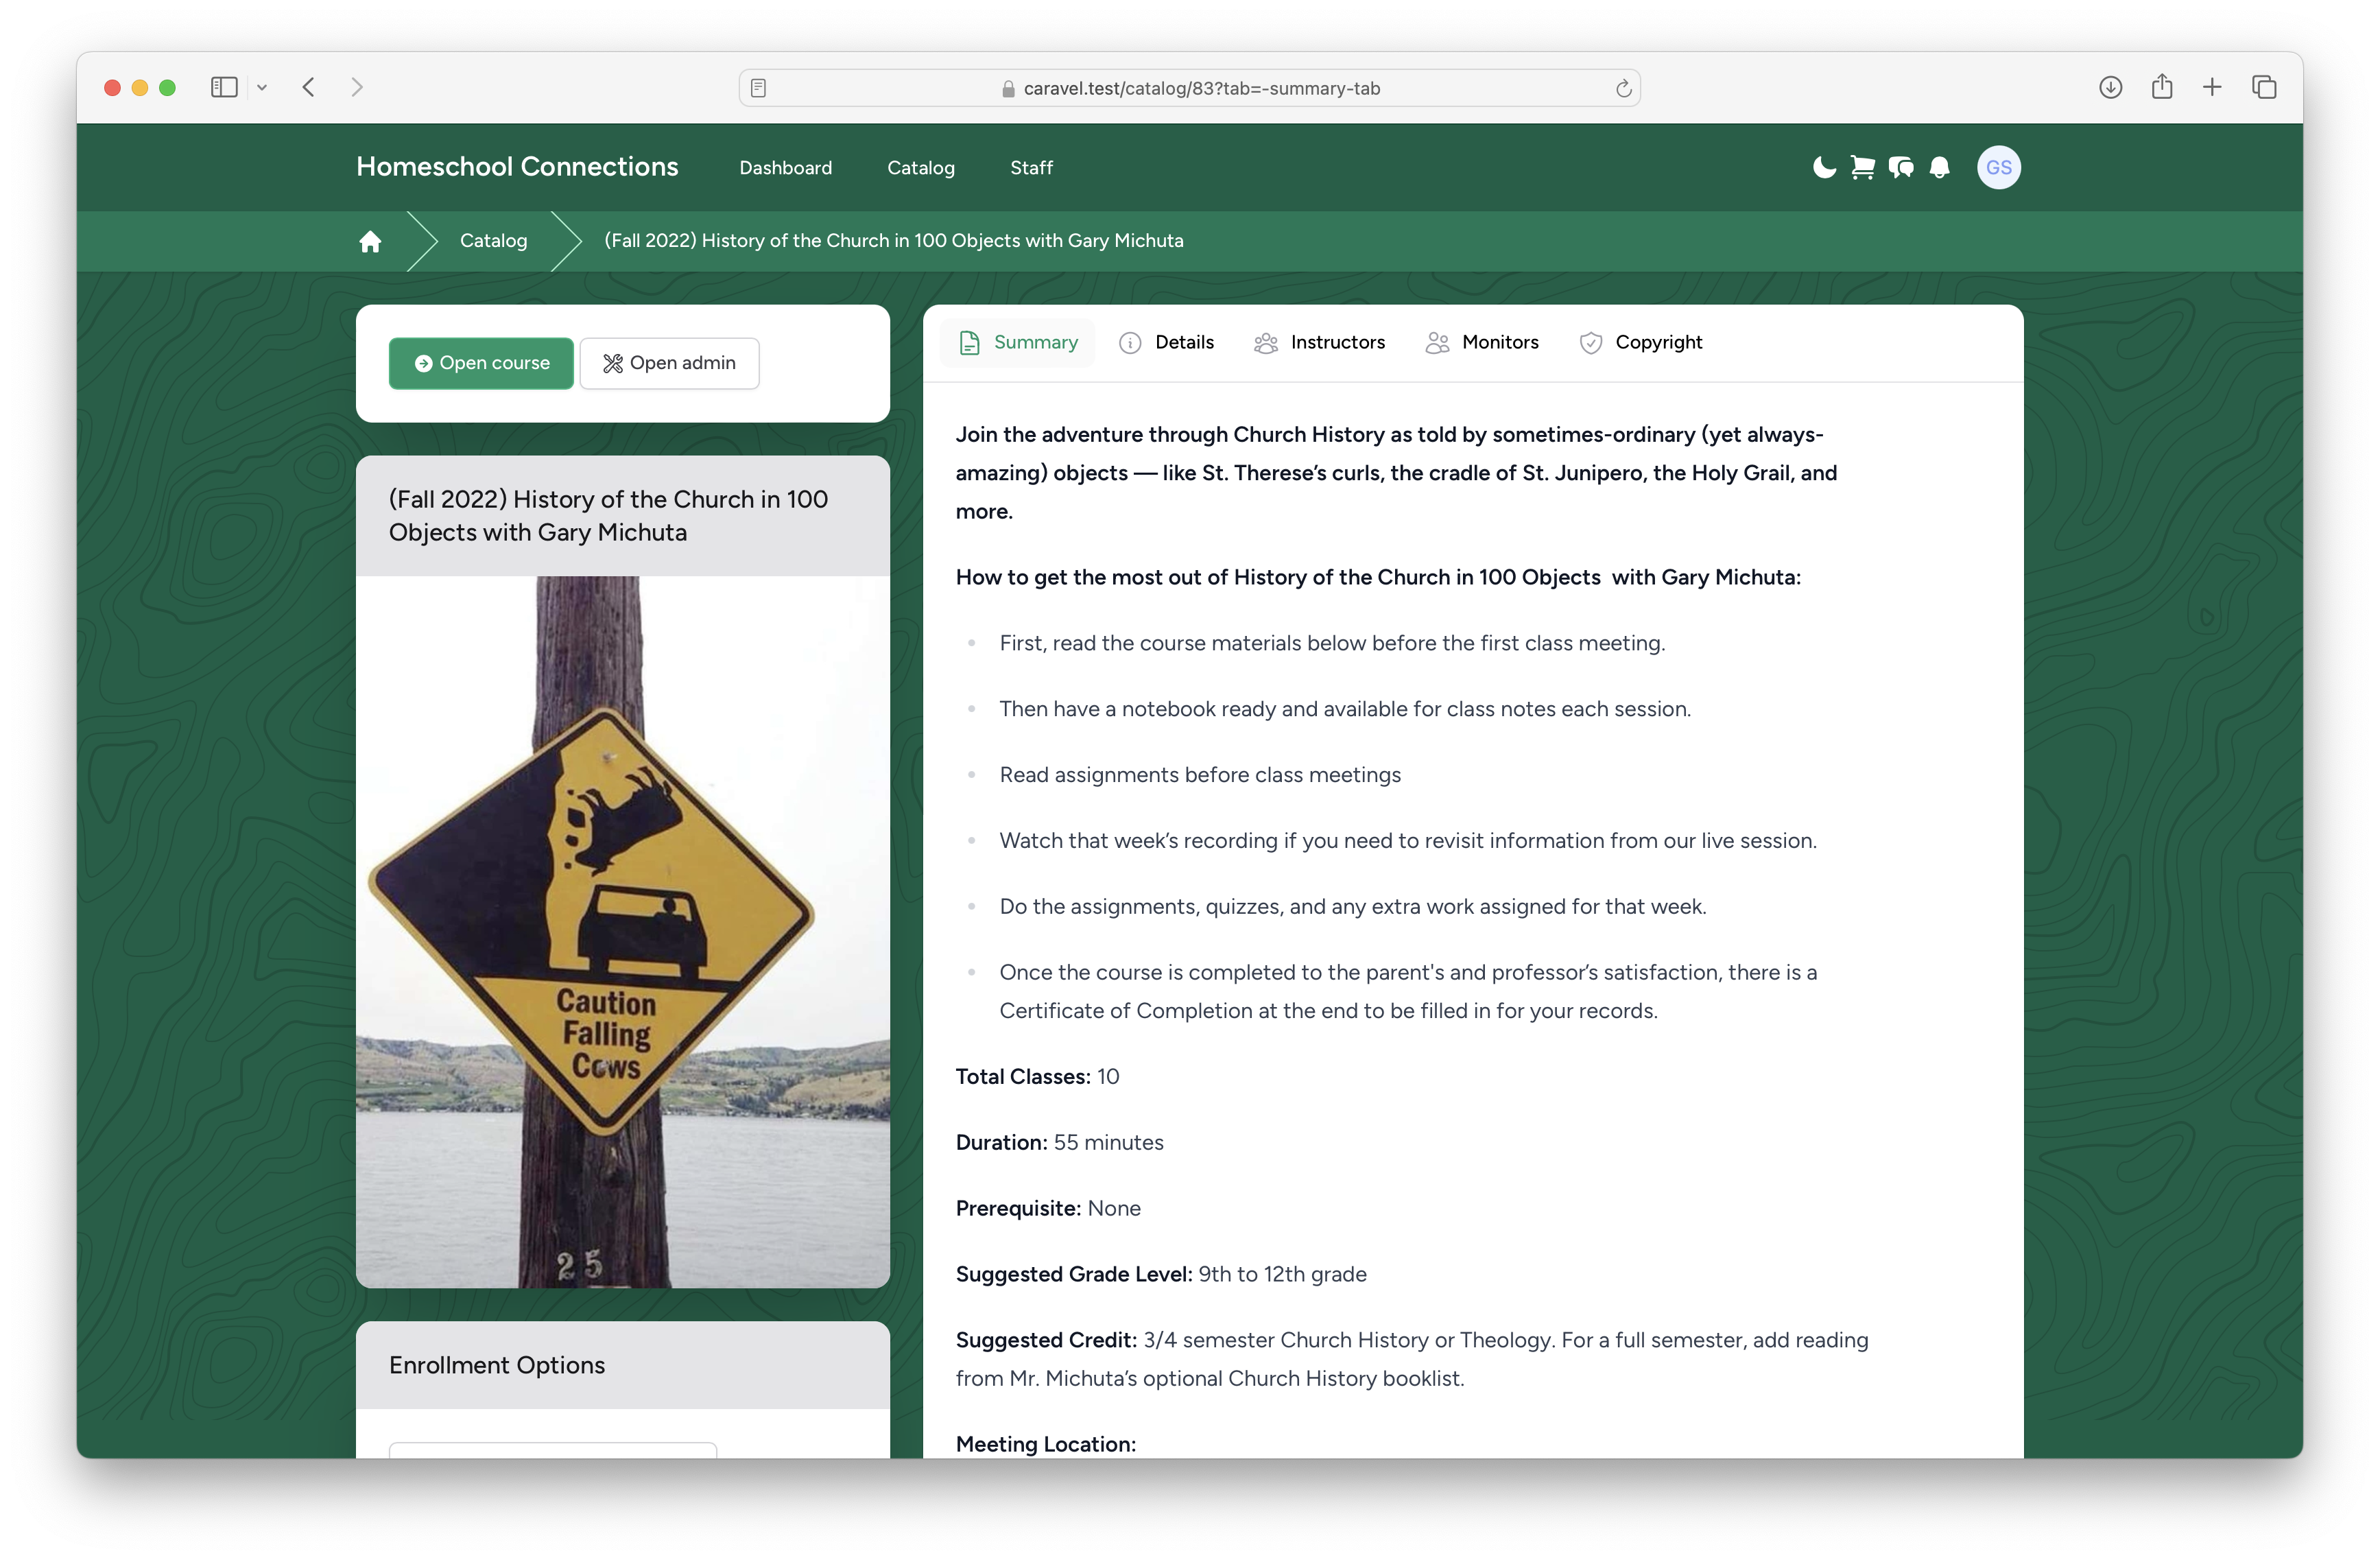
On the left, you have several items:
- Open course: If you are a teacher, or a student enrolled in the course, this takes you from the Catalog Page to the Course Page.
- Open admin: Only admins see this. This allows them to access the backend, where they can make restricted changes to the course.
- Course name: The name of the course, above the Course Image.
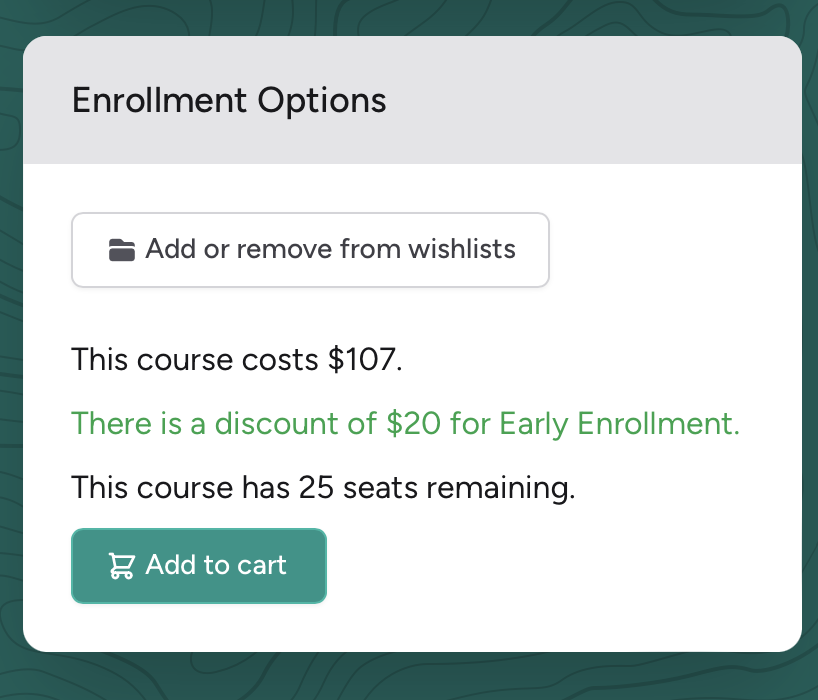
- Enrollment Options: This has three possible things:
1. Add or remove from Wishlist
2. If the course is a recorded course, and the parent is a subscriber, it will show a list of student profiles. The parent can simply click the names to enroll them in the course.
3. If the course is a live course, they will see a price, possible discounts or penalties, and an option to add the course to their cart. For example:

On the right side of the page, we have a tabbed navigation view, with several tabs.
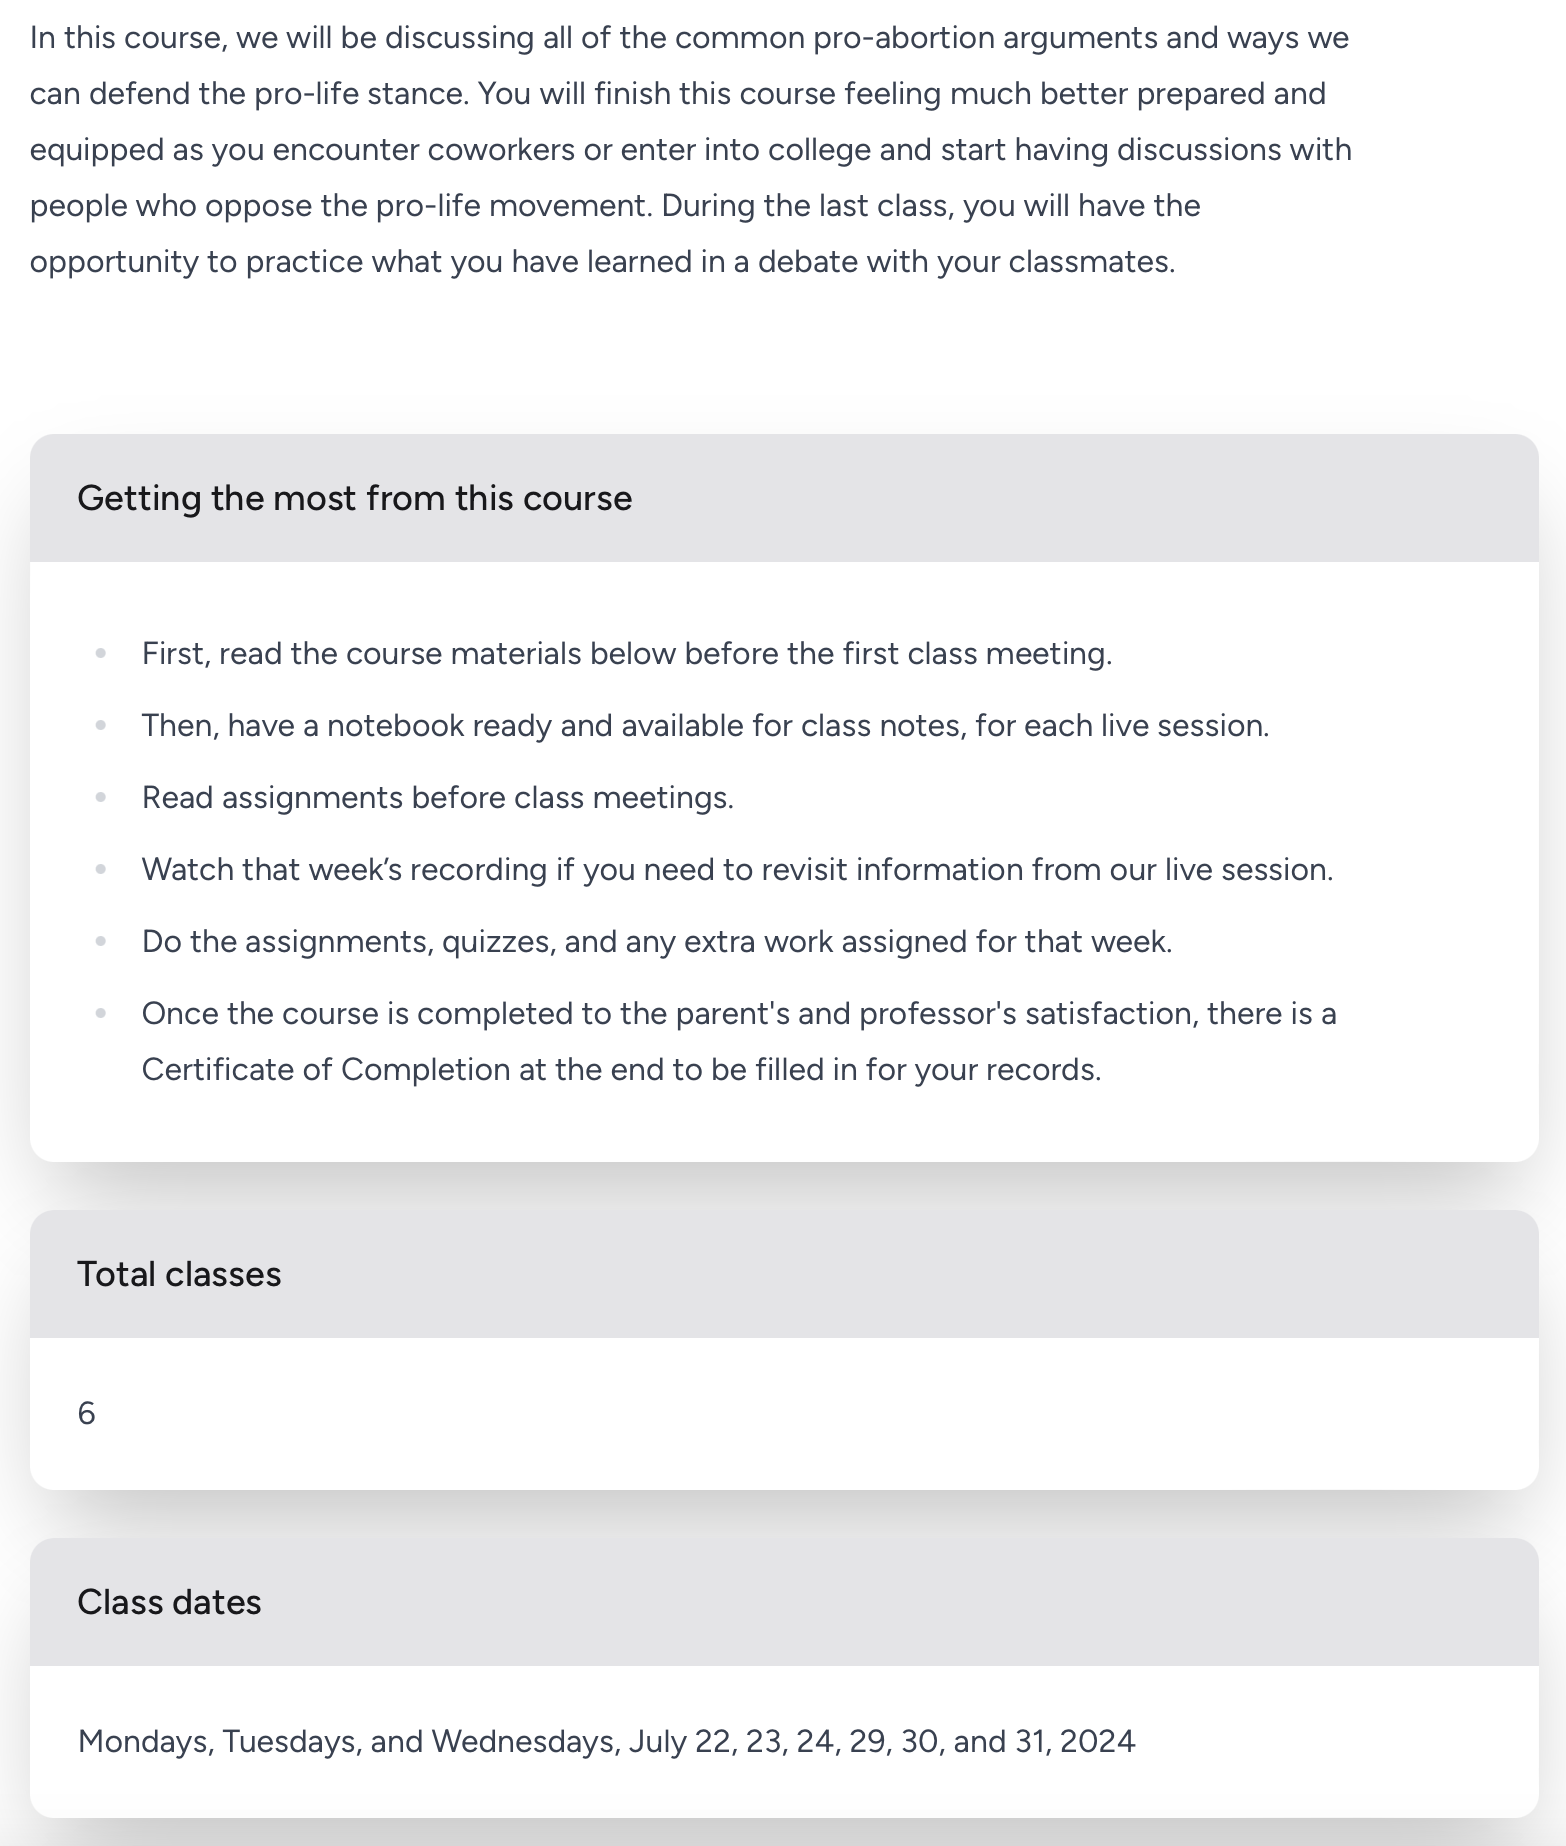
- Summary: This shows the course description, as well as course description blocks if the course uses them. For example:

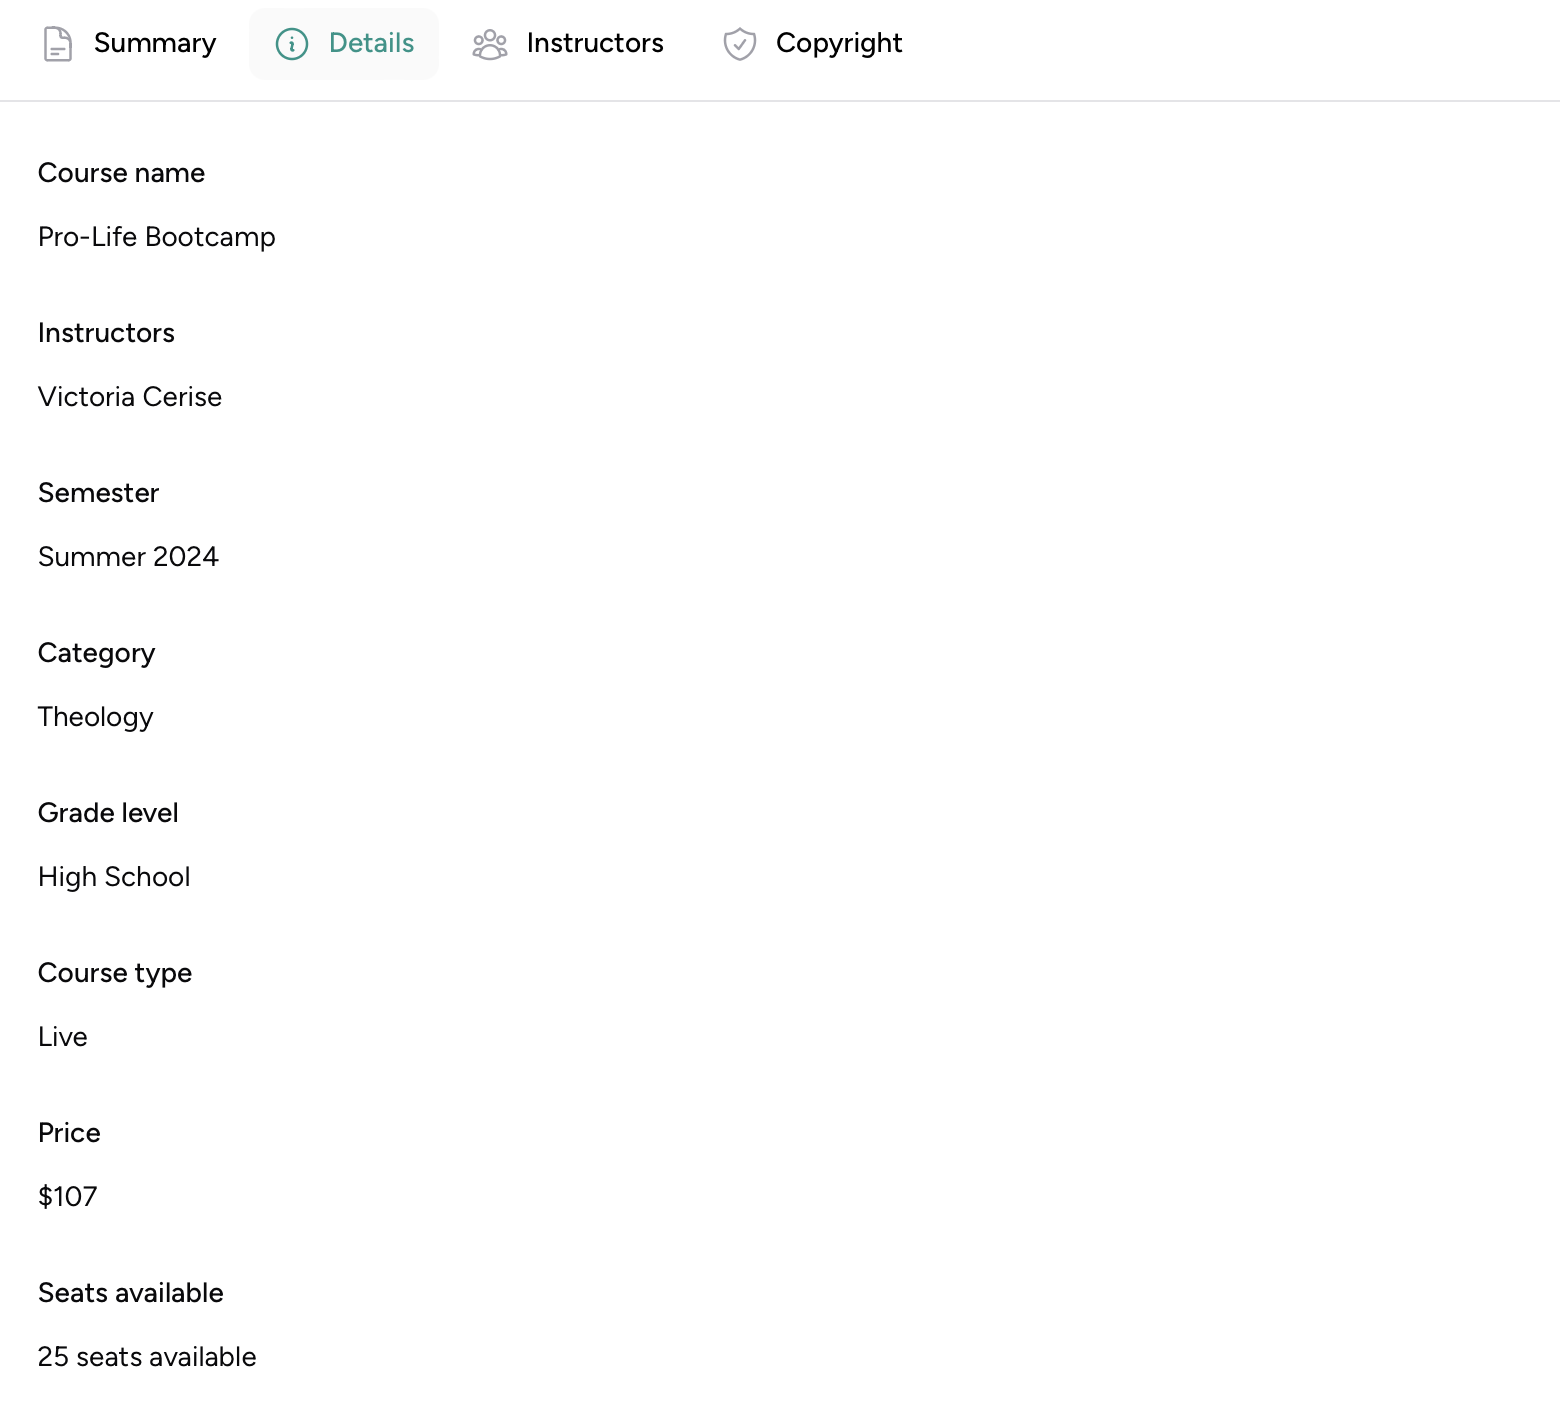
- Details: This tab shows a general list of course metadata. For example:

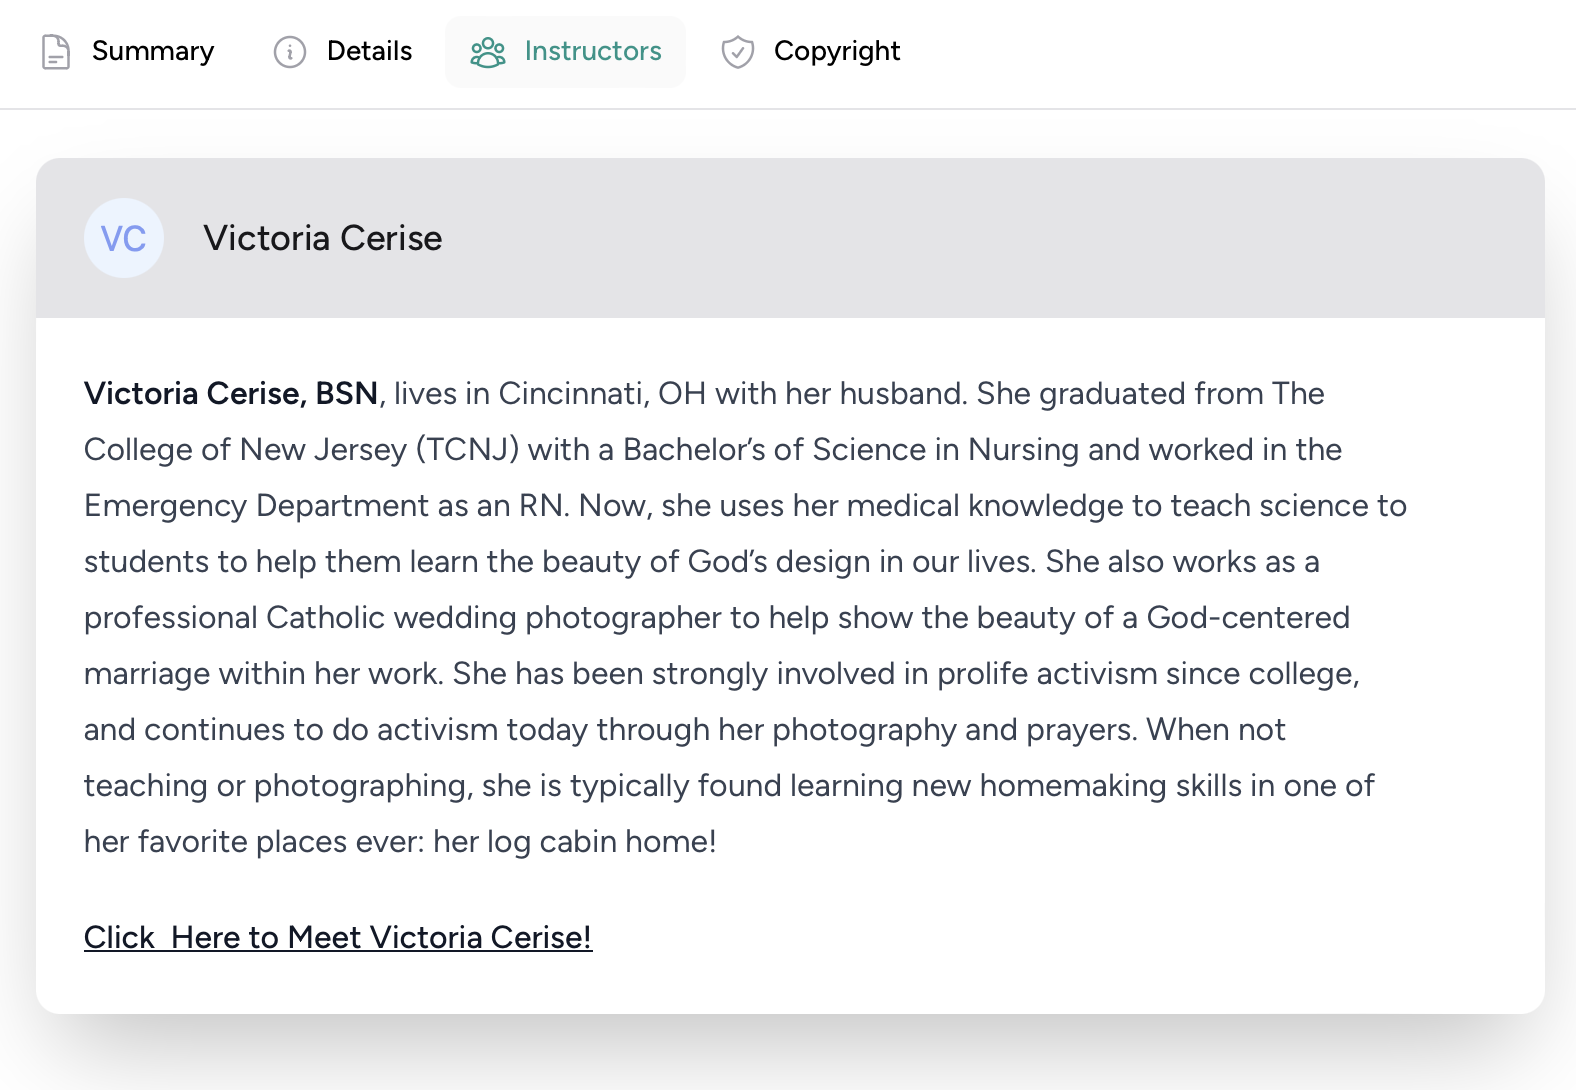
- Instructors: This tab shows a simple image, name, and biography for every Instructor attached to the course. For example:

- Monitors: This tab is similar to the Instructors tab, but for Course Monitors, if any have been designated for the course.
- Copyright: This tab shows generic, auto-filled copyright information.
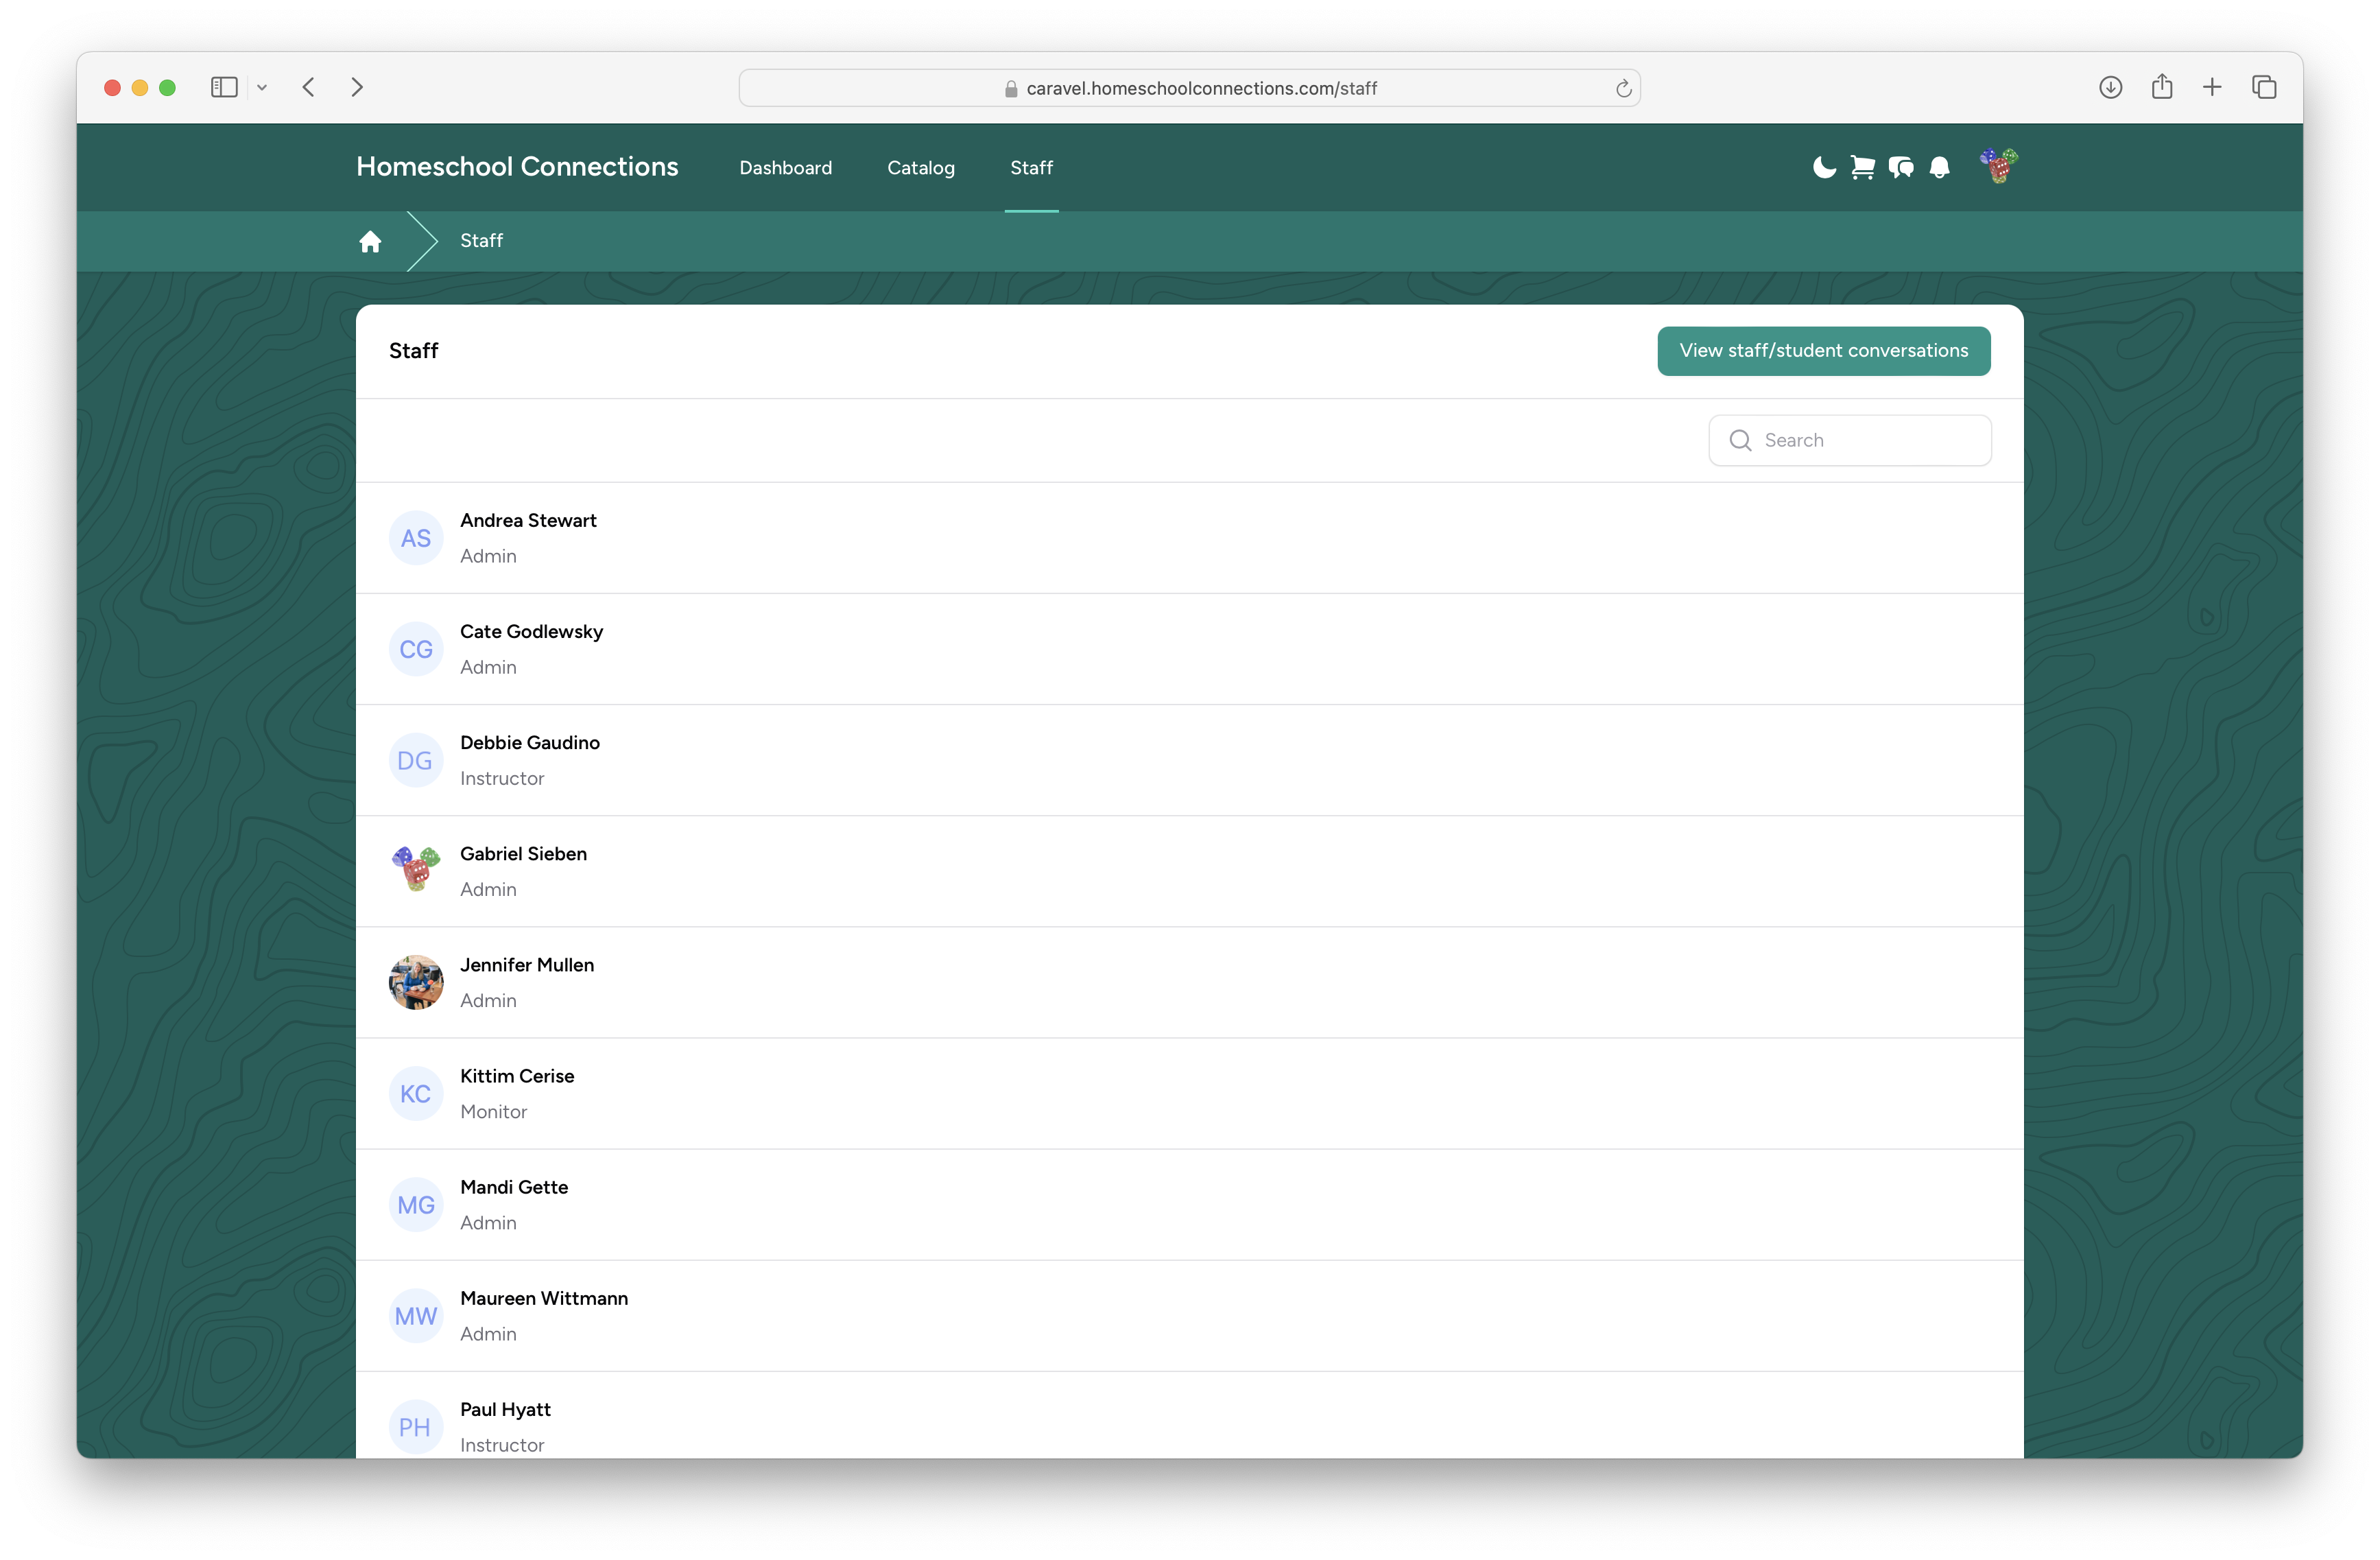
Staff
The Staff tab shows a list of instructors, monitors, and administrators at Homeschool Connections.
Clicking on any individual will show their Staff Biography page, which shows the staff member's biography, image, and any courses they may be teaching:

Anyone can use the Start a conversation button to open a new chat window, and adjust notifications:
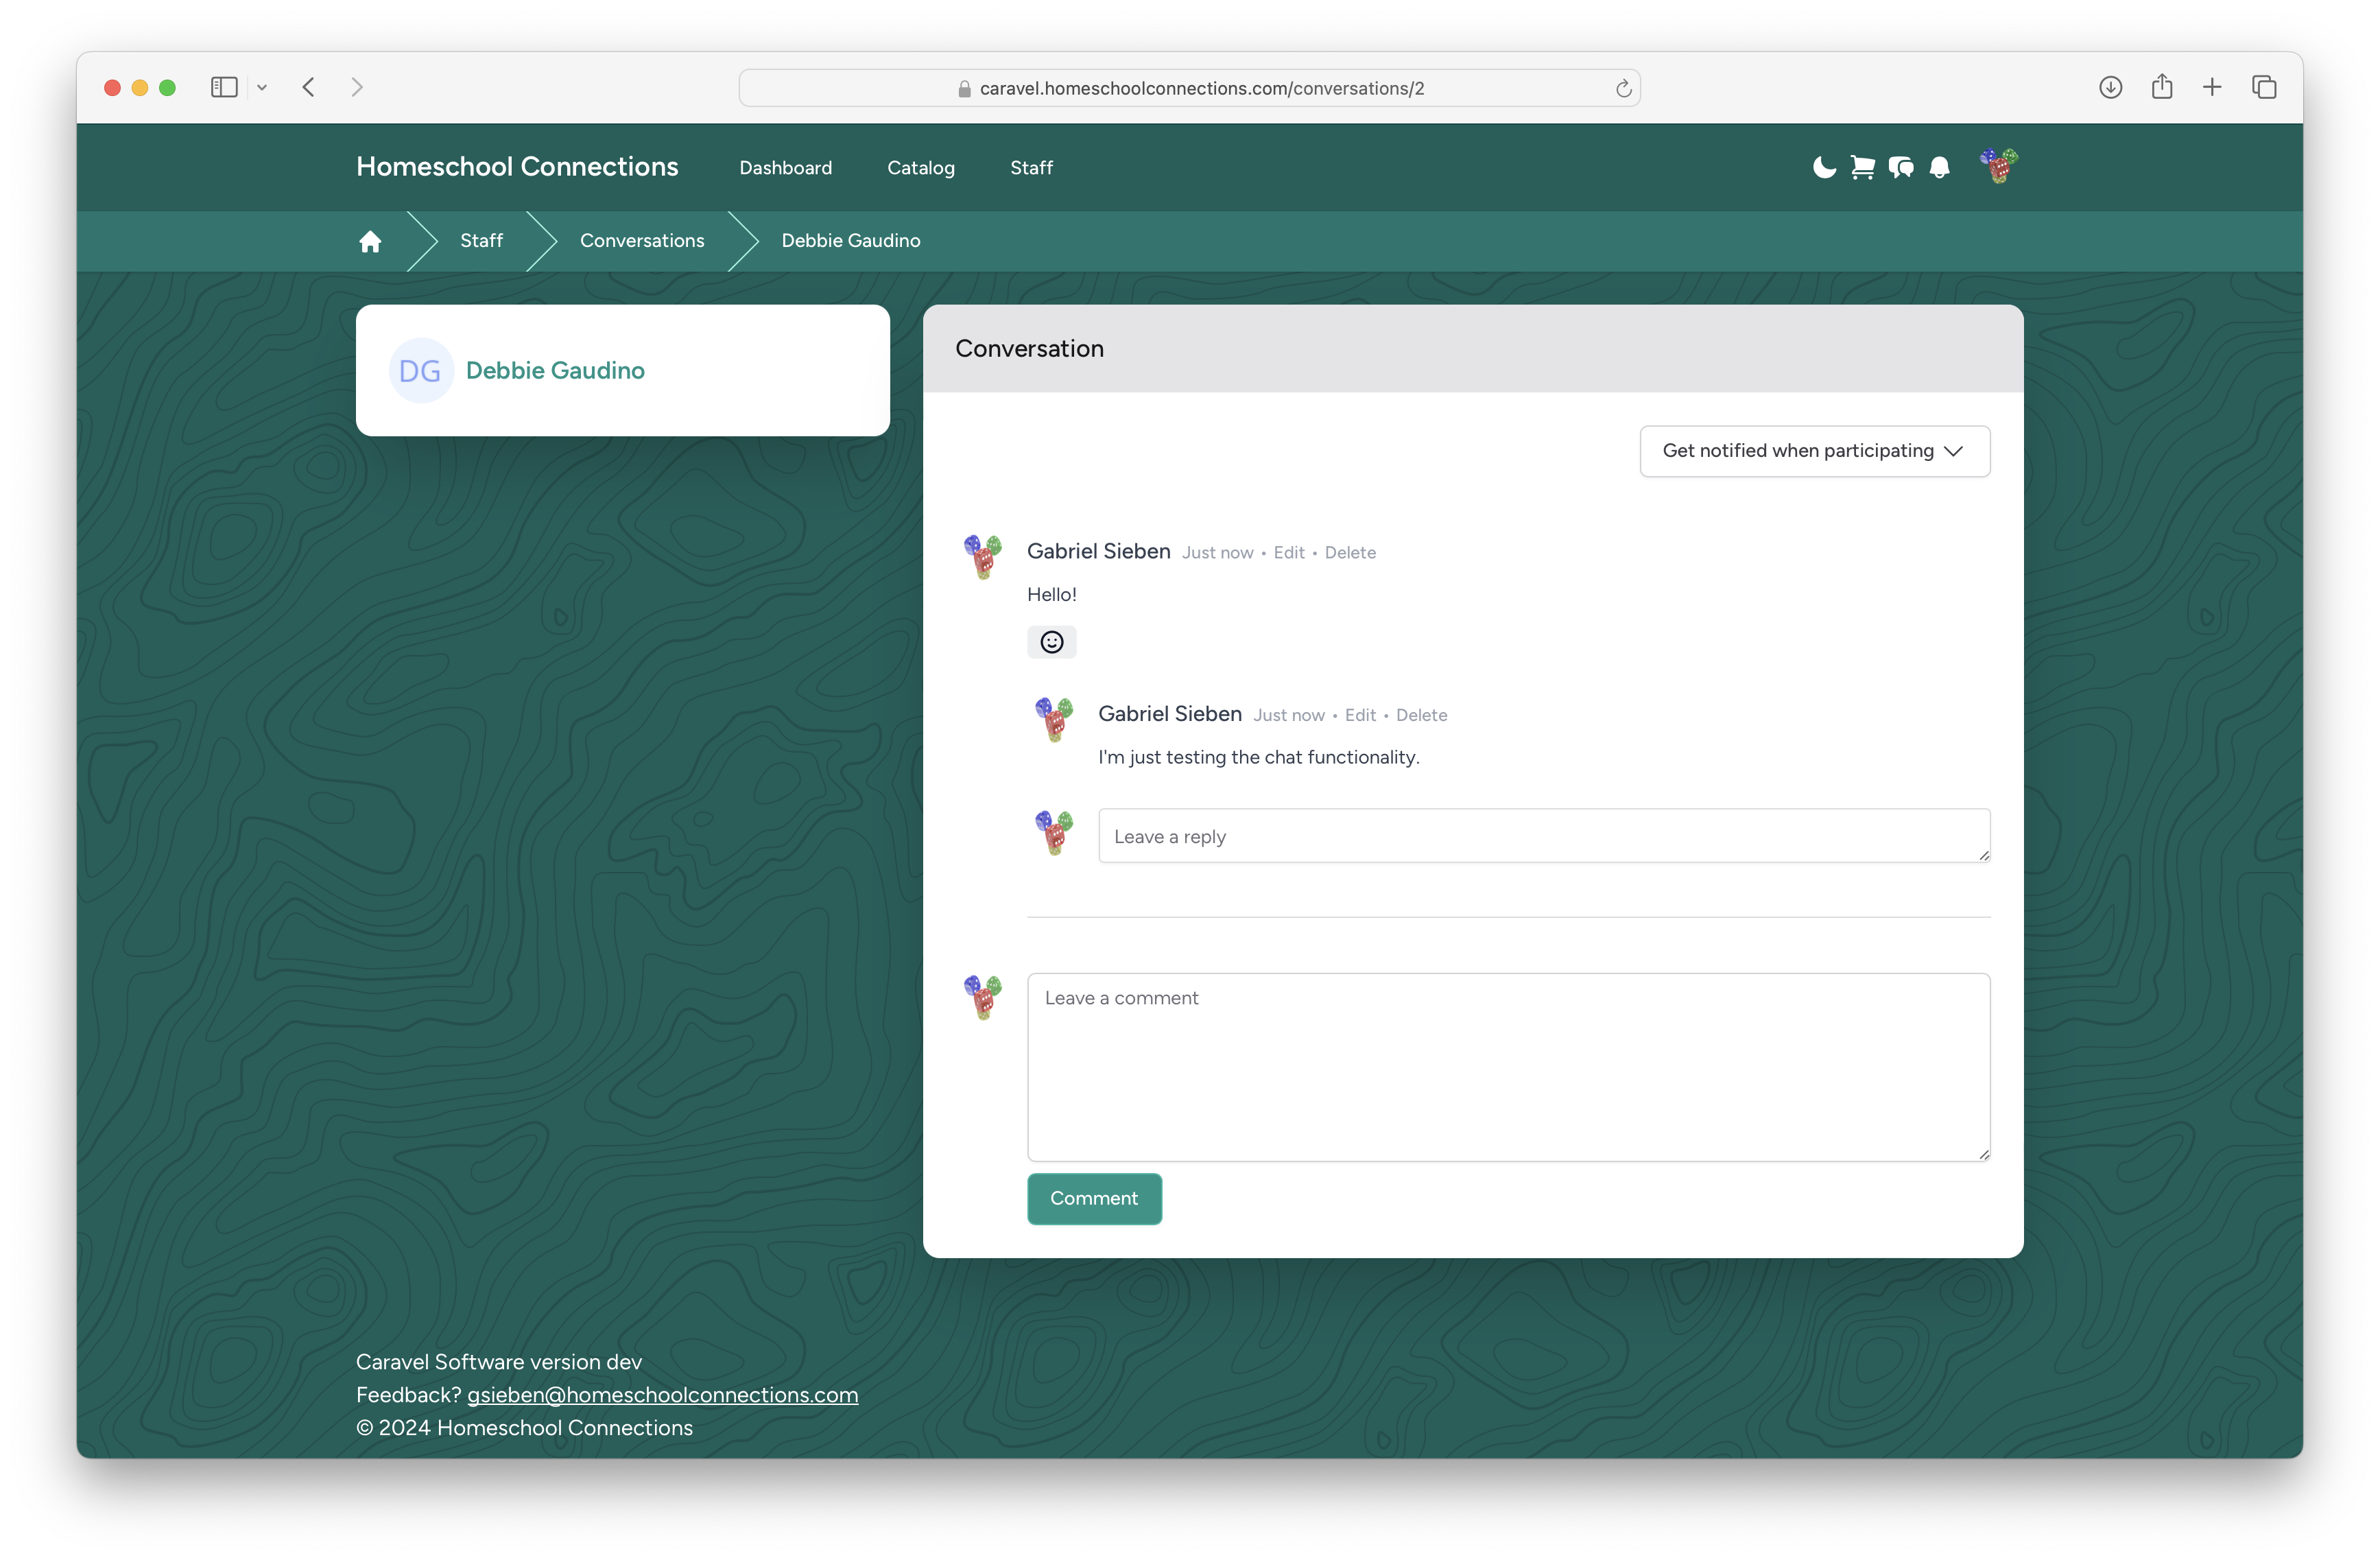
Chats are by-user, not by-conversation, so the same conversation window will be used for all communications. This may be revisited in the future, but for now, this makes controlling participation in the conversation ("Get notified when participating" in the upper right) easier.
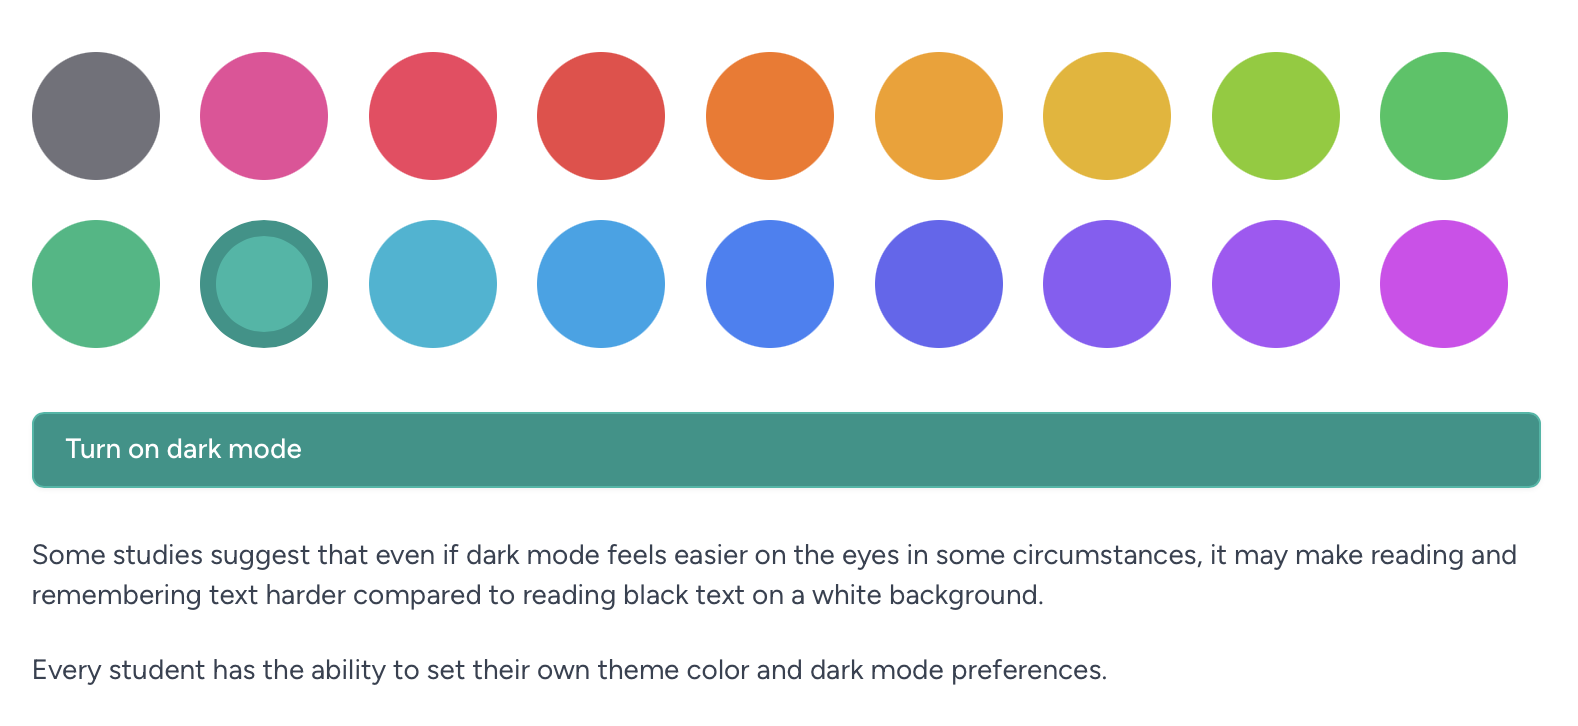
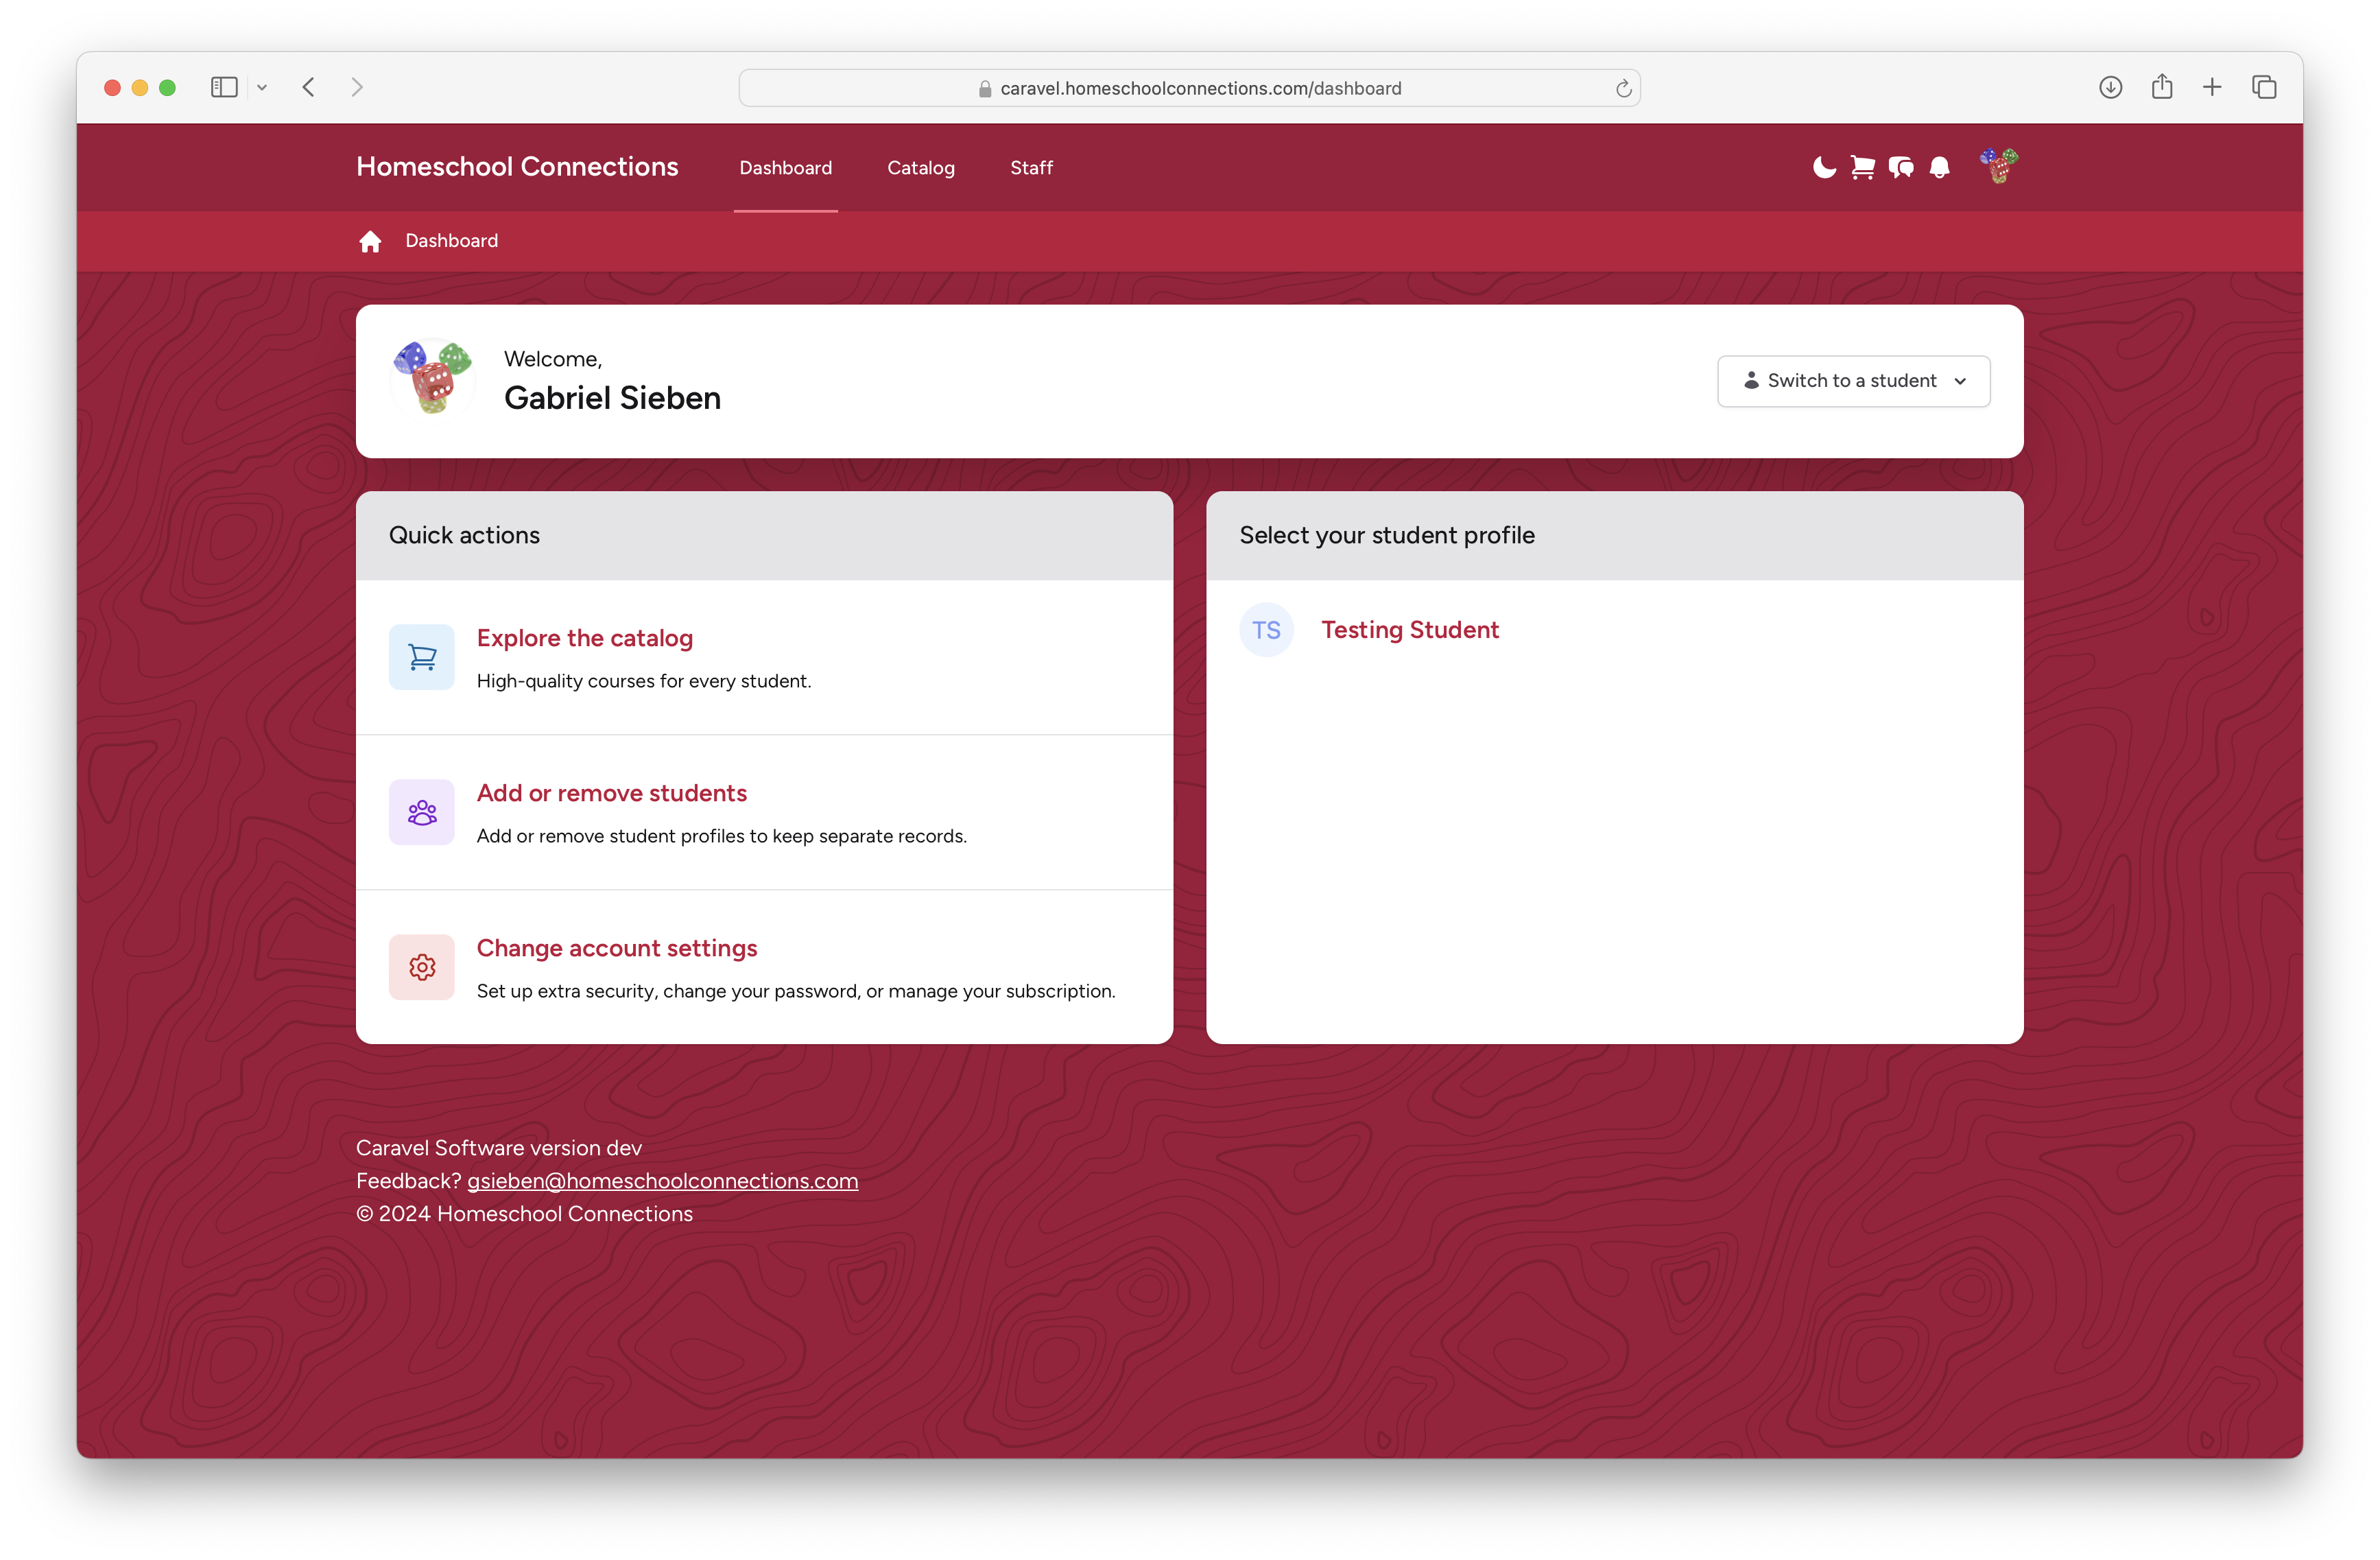
Dark Mode
The Moon / Sun icon in the navigation bar can be used to enable, or disable, Dark Mode.
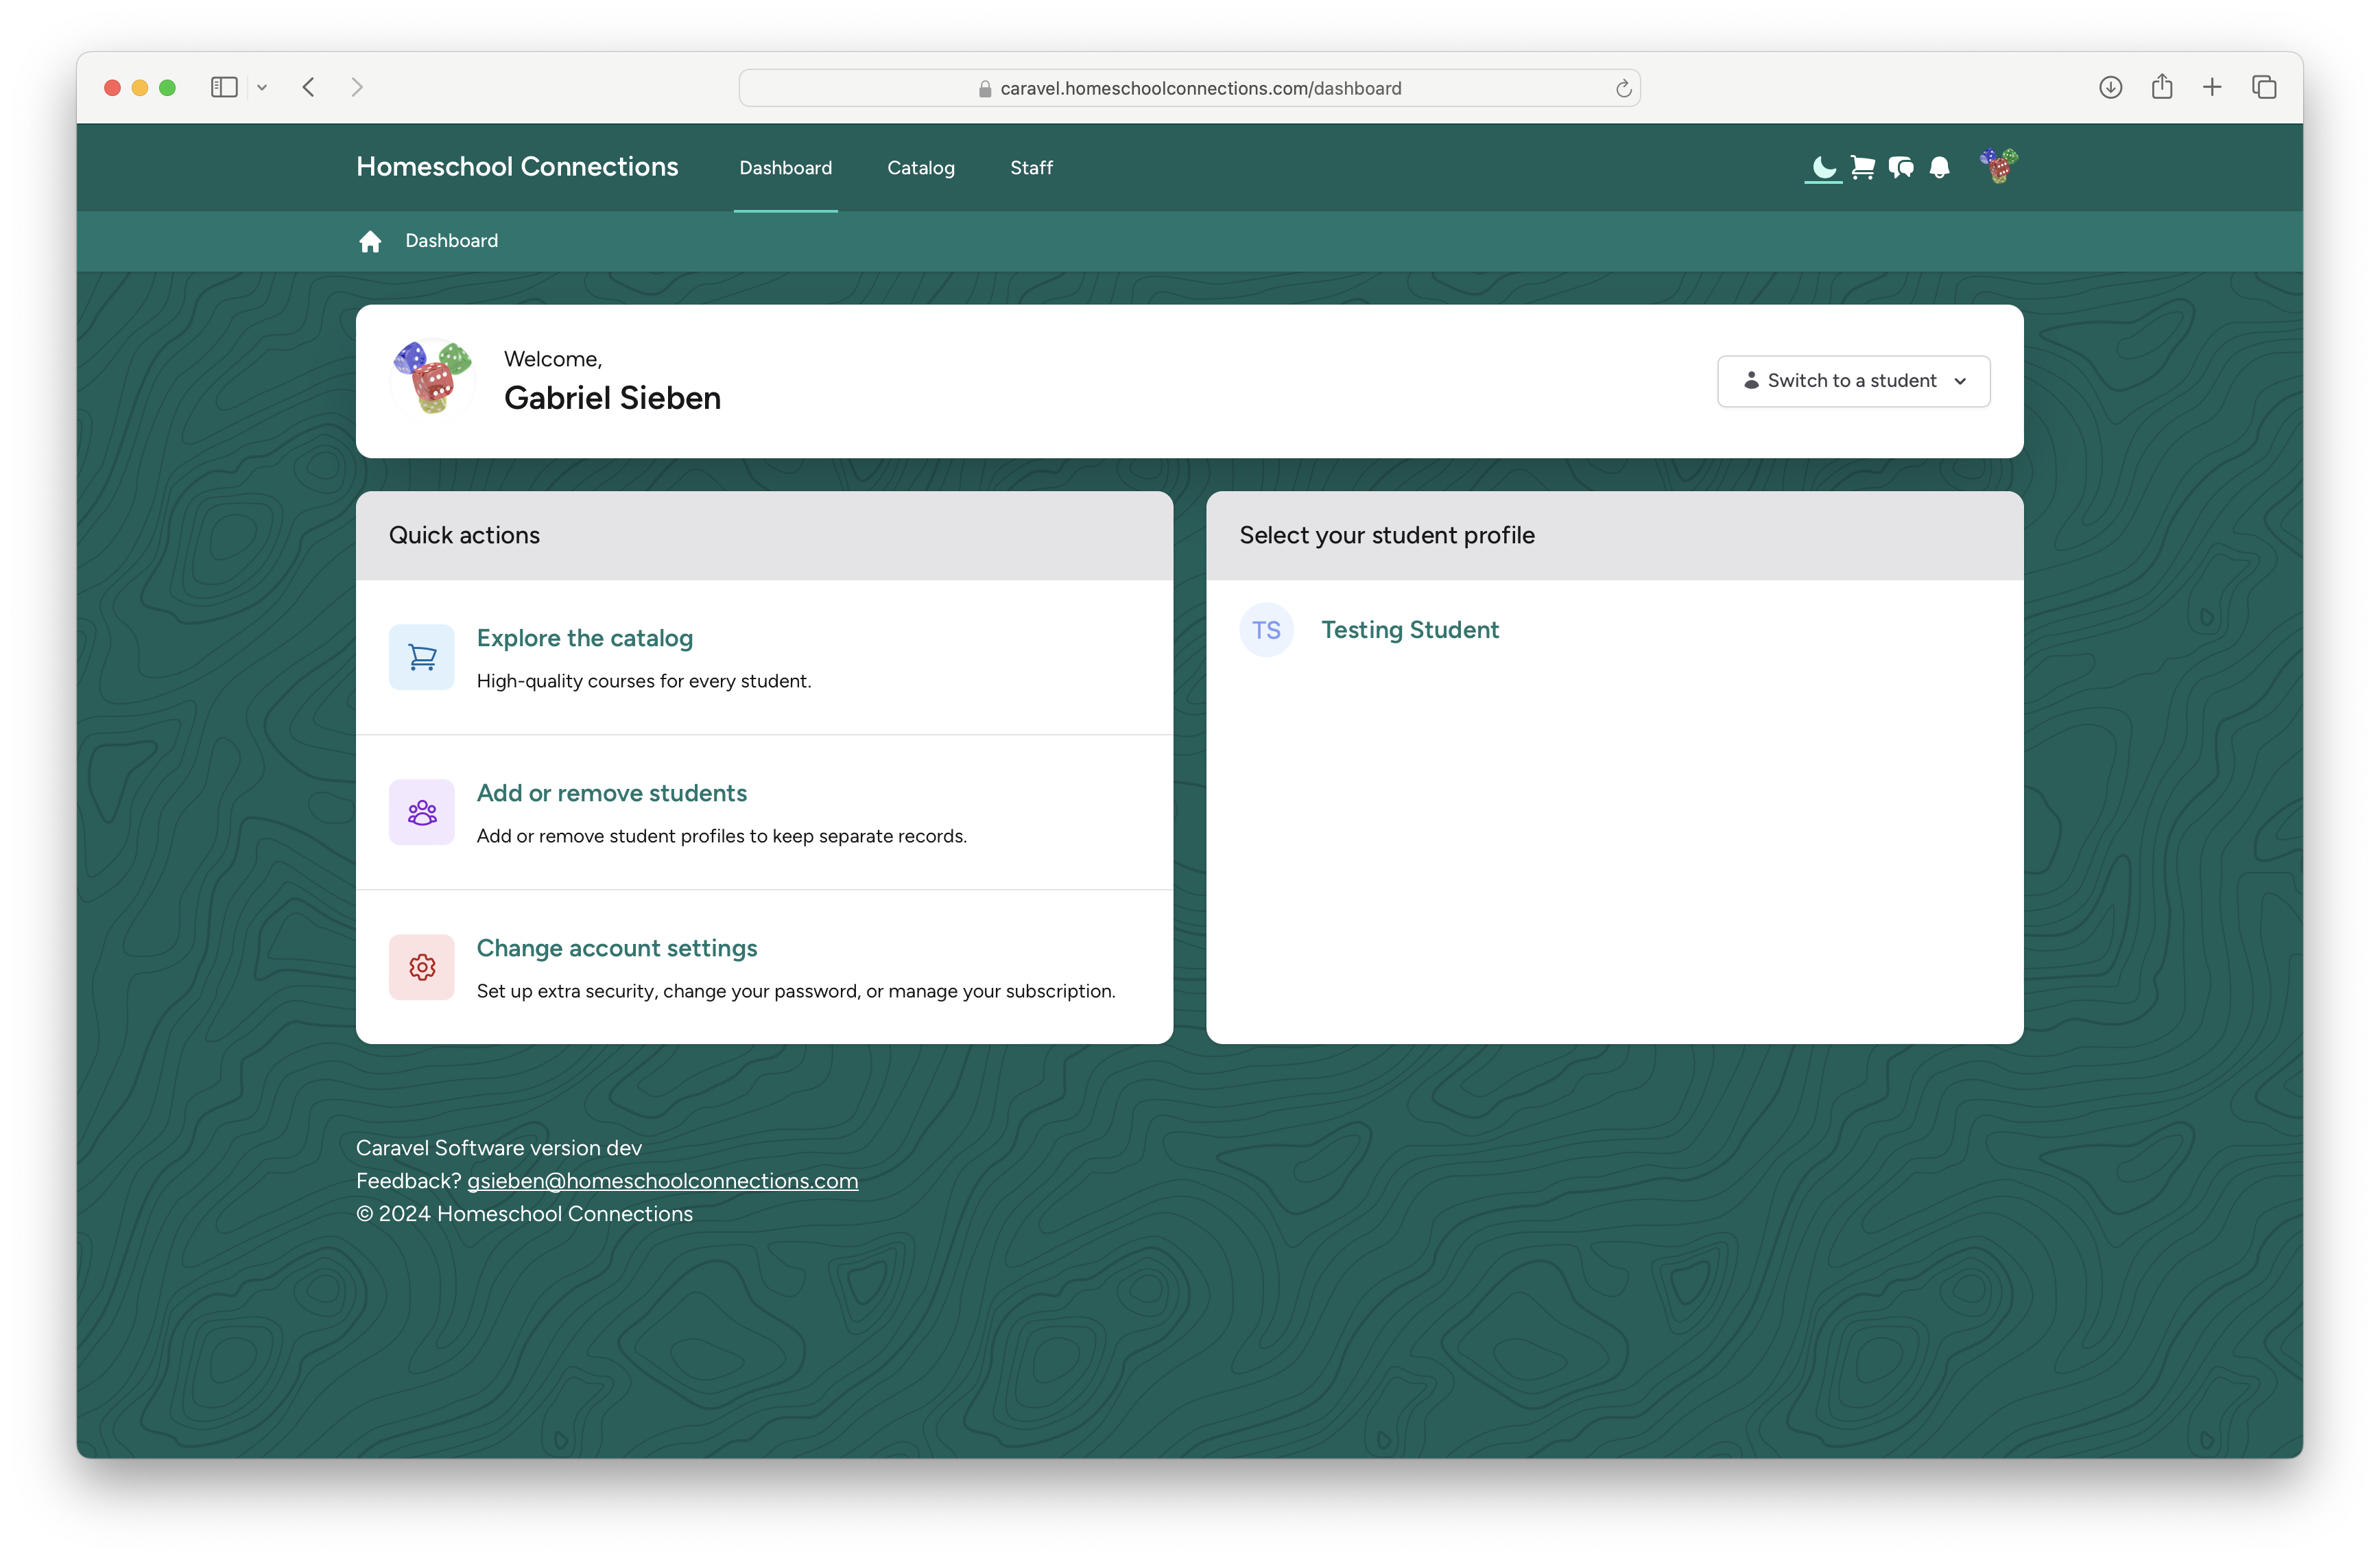
Dark Mode may, or may not, reduce eye strain in some situations. Dark Mode changes almost all colors within the system - even the background is subtly darker. Keep Dark Mode in mind when designing your classes and picking images.
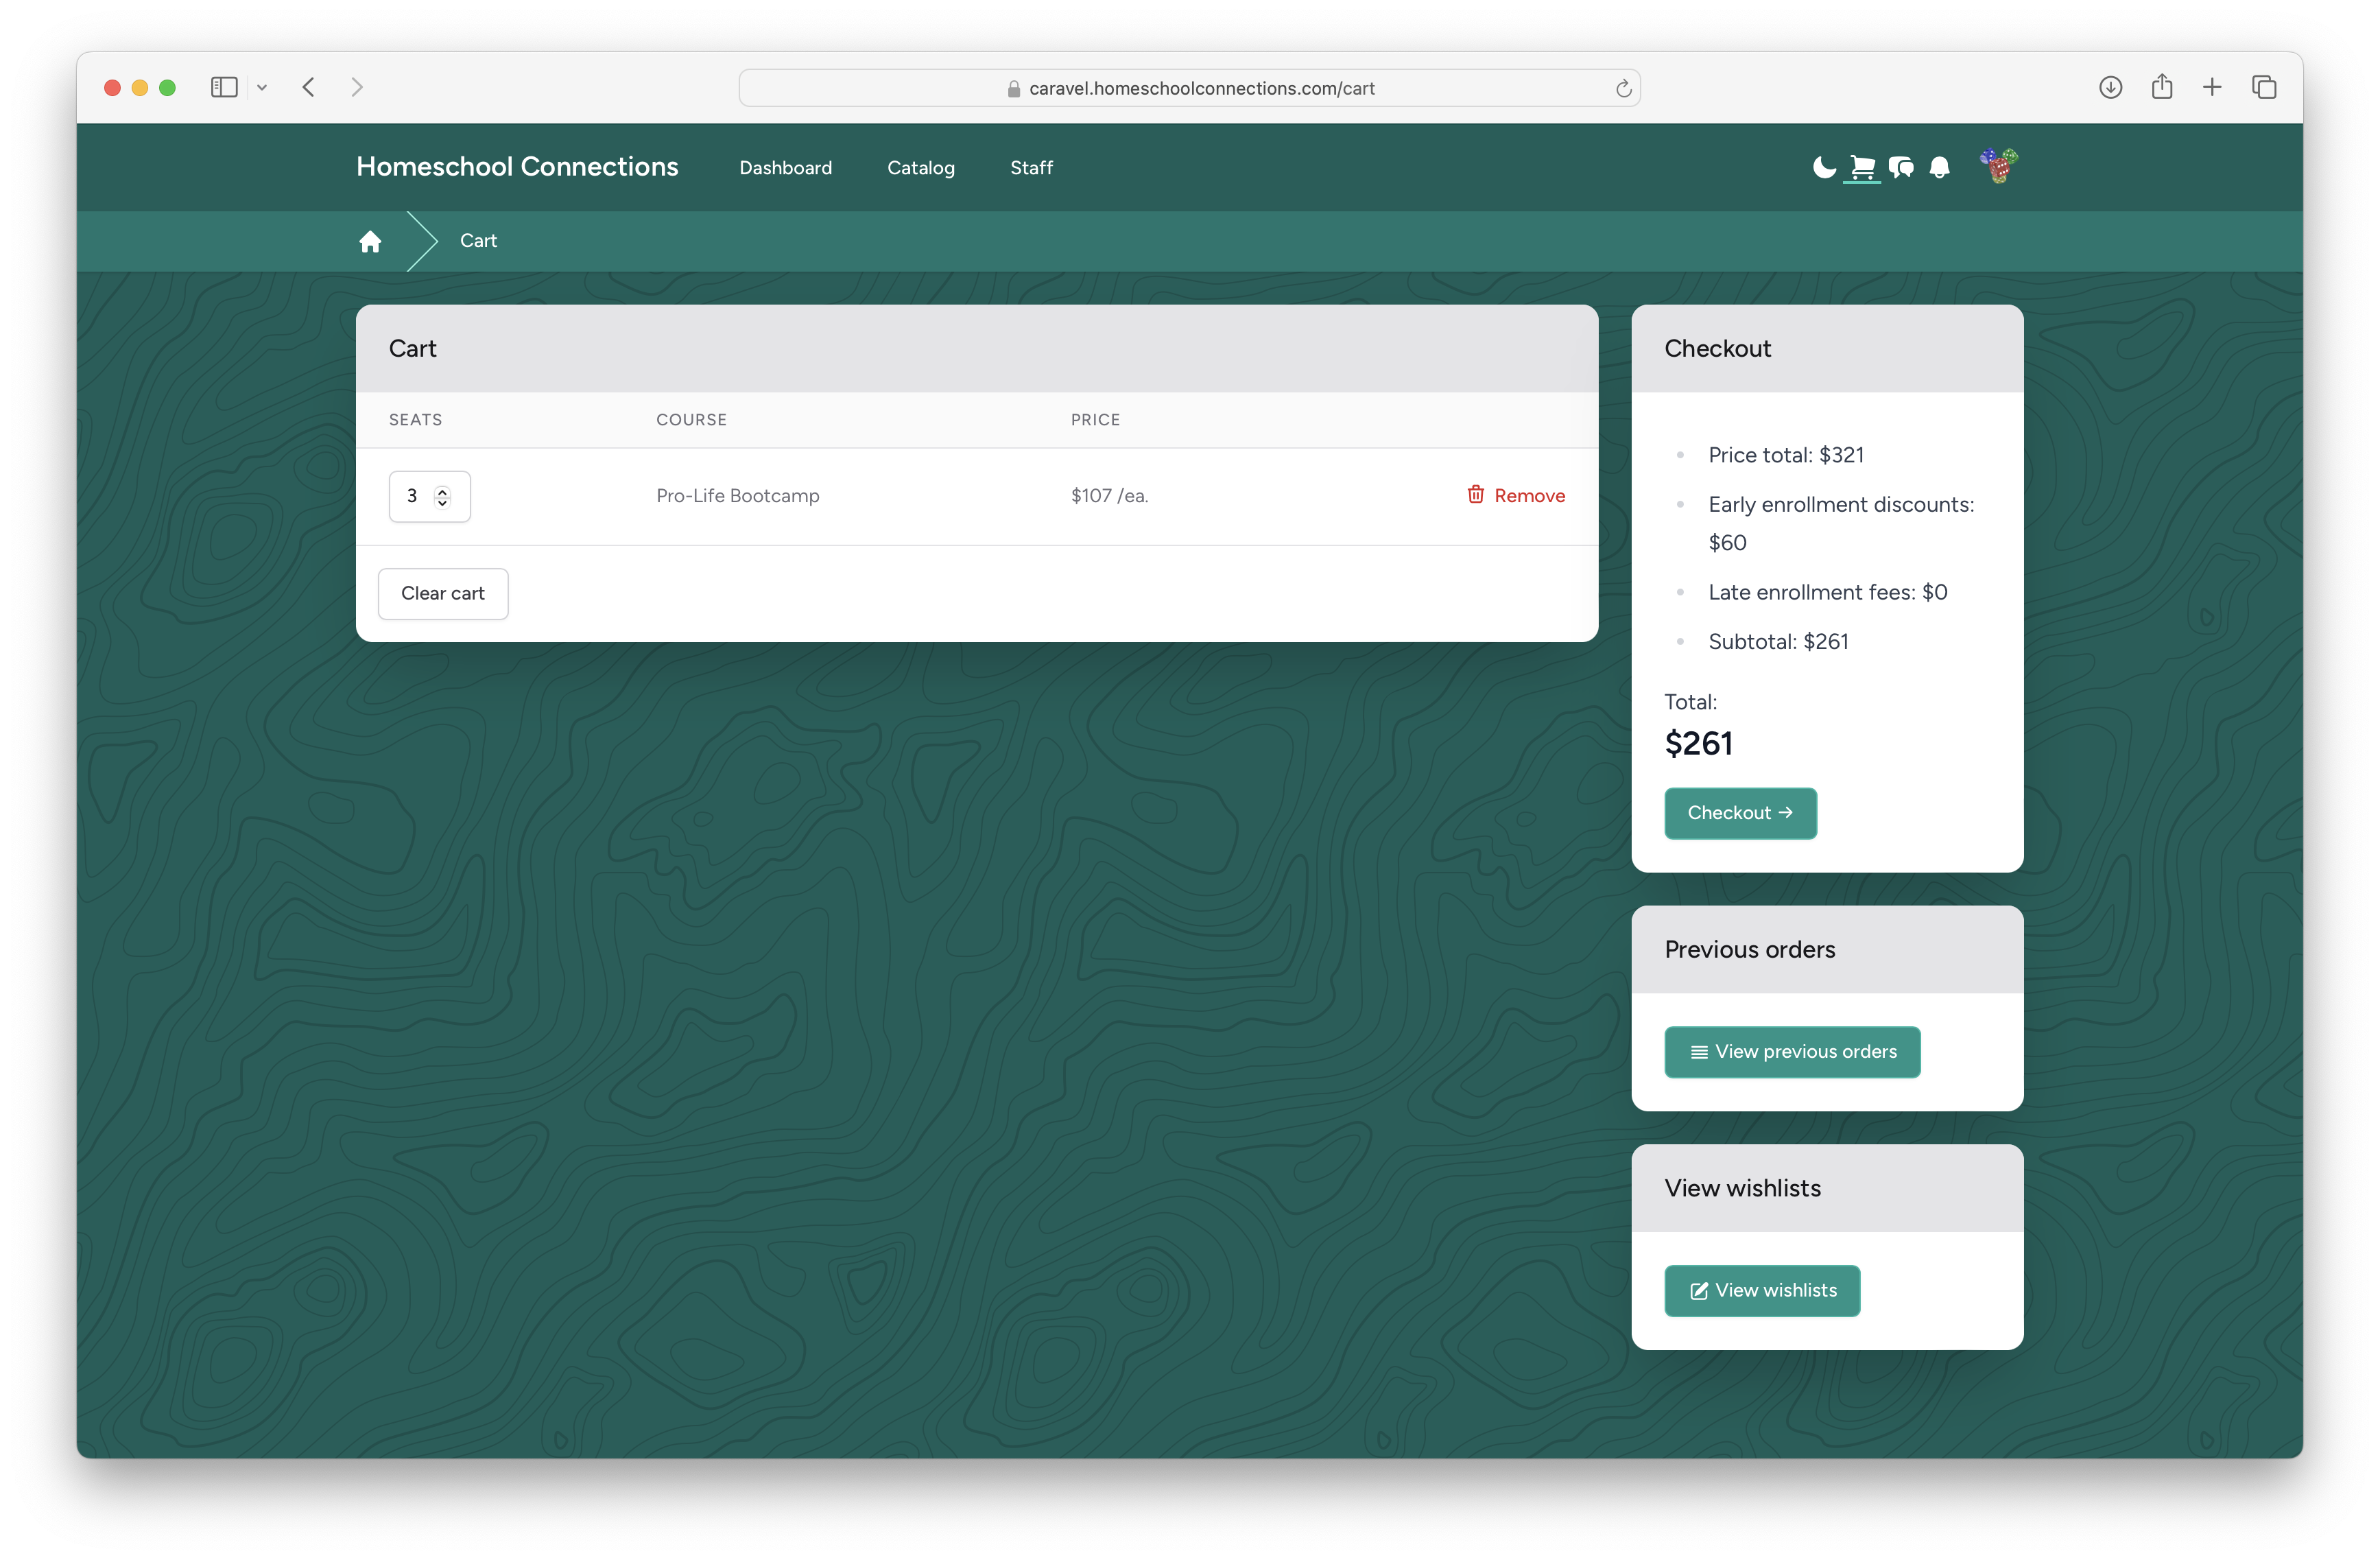
Cart
The Cart page shows courses that are available for purchase, in addition to discounts and penalties:
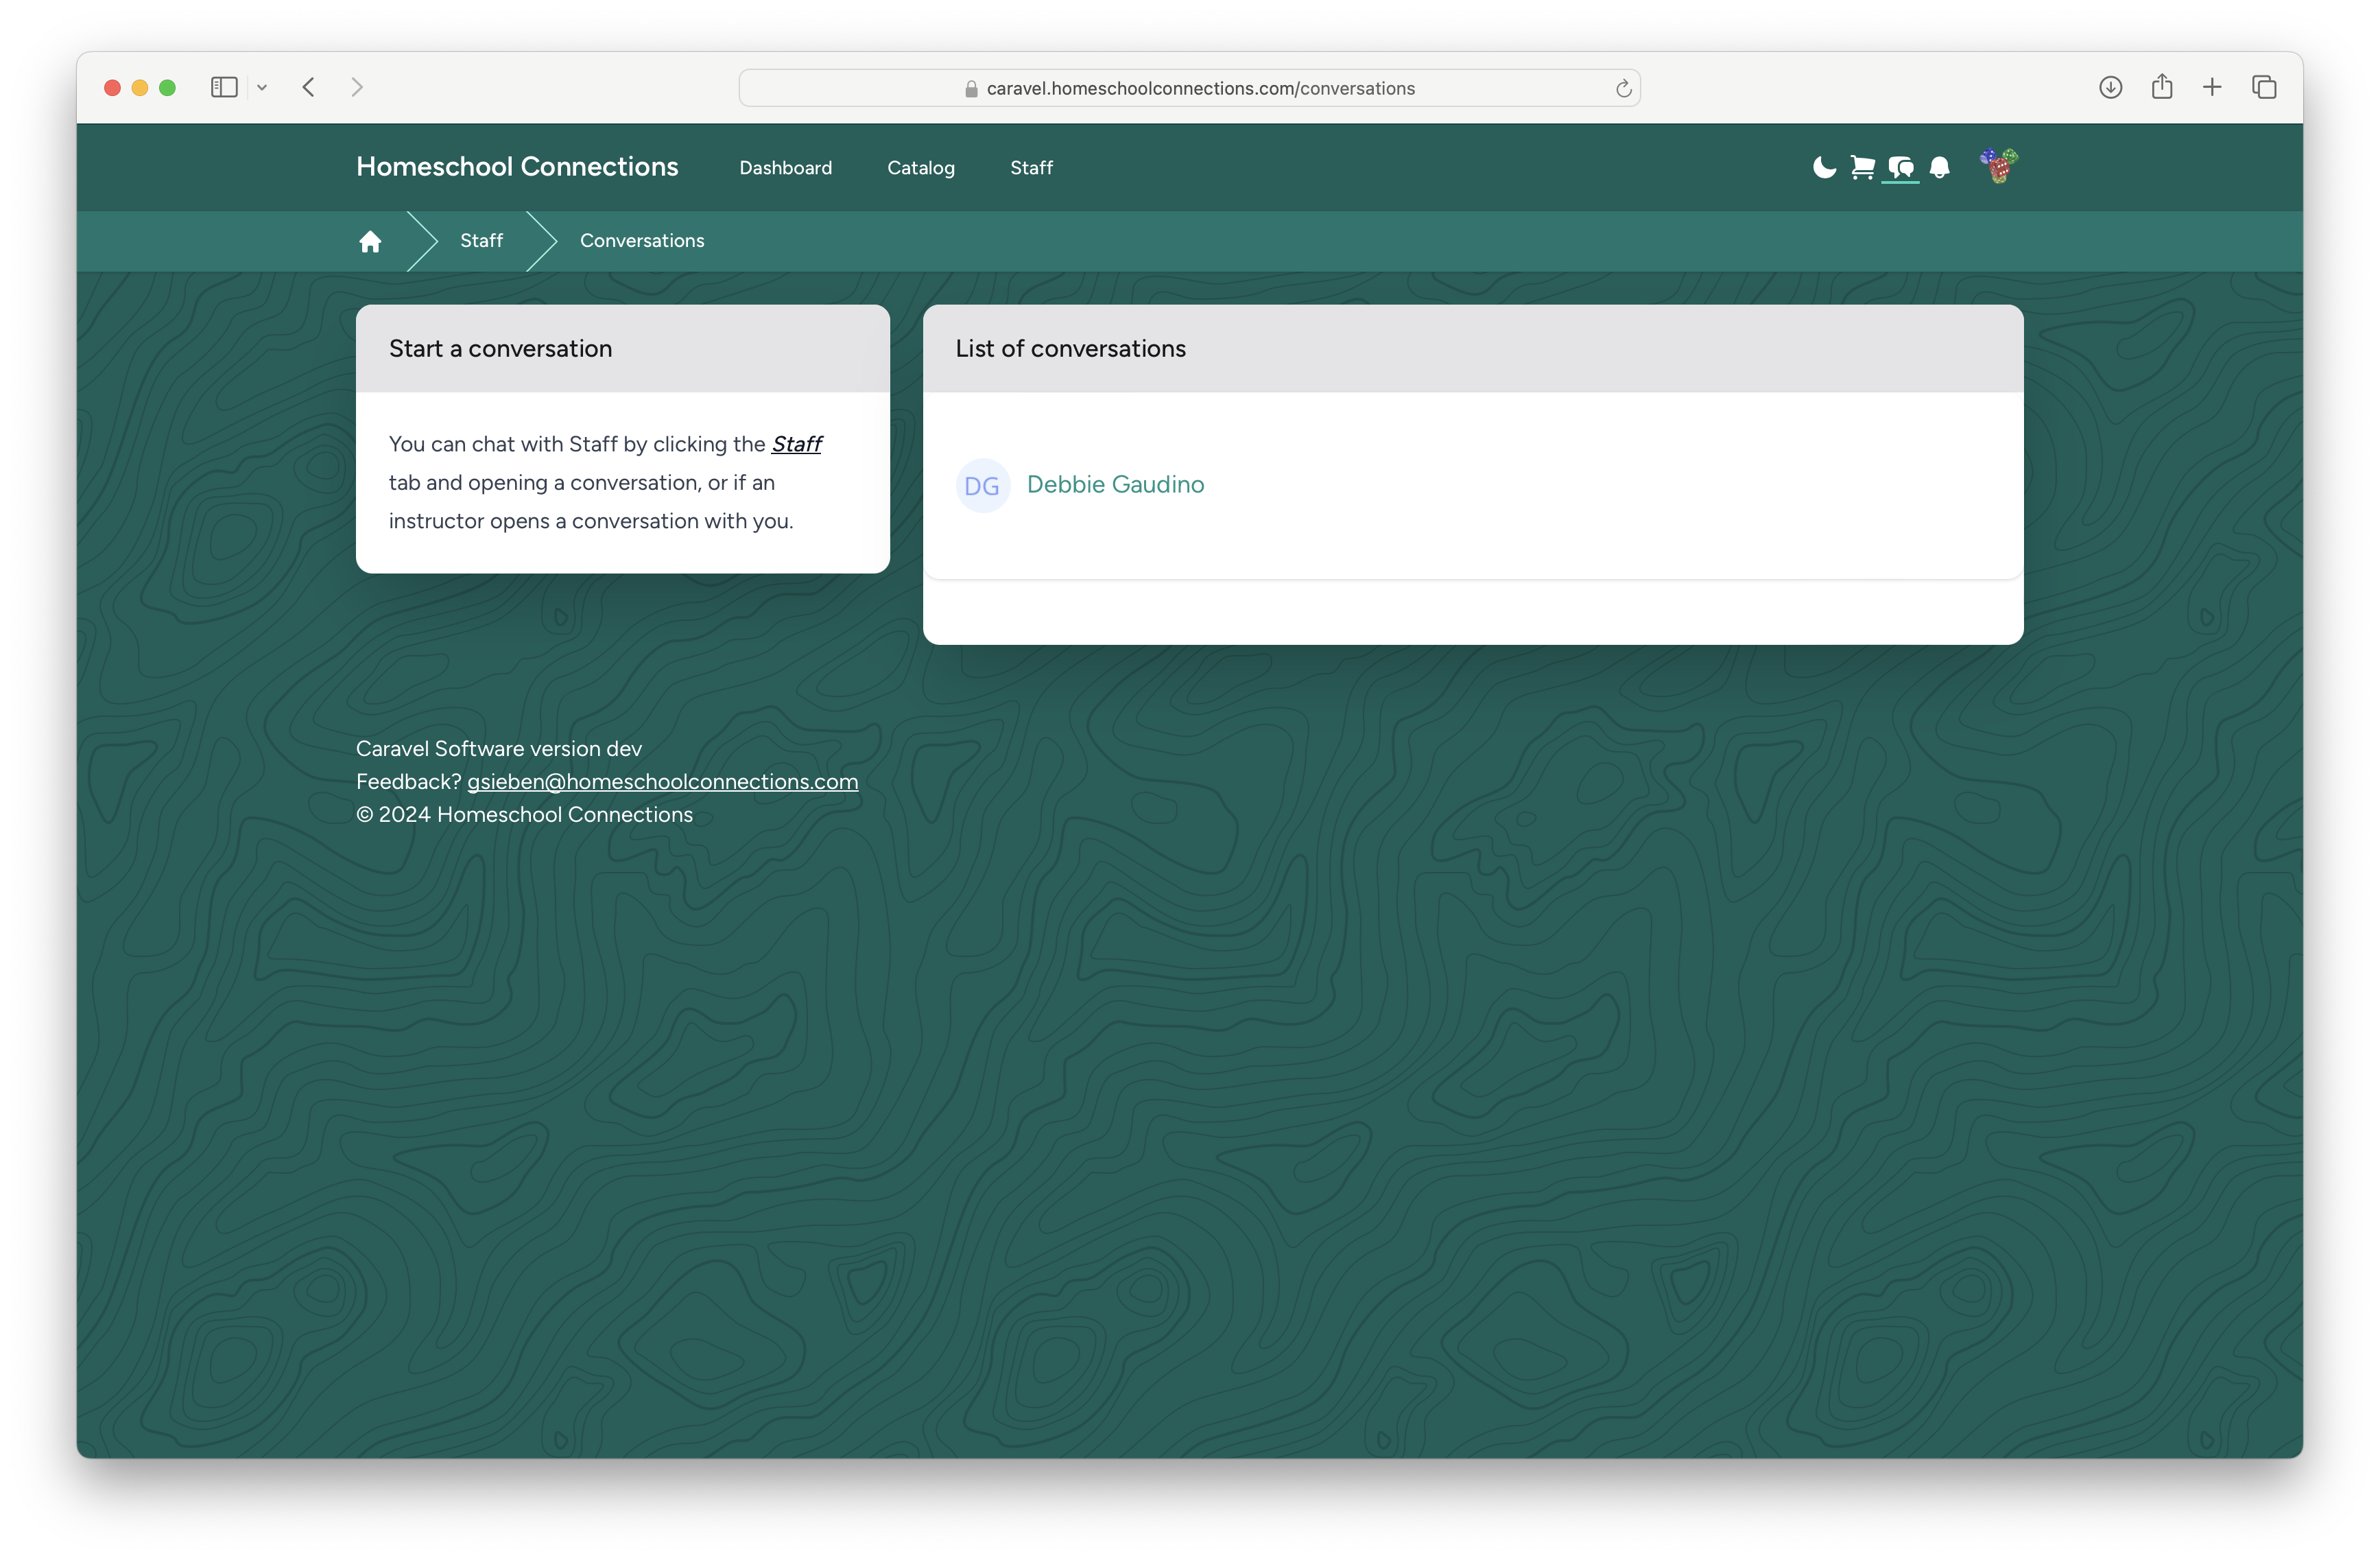
Conversations
The Conversations button shows messages you may have started with other staff members, or students, previously:
Account Settings
Theme
Caravel supports 18 different color schemes, in both light and dark mode.
Picking a color will change the entire user interface to match:
Feel free to experiment with what feels most comfortable to you. Be aware that Parent accounts cannot pick a color - only Admins, Teachers, and Students can.
Pattern
The background pattern can also be customized, or disabled.
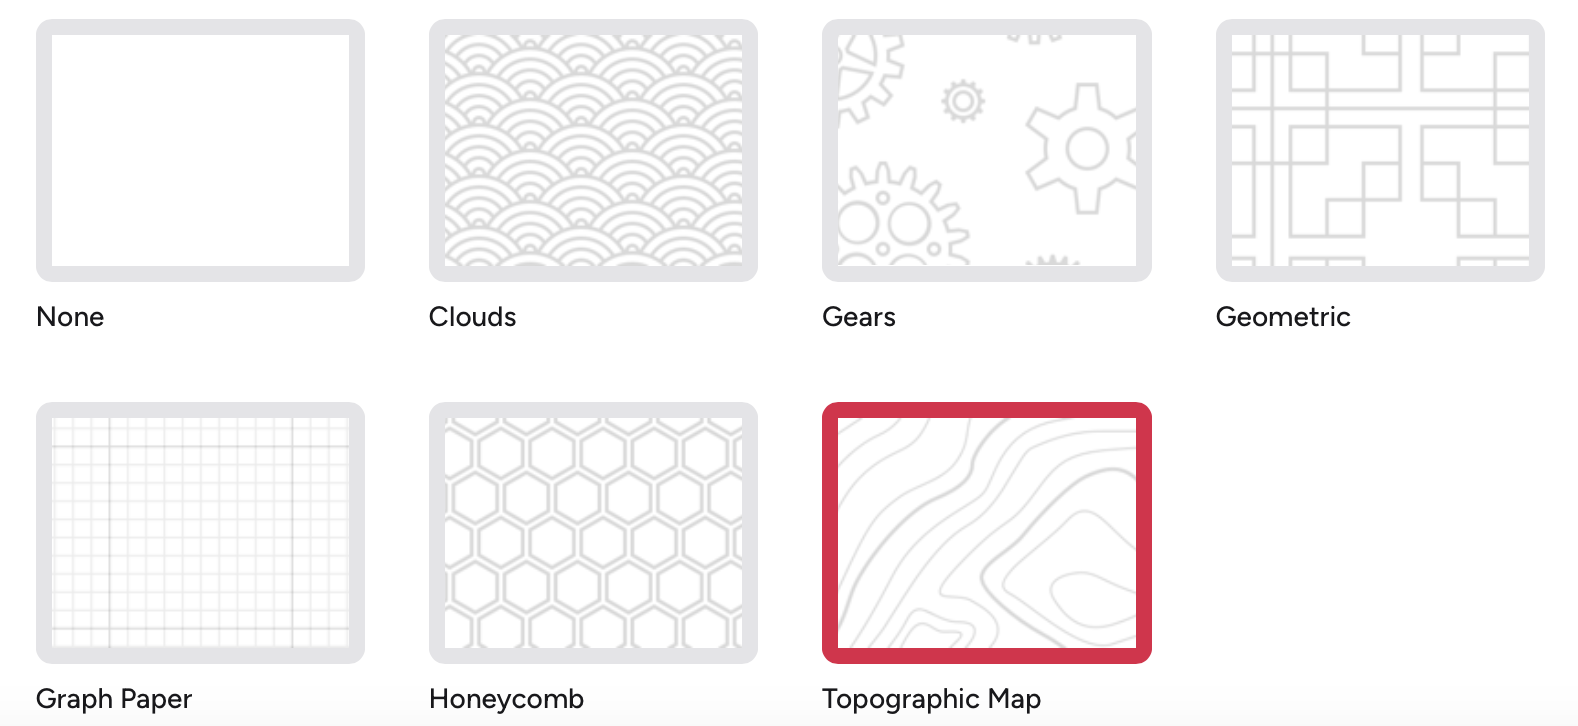
There are also the secret patterns: Patterns that are only available for one day of the year. If you manage to grab one, you can keep it until you choose a different pattern. There is at least one secret pattern per month; and all secret patterns are temporarily unlocked during the week after Christmas. Keep your eyes open. :)
Account Information
Most of this is self-explanatory, with a few notes:
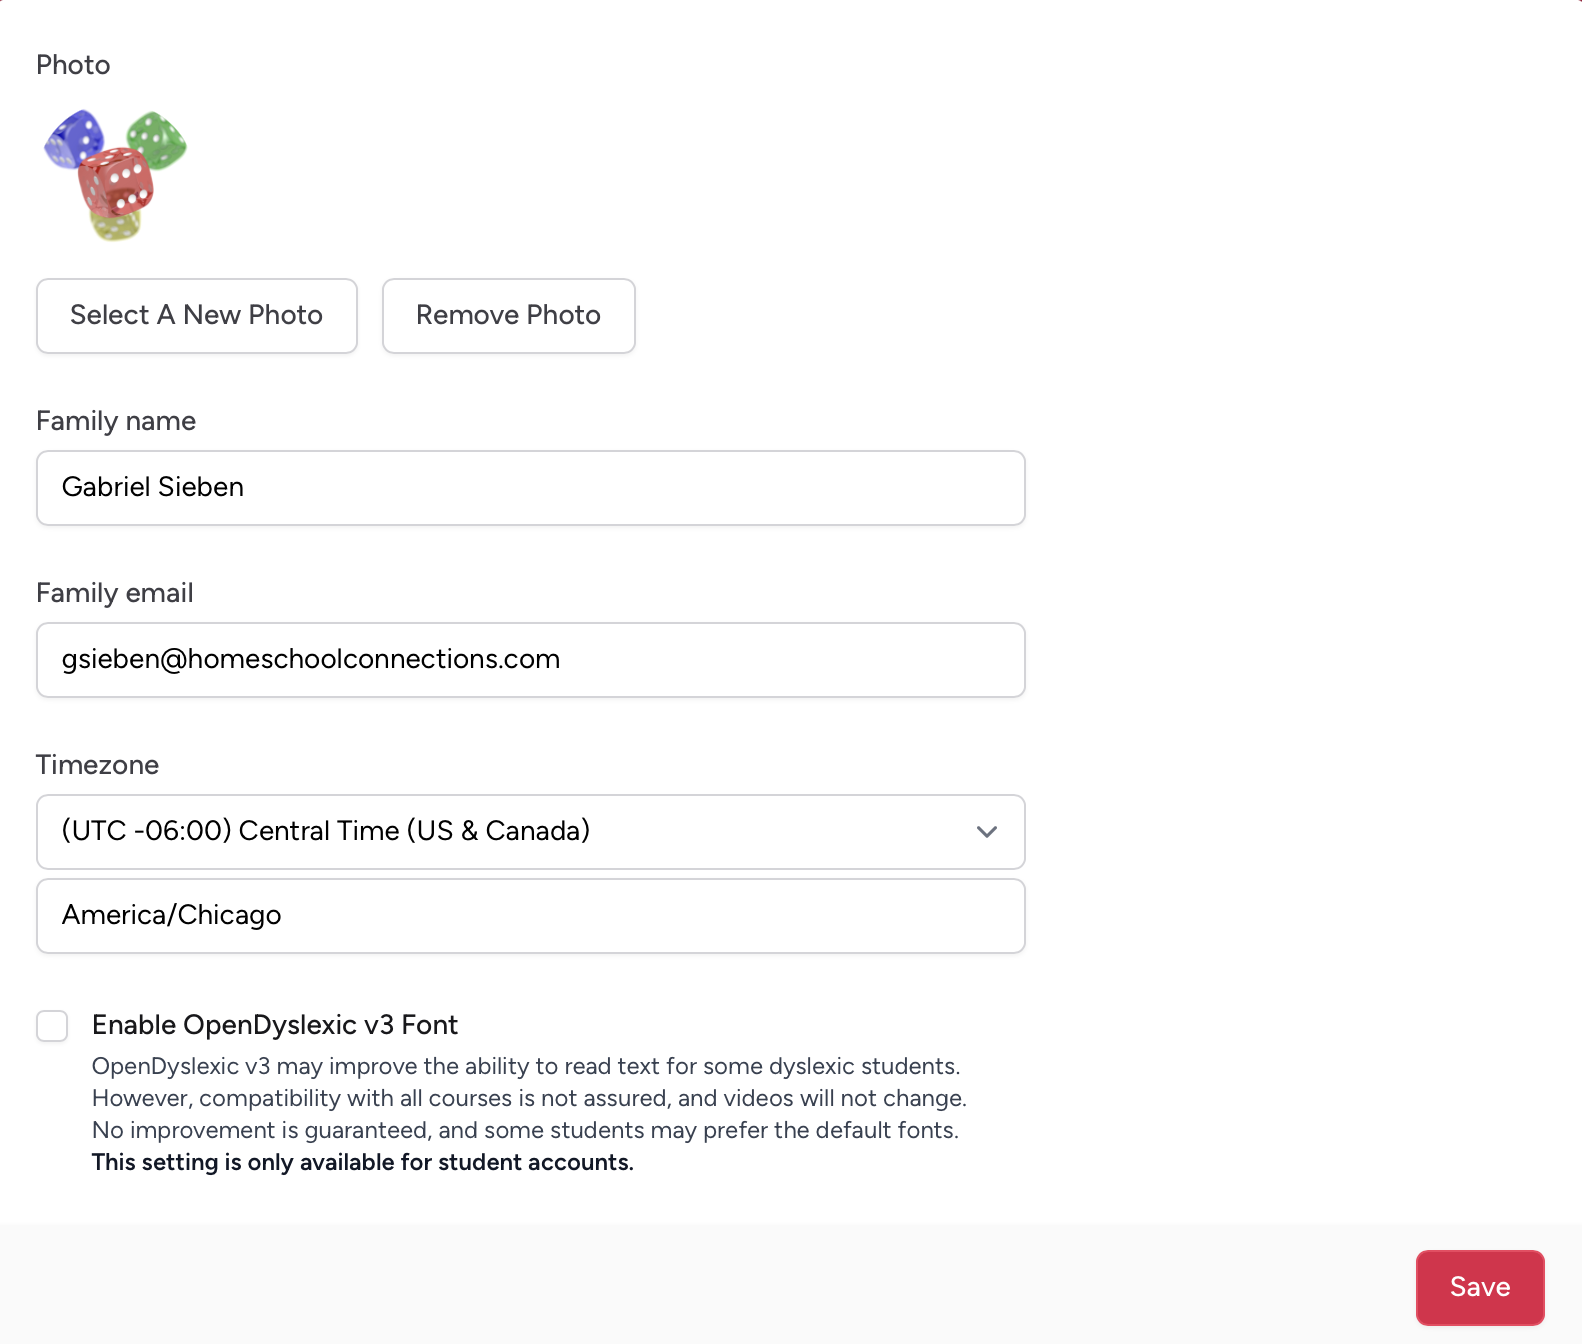
- Timezone: All dates, and times, are shifted to this timezone. If you, as a teacher, have your timezone set to Eastern Time and set an assignment to be Due at 12PM, that will be 11 AM for a student with their time zone set to Central Time.
- OpenDyslexic v3 Font: Another customization option that enables a large, customized font that some students with dyslexia may prefer. Science is currently not certain why the fonts help some and not others, or whether the font itself is as important as the font size, etc. We do have the option for students that try it and prefer it.
Update Password
We'll skip over this, it just lets you change your password.
Two Factor Authentication
See the page earlier on Two Factor Authentication for more information.
Passkeys
Passkeys are a substitute for passwords, that allow logging in without a username, password, or 2FA device present. Passkeys are currently experimental. You can try to use "Create Passkey," but you're on your own as the experience varies from device-to-device, and browser-to-browser. On Chrome, on most modern Windows devices, this feature will let you sign in with just your Windows PIN. We'll have further documentation on this soon, but in the meantime, use at your own risk (which is no risk - you can still sign in the old way).
Students, Browser Sessions, Subscription
- Students is a quick link to the Manage Students page.
- Browser Sessions lets you log out of all devices, in case a device is lost or stolen. A password is required.
- Subscriptions is a quick link to the Manage Subscription page.
2. Your Course
3. Course Elements
Common Fields
The following information is on almost every element block, and will be defined here:
- Name: The name of the item. This is visible to students.
- Editor: You can use either a standard, HTML-based editor, or you can use Markdown. Markdown is an amazing format, but it's not for everyone.
- Summary: This "Summary" text is always visible on the course page, so we recommend keeping it to around a paragraph in size.
- Groups: If selected, only the Groups attached will be able to view this block.
- Style: This allows you to set the block's header color.
- Visible: Can any students see this block?
For more information on Style, click the "Tools" tab on the course page. There you will see examples of all available header colors.
3D object
The 3D Object block lets you put high-resolution, beautiful 3D Objects into your course, which can then be viewed by students.
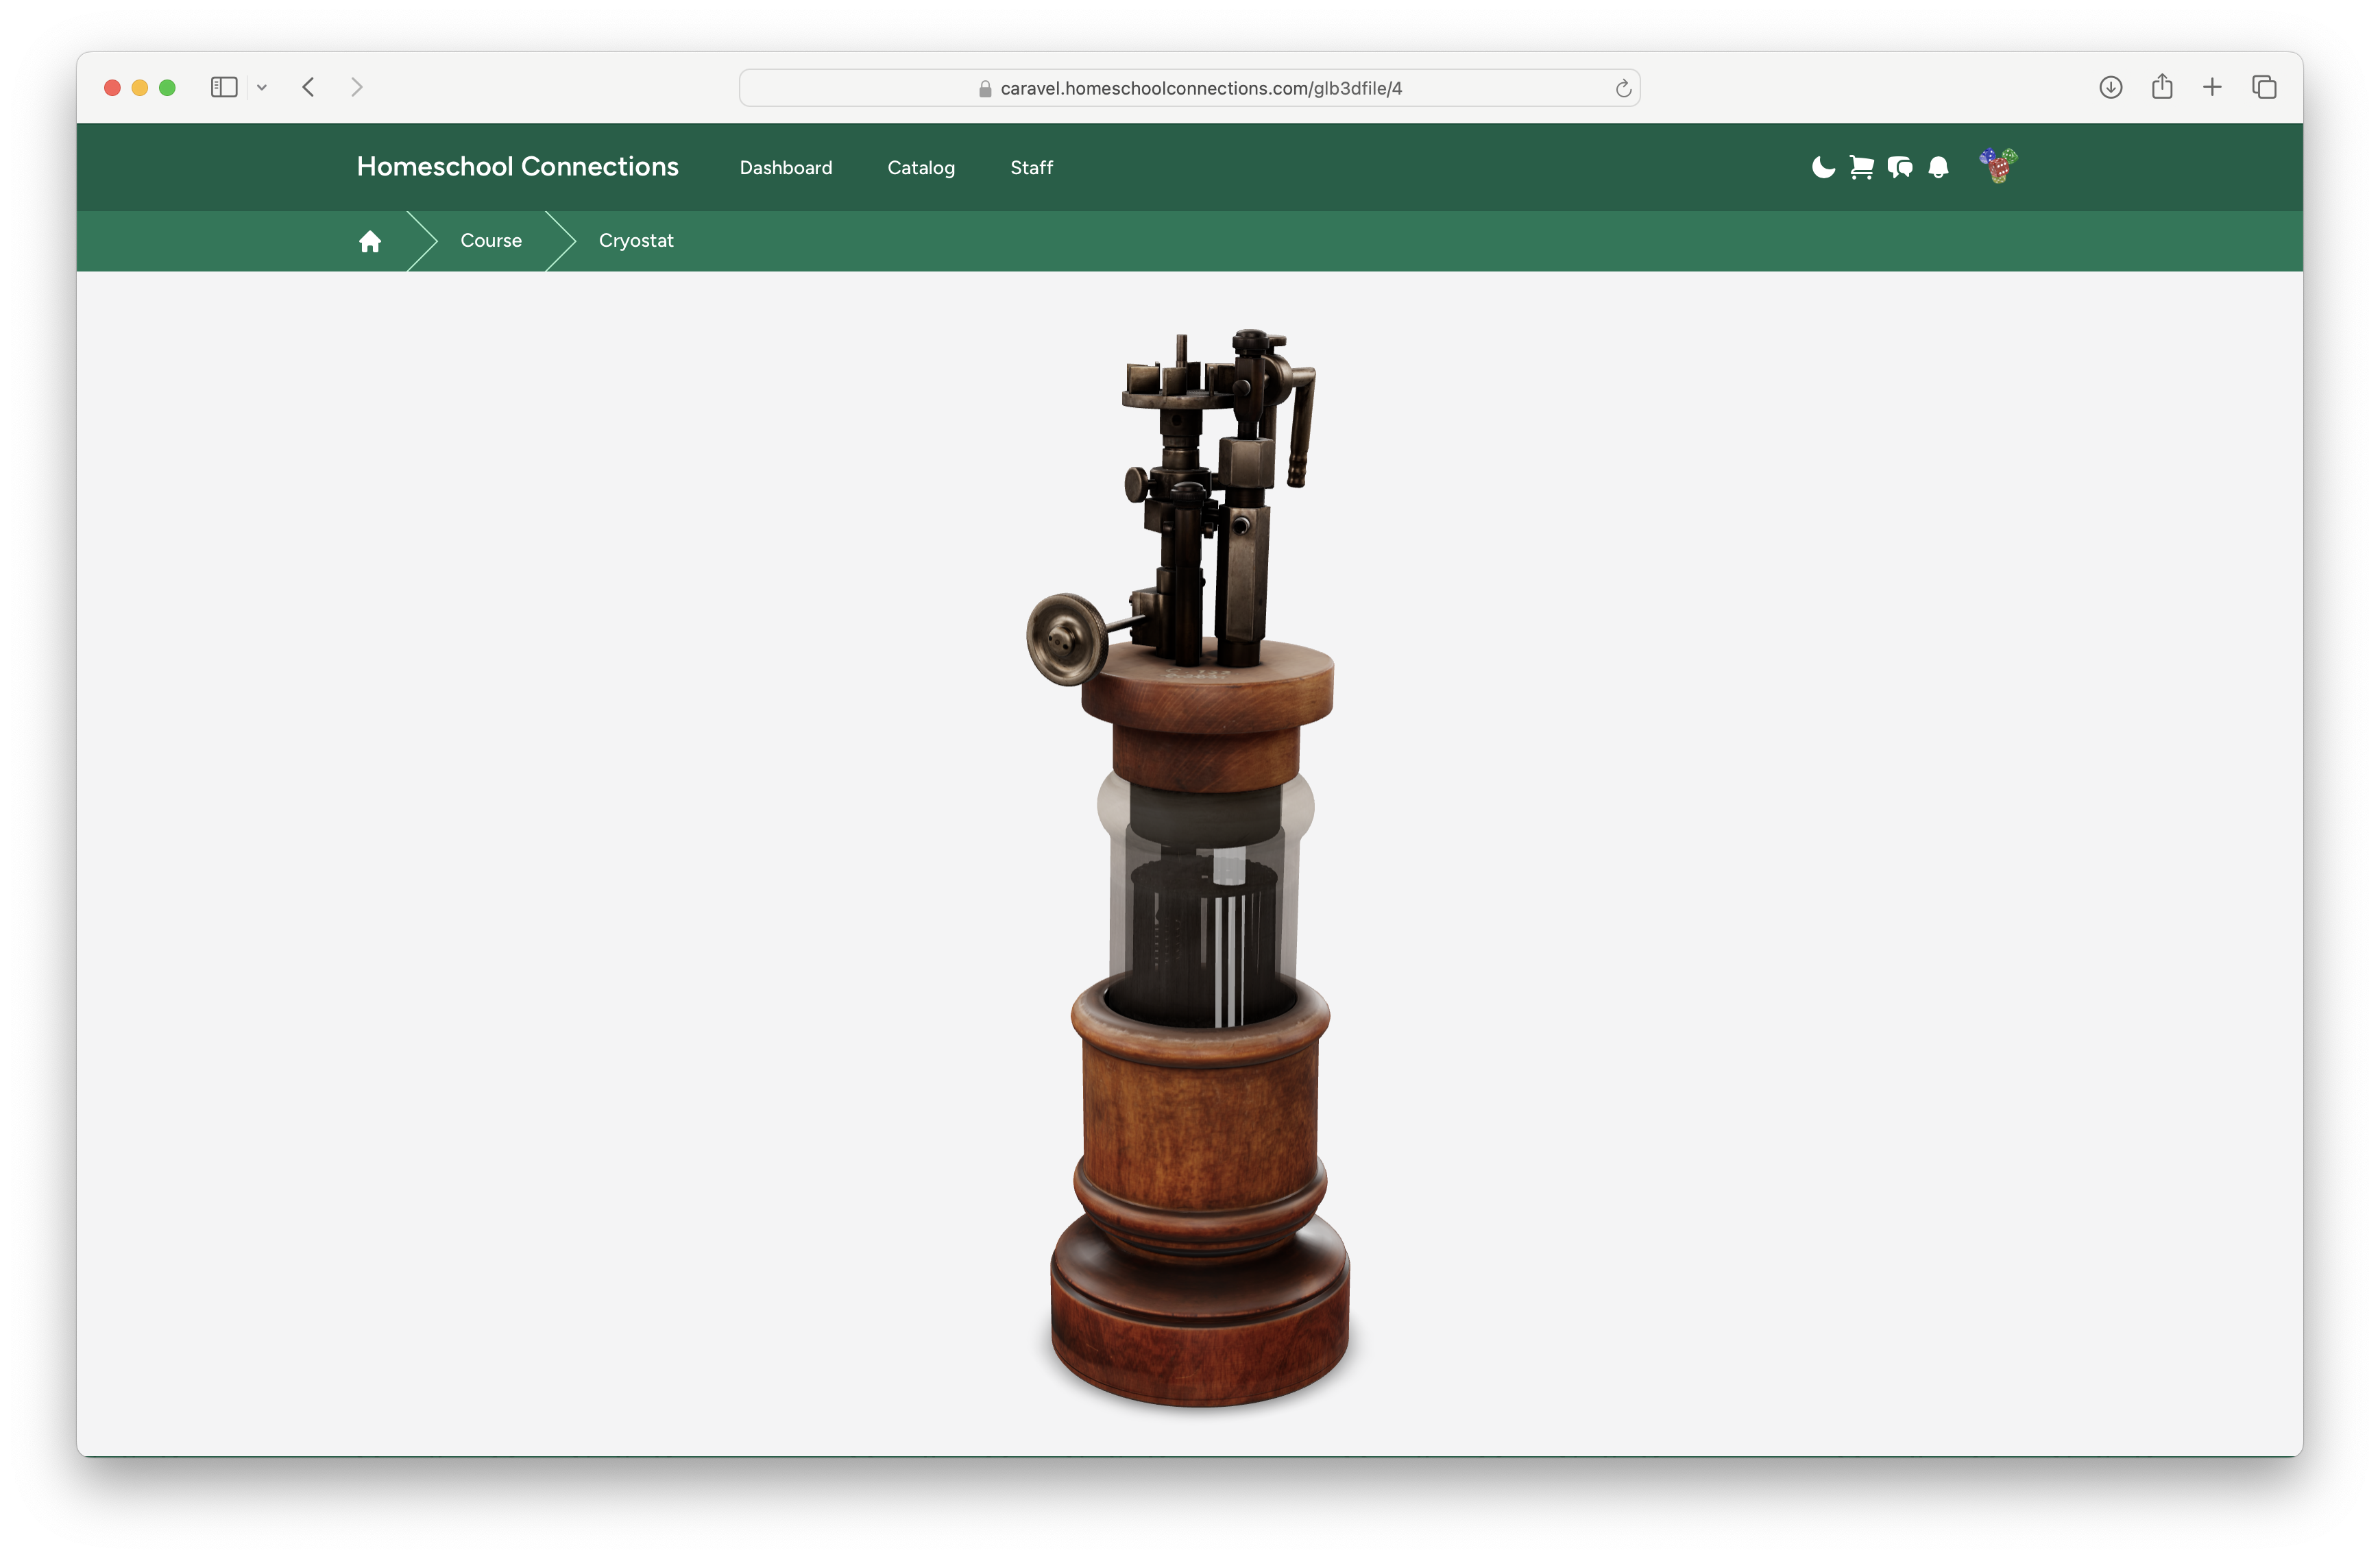
It has one field: File, where you upload the 3D model of your choice. This comes with several strict requirements:
- File type: Must be "GLB." (glTF Binary). GLTF (non-Binary), USDZ, STL, DAE, etc. are not supported, and will likely never be supported.
- File size: Must be 32MB or smaller.
You can find GLB files from several places.
- Many 3D software packages have the ability to export GLB.
- Sketchfab is a fantastic website for finding 3D Models, and they all have GLB download options:

- The Virtual Museums of Małopolska, in particular, is a fantastic Sketchfab account with a wide variety of common objects, with very reasonable attribution requirements.

As for why other 3D File Formats will not be supported and must be uploaded as "File Download" items:
- Parametric 3D files (i.e. from SolidWorks or Alibre) aren't meshes, but must be interpreted. Even in professional 3D applications, this is so complicated, they often outsource this code.
- Other formats, like STL, have no shading, lighting, or texture information within them. The result is a perfectly solid-white object with no discernable edges.
- glTF (GLB's parent group) is an interesting format, but it's split across multiple files, all of which must be present for the glTF to render correctly. GLB is a compressed glTF with all of the files in one large file.
Assignment
The Assignment block lets students upload files for review and grading.
When creating this block, you have several unique fields:
- Due: Items cannot be uploaded past this date without either being blocked, or being flagged as late.
- Put in Gradebook: If this is left unchecked, the assignment will not be graded. This can be useful for collecting optional information, such as a survey.
- Show Due Time: Due is only enforced if students can see when an assignment is due.
- Allow Late Submissions: If checked, students can upload past-due items, but they will be flagged.
After opening the block, you will see a window that looks something like this:
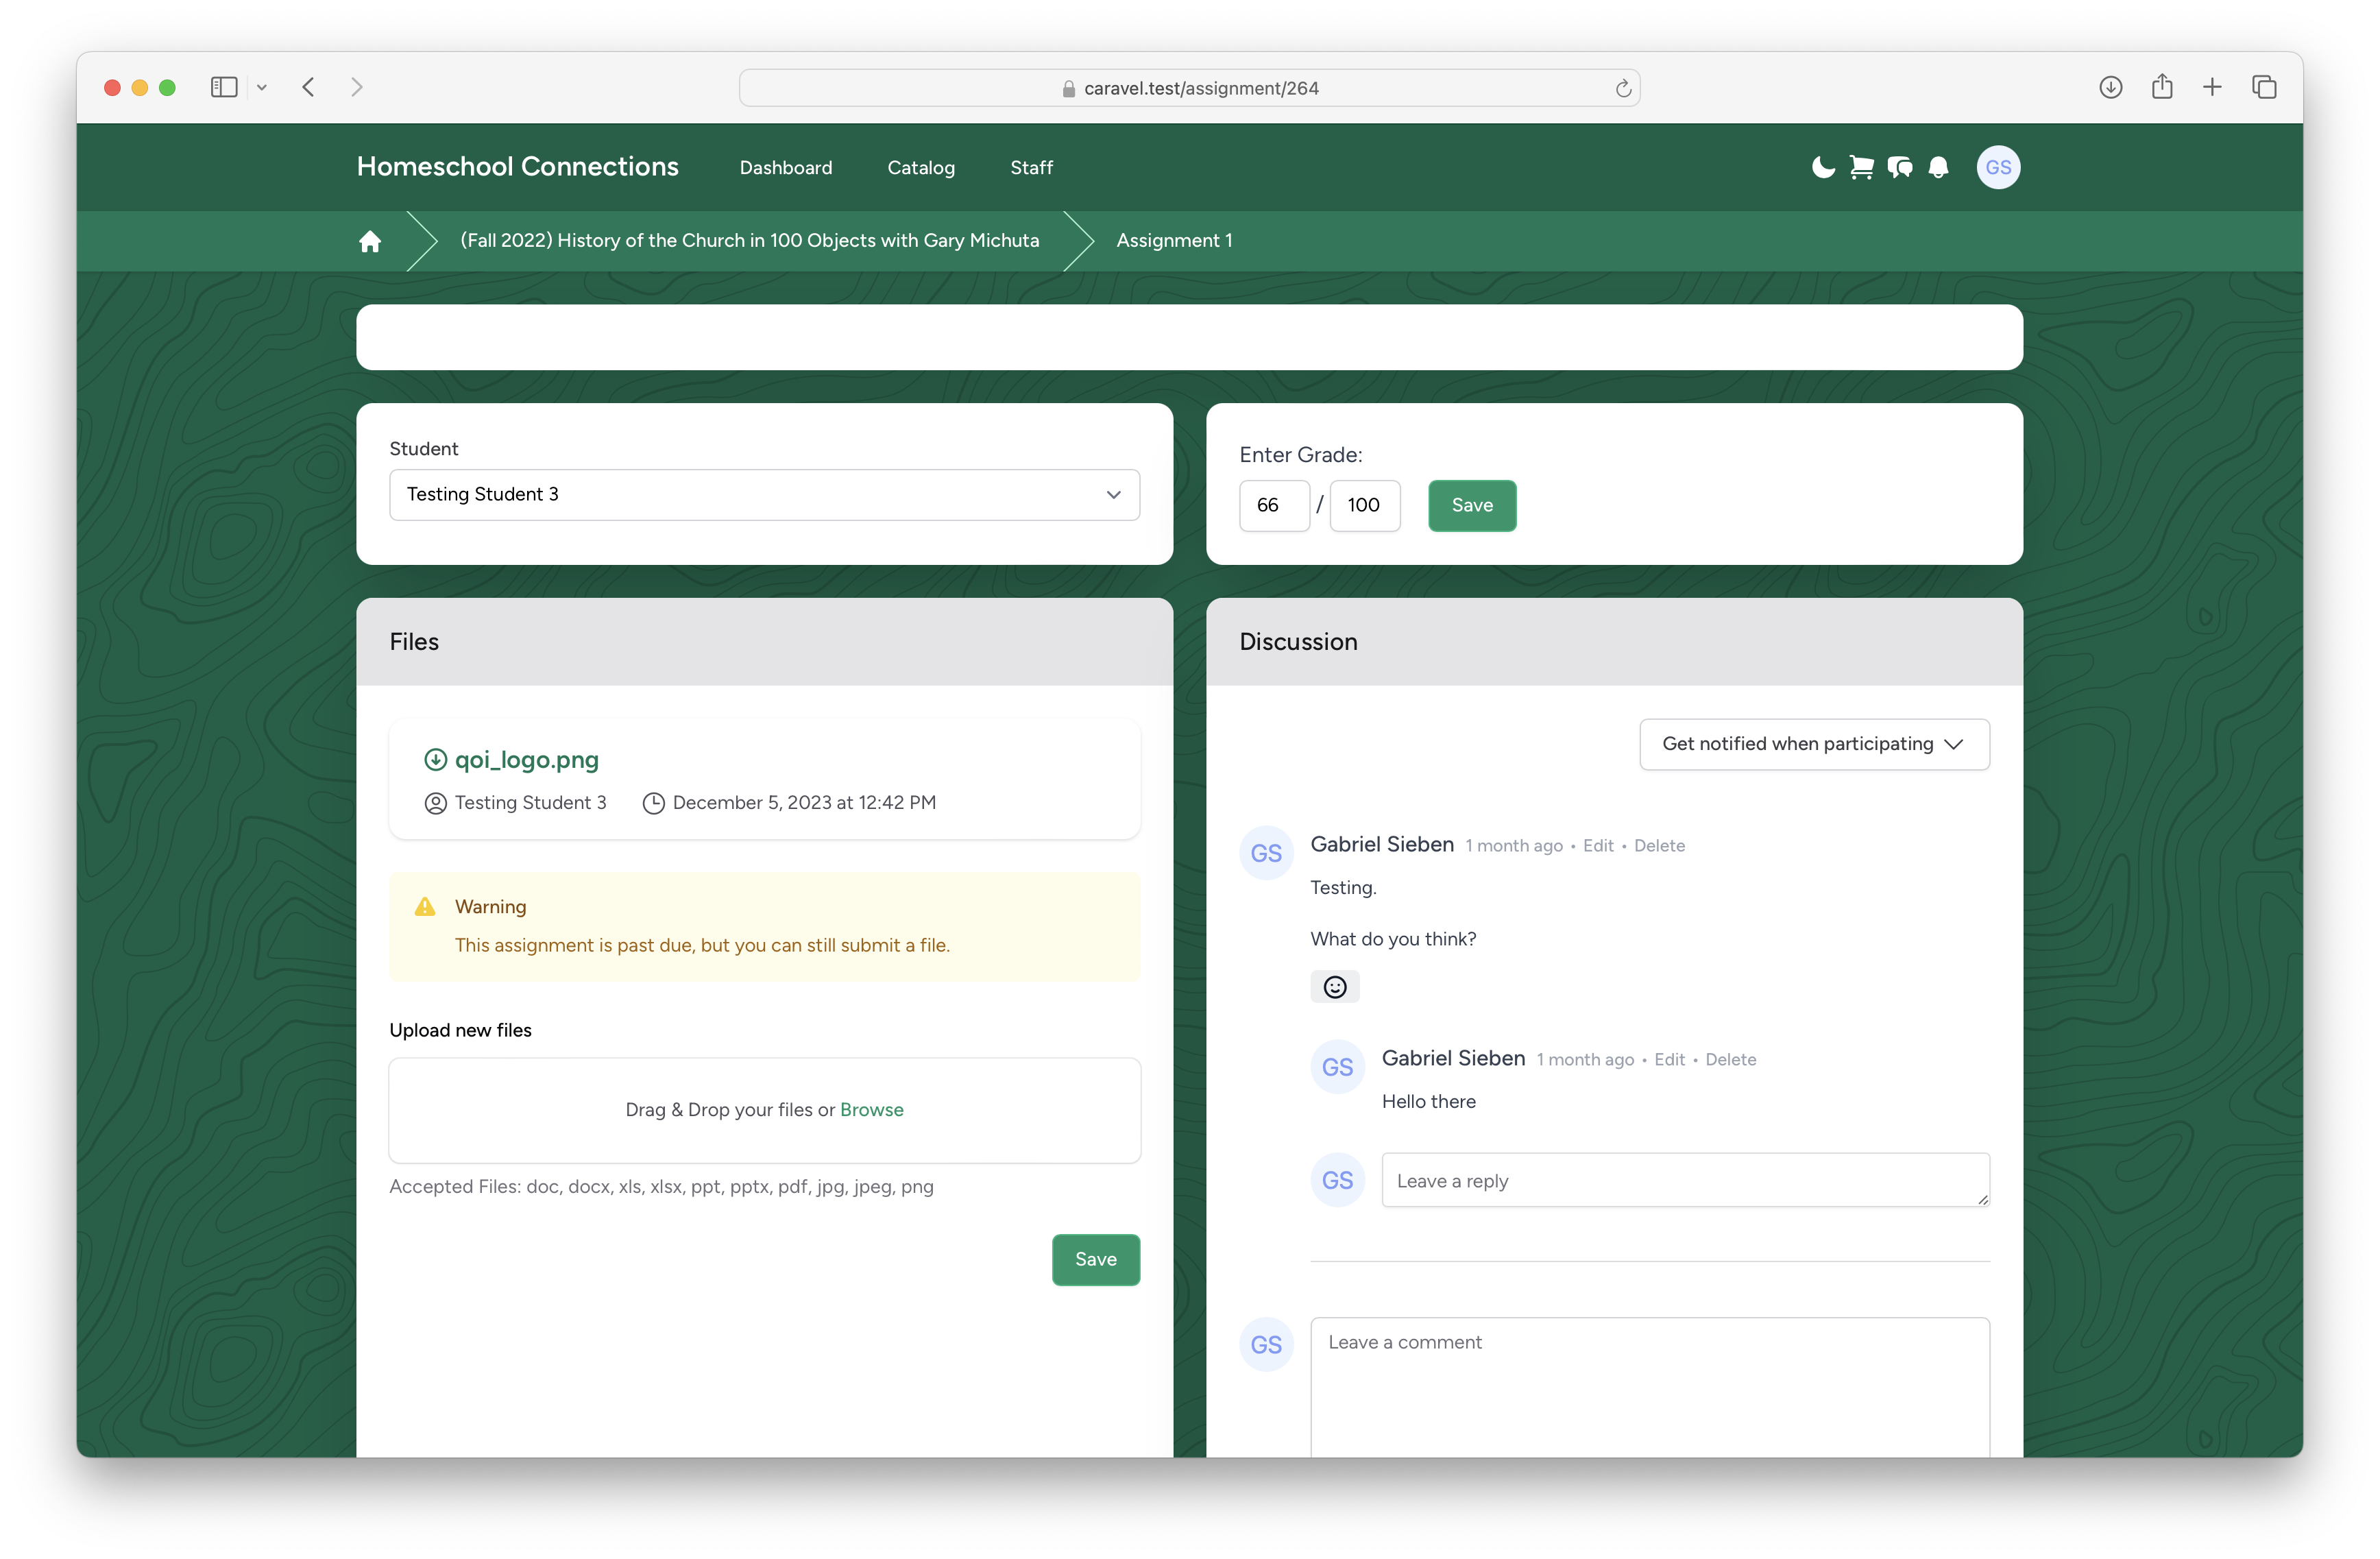
This page has five blocks.
- At the top (a blank bar in this case), is the assignment summary if present.
- On the upper-left, is a dropdown to select a student. New uploads you haven't looked at yet, are marked with "[NEW]" next to their names.
- On the upper-right, is a field to enter a grade for the student. You can enter grades with a numerator higher than the denominator for extra credit.
- On the lower-left, is a "Files" window. Students can upload multiple files here - and you can also upload files in return. Files are marked with when they were submitted, and who uploaded them. This can be done repeatedly in a back-and-forth manner.
- On the lower-right, is a "Discussion" window. This can also be done repeatedly, in a back-and-forth manner, to discuss an assignment and how it should be graded.
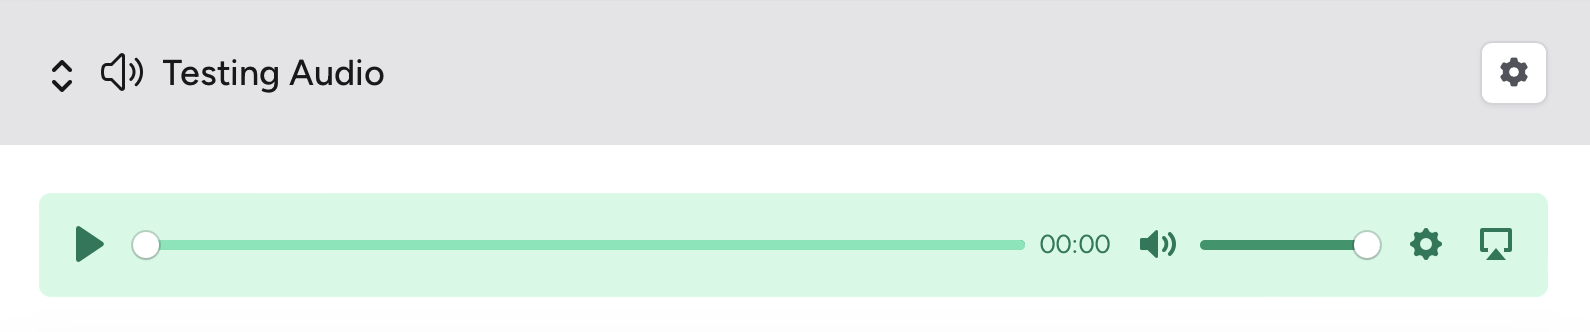
Audio
The Audio block lets you upload either an audio file to be played back in the LMS. It only accepts a File, which can be either an MP3 or an AAC under 32MB in size. The audio player appears inline on the course page, with colors matching the student's theme.
Book
A Book lets you place large amounts of text and images into a course, in a way that does not disrupt the course layout.
After creating a book (which has fields that are common to all elements) and opening it, you will see an experience like this:
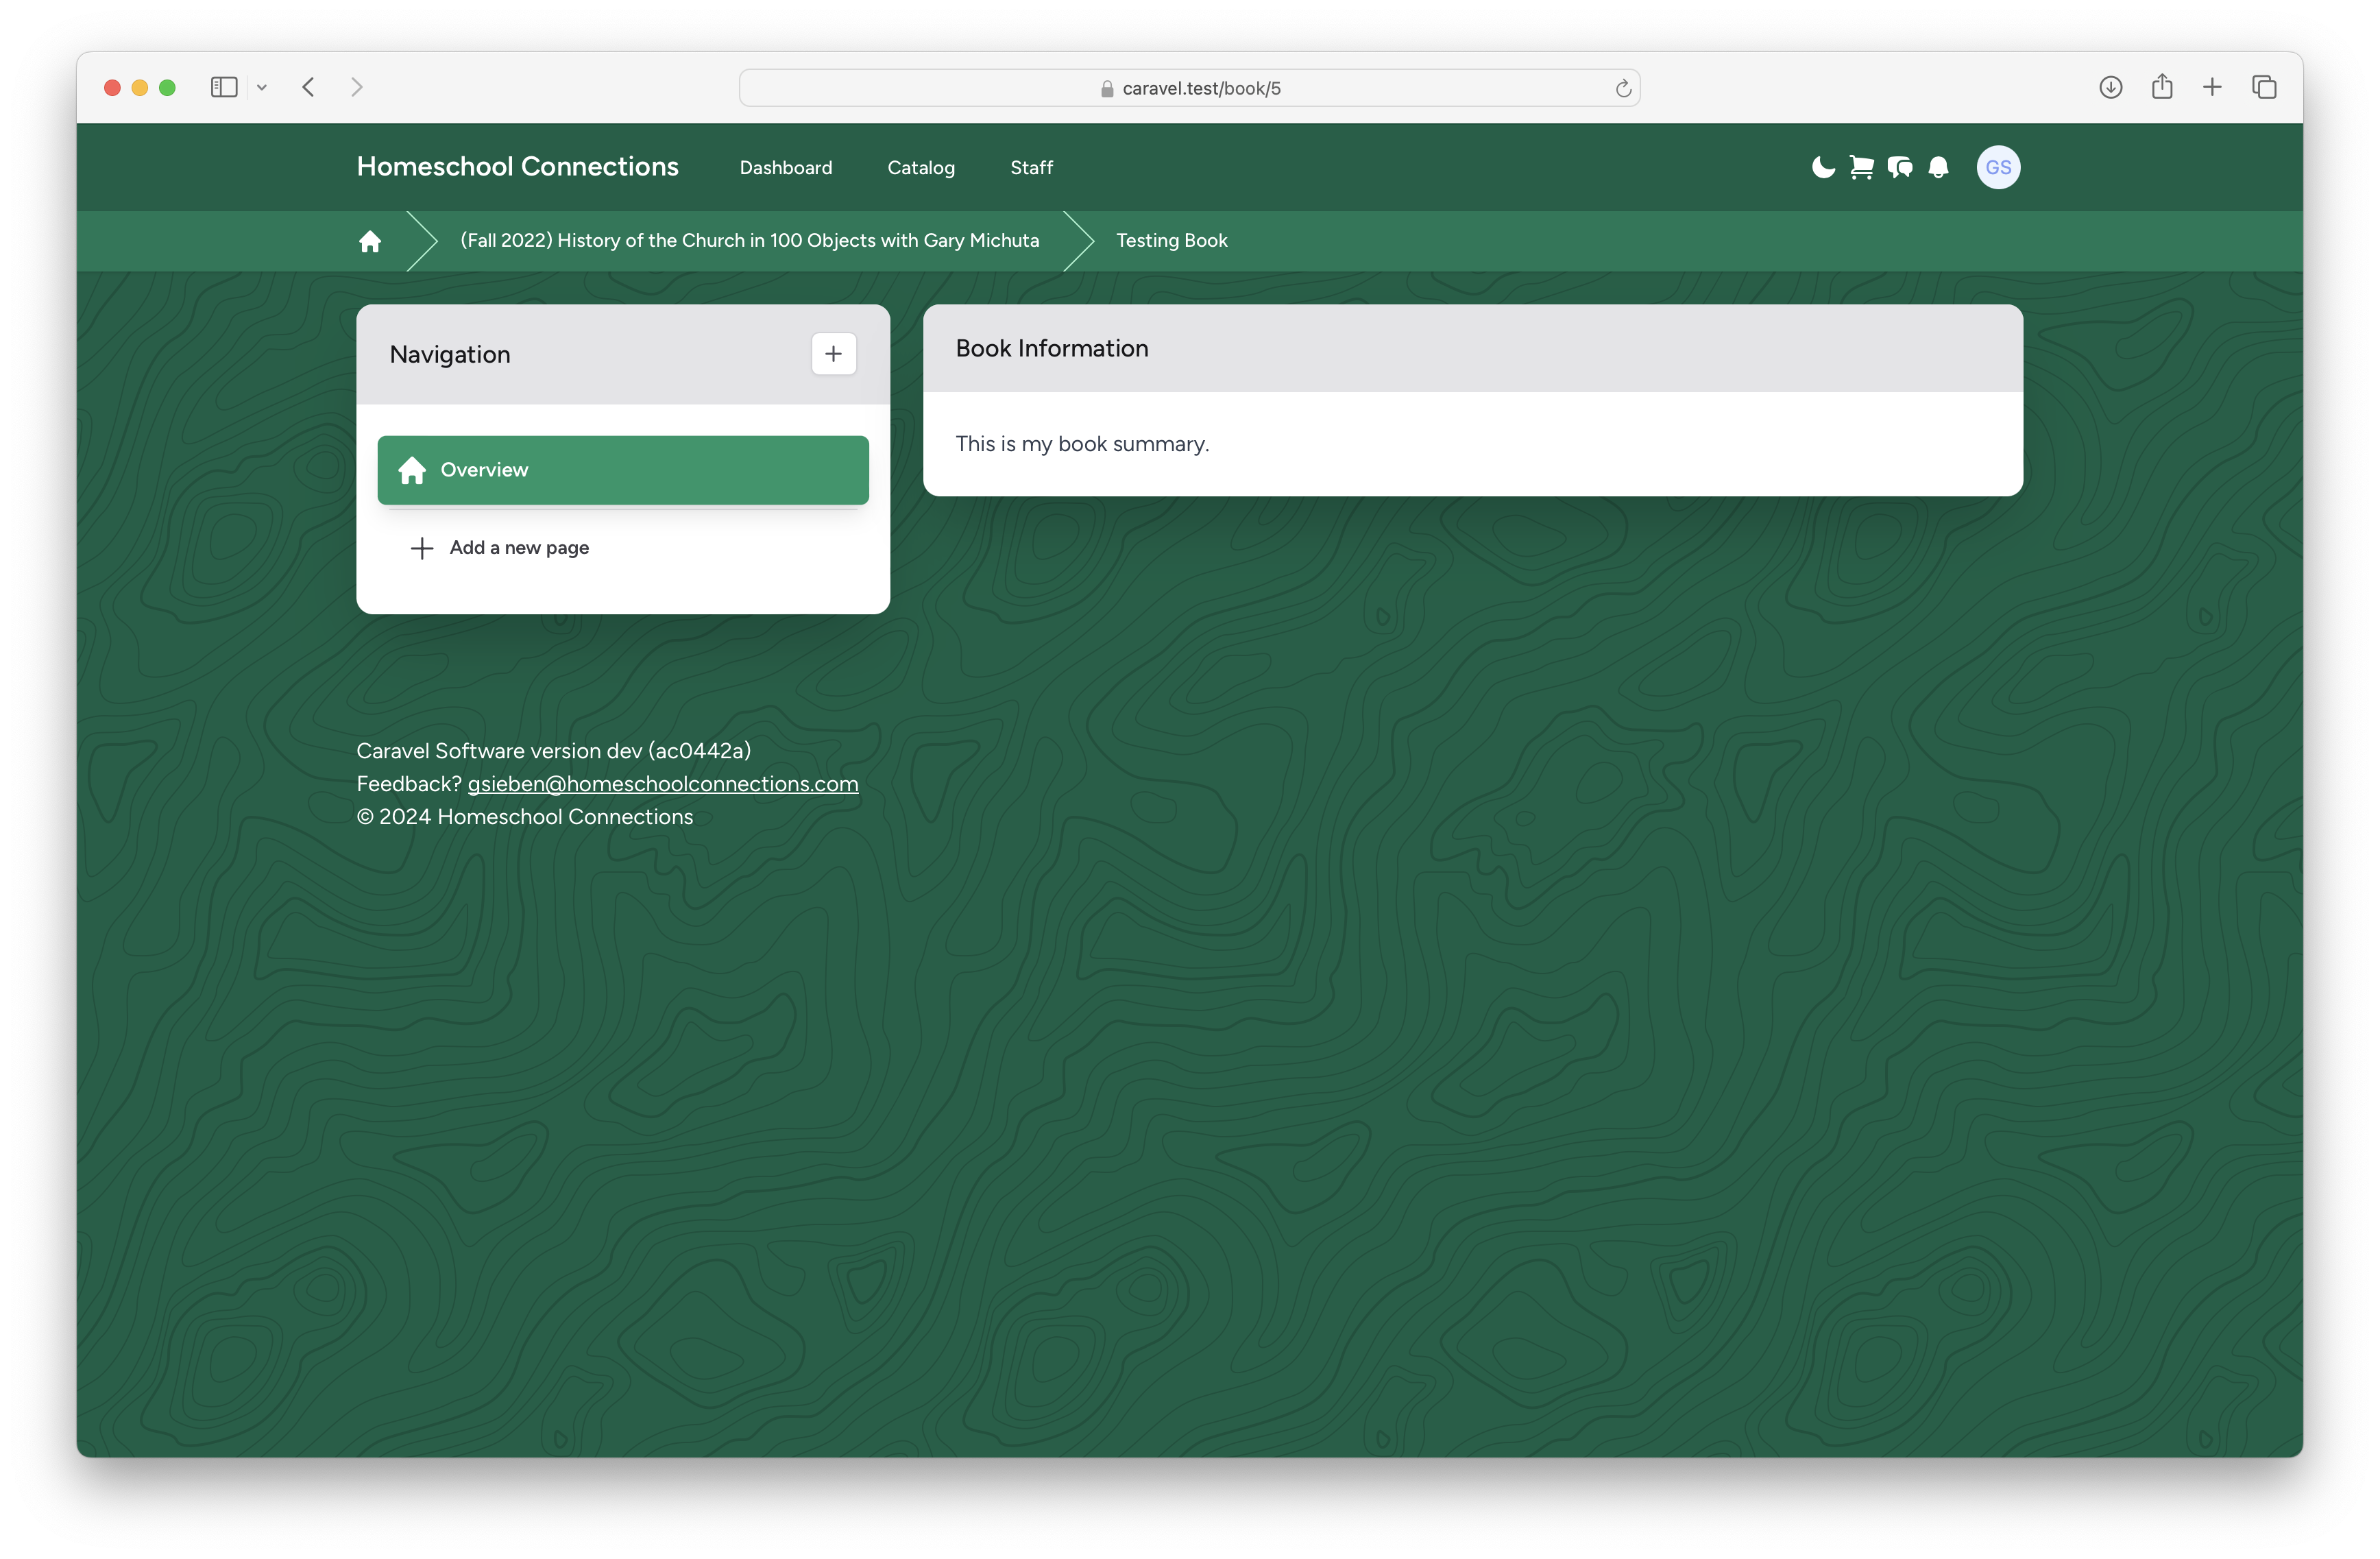
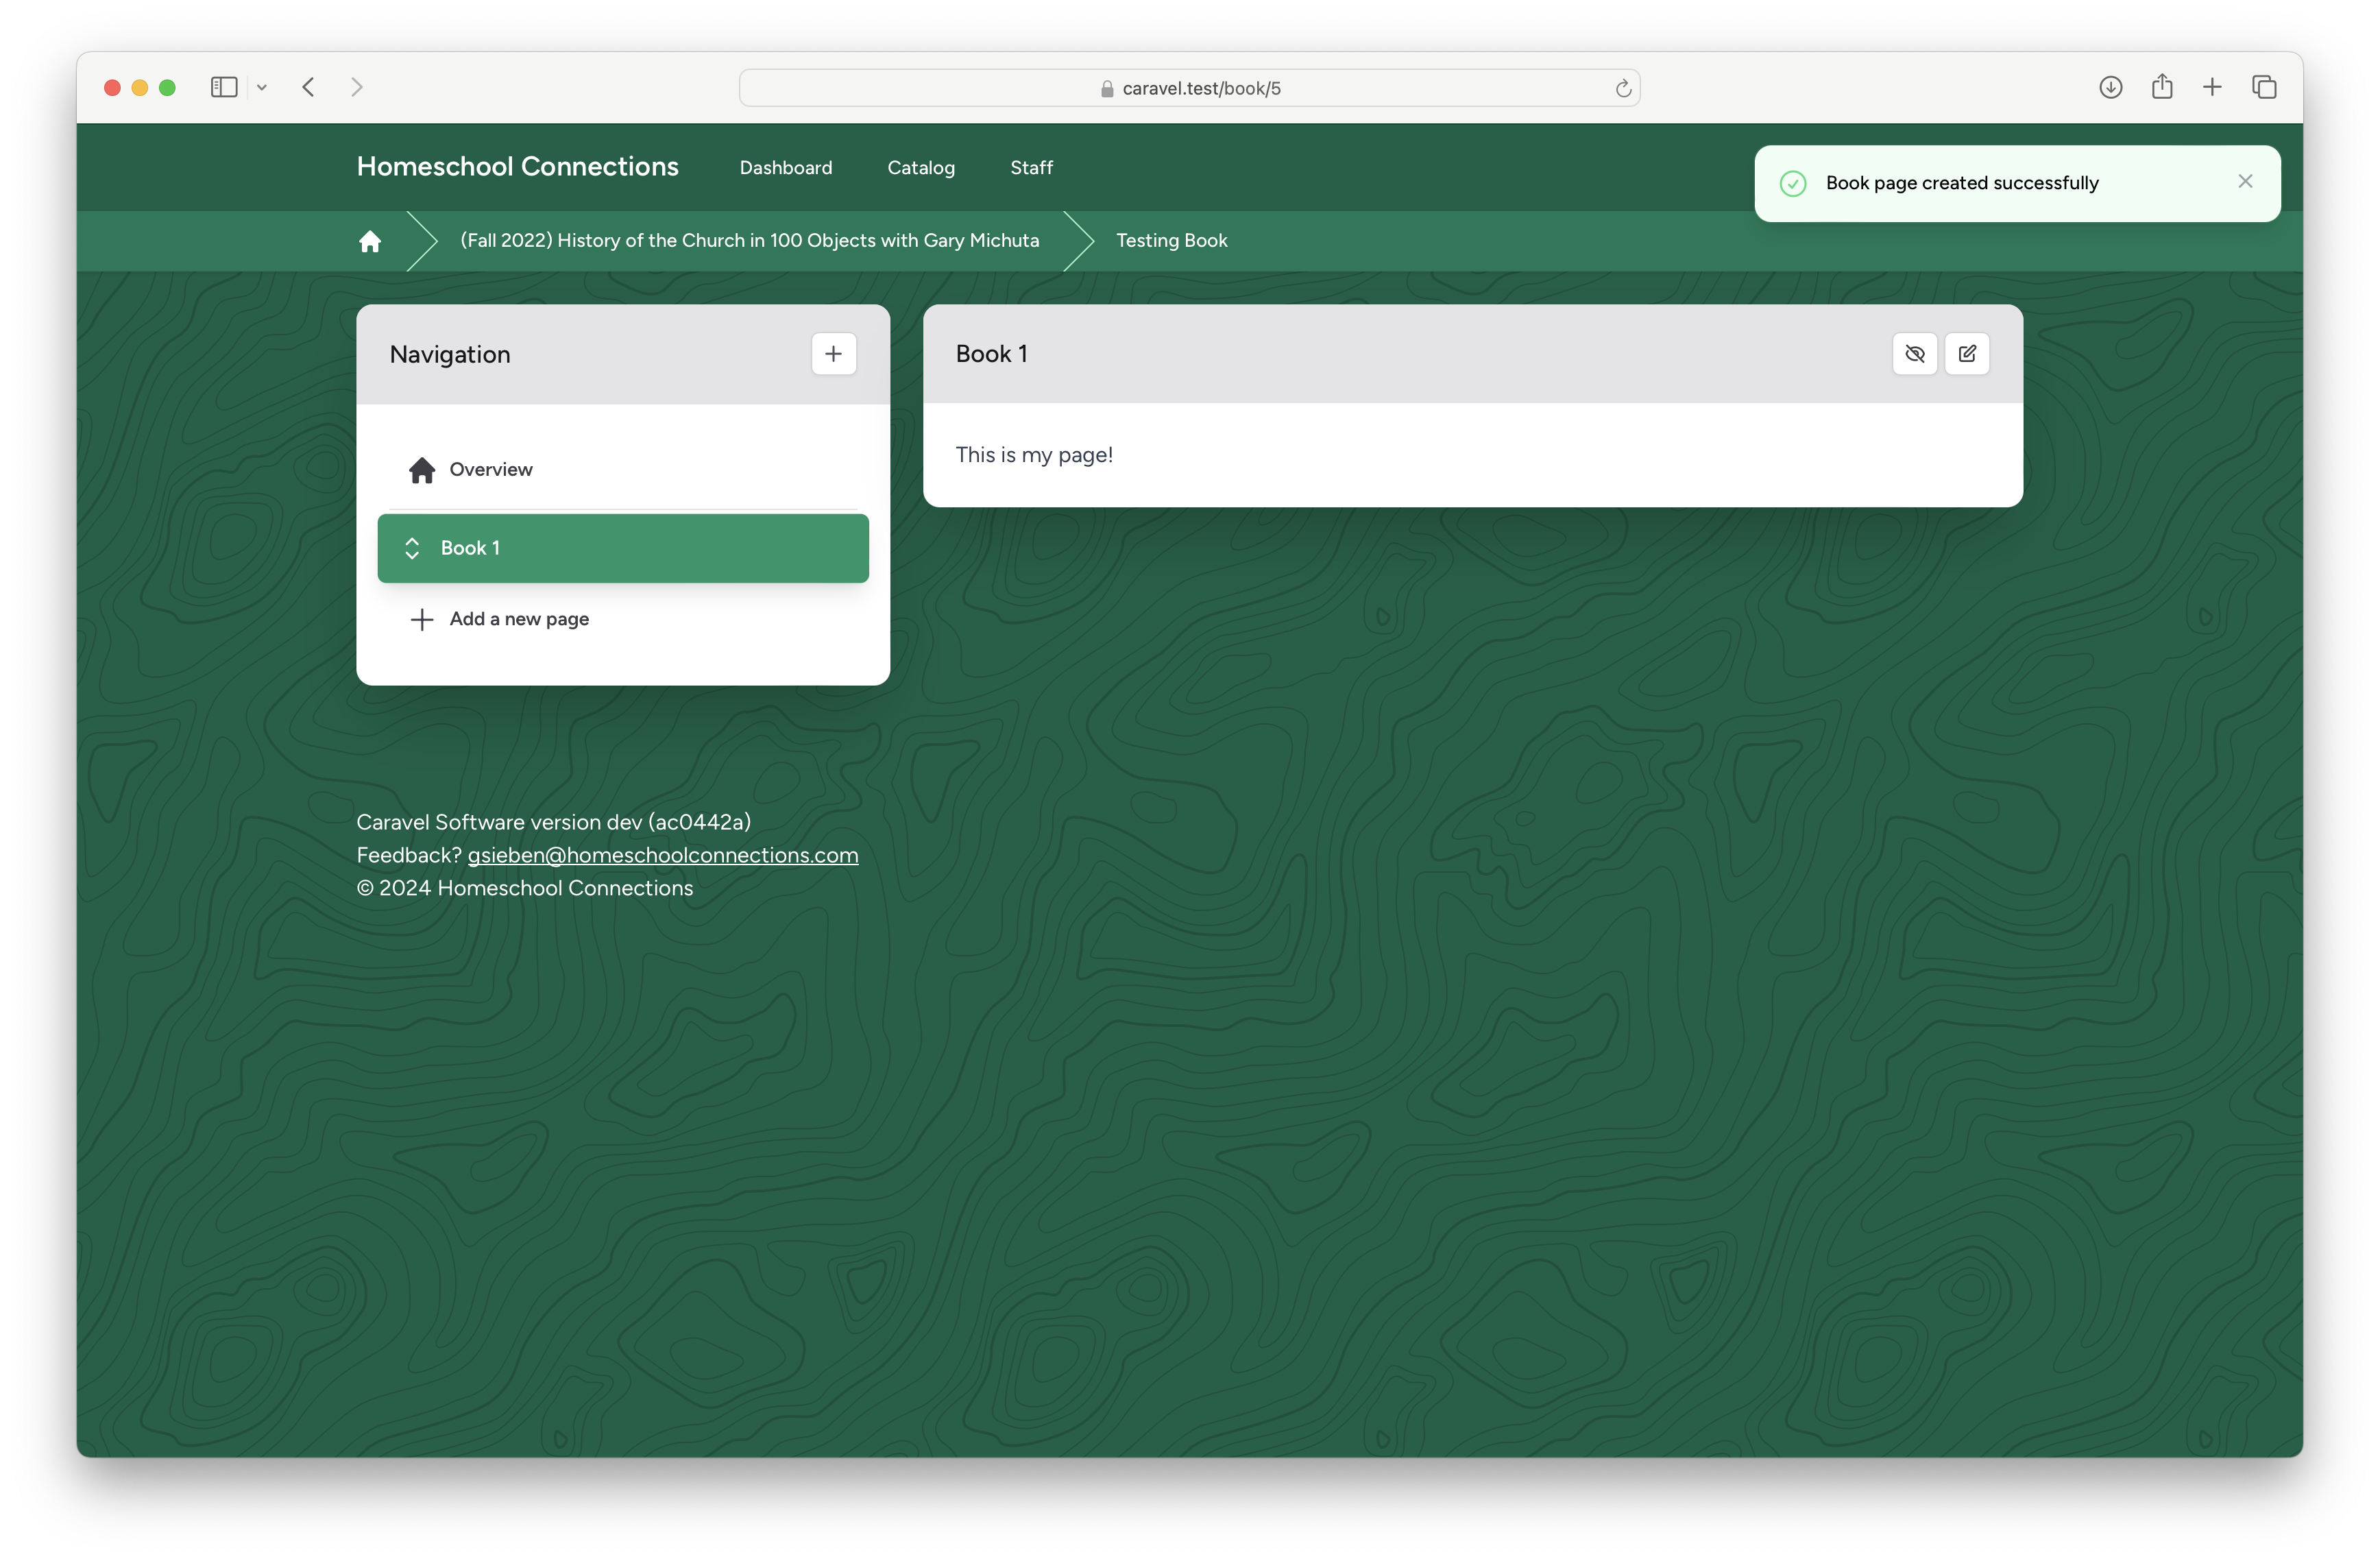
On the Overview tab, is the same summary visible on the course page. If you click Add a new page, you can add pages to your book.

These pages will then be displayed in the navigation area, and can be re-organized.
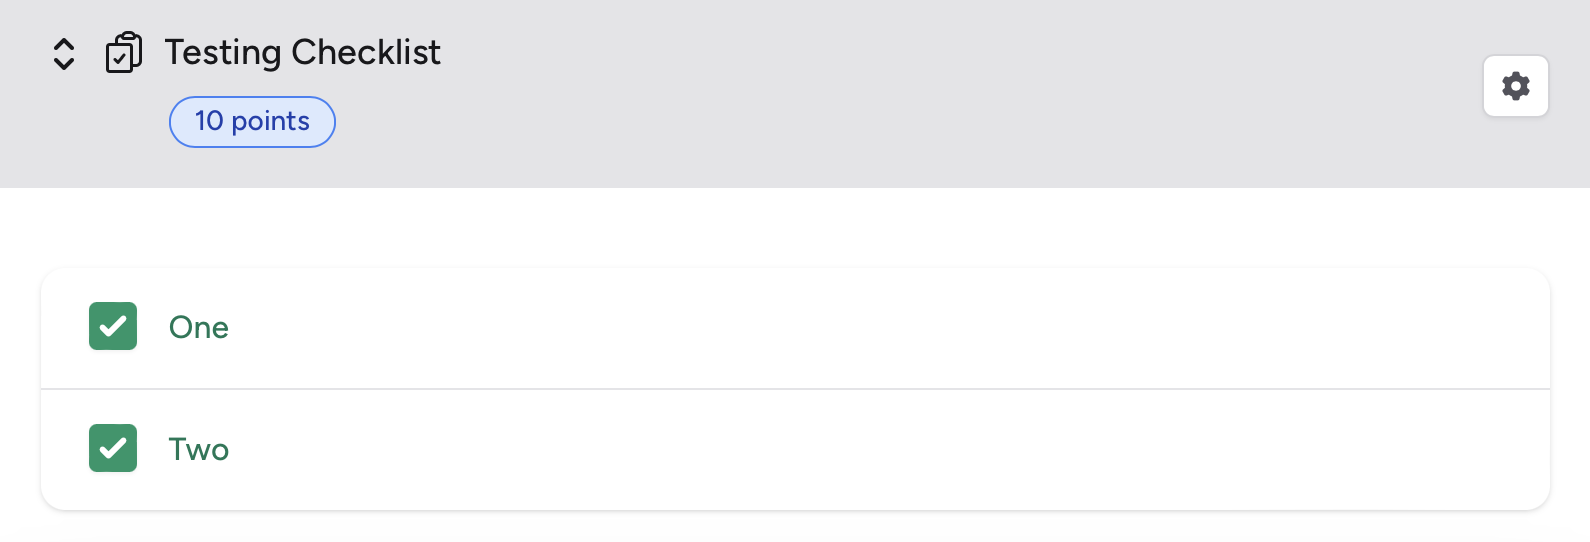
Checklist
Checklists provide an easy way for students to keep track of their progress. Checklists can also be graded on whether a student has checked off all items on the list. Checklists, however, cannot have the ability to check off an item restricted. Items can be added in the Items field, while Put in gradebook lets you give points based on how many items a student has checked off. All items are weighted equally.
Code
Code is a powerful block - but with great power comes great responsibility.
With Code, you as a teacher can embed your own HTML, CSS, and JavaScript into an external page. You can also use the Full page checkbox to choose whether to show that code underneath a header, or to be on a completely otherwise-unstyled page.
For example, imagine you put in the HTML field:
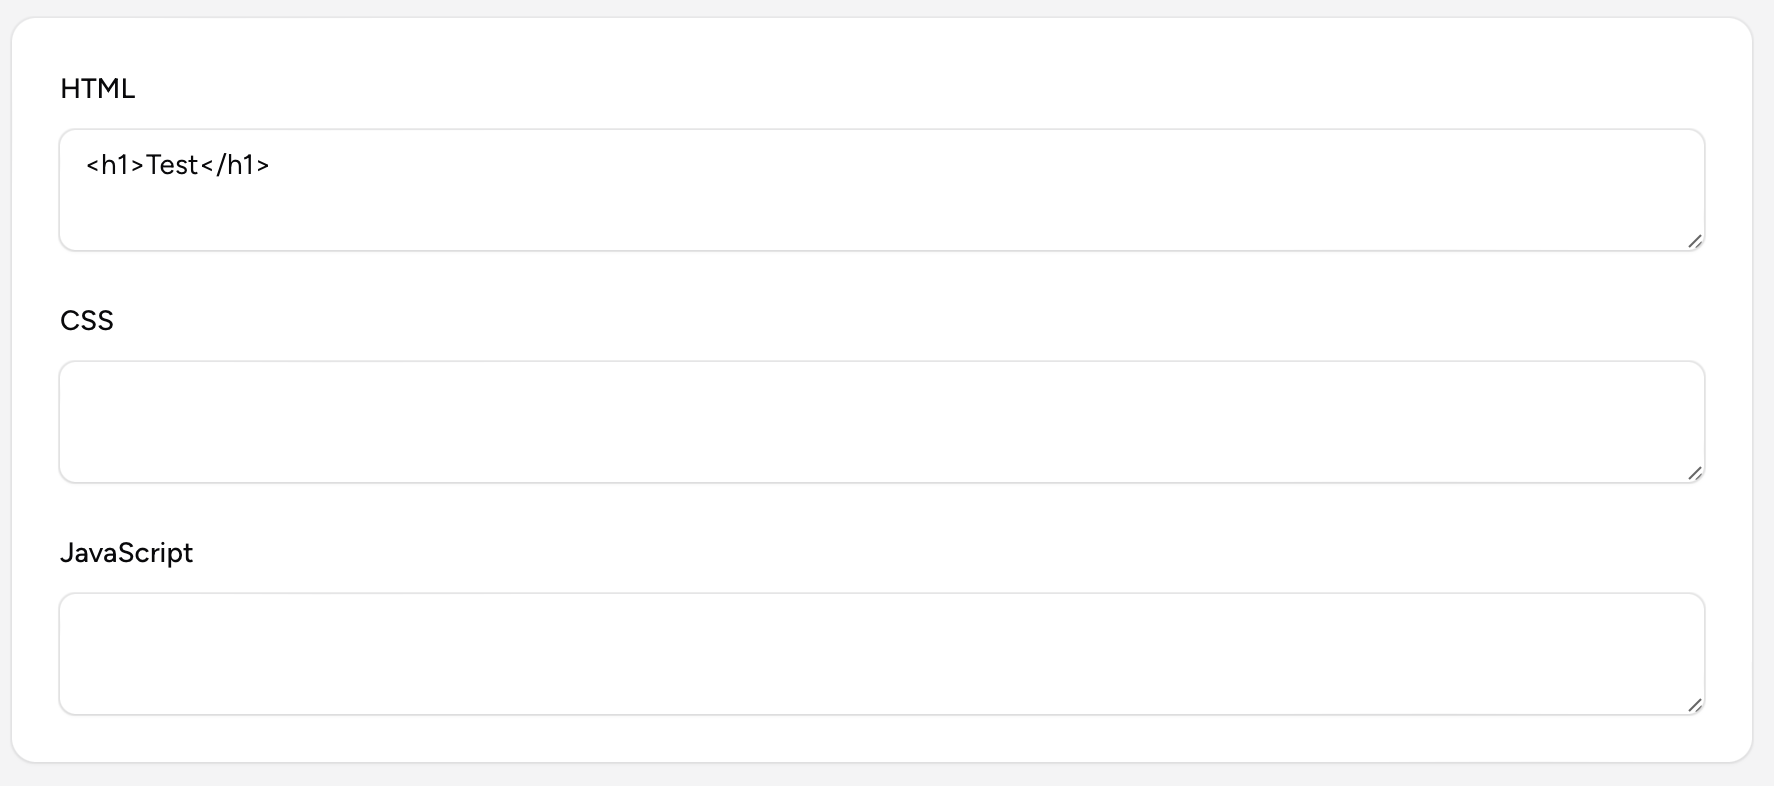
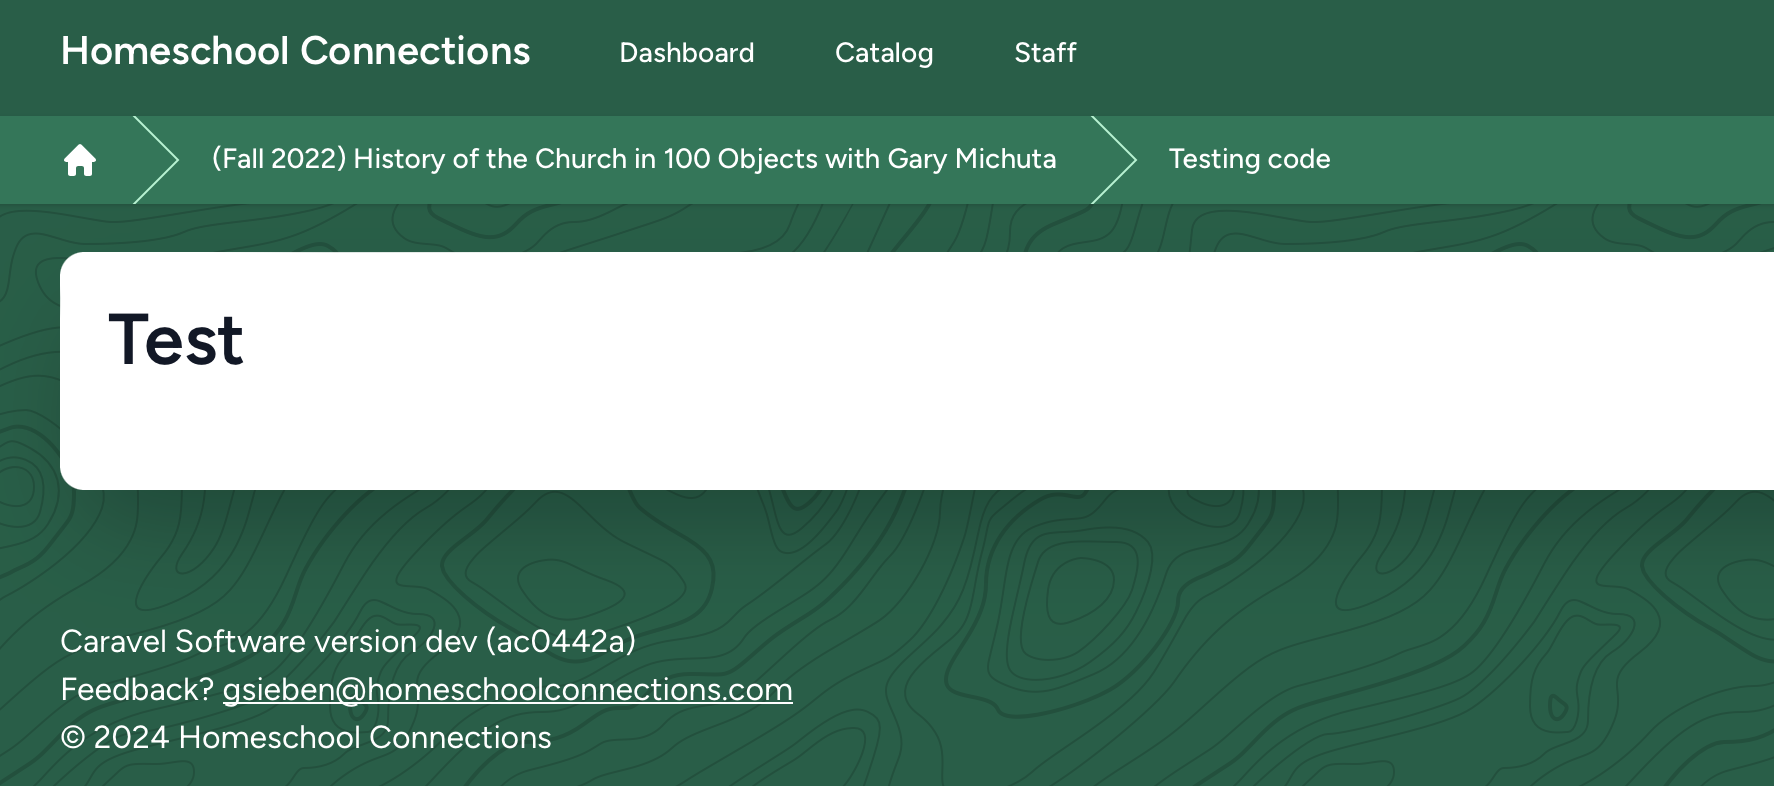
You will see this upon opening the element:
If you have Full page marked, you will see this:

As you can tell, this is quite a bit of freedom. But we trust you - and our old learning platform, Moodle, always supported this in summary blocks (but in a much worse way).
Duplicate Here
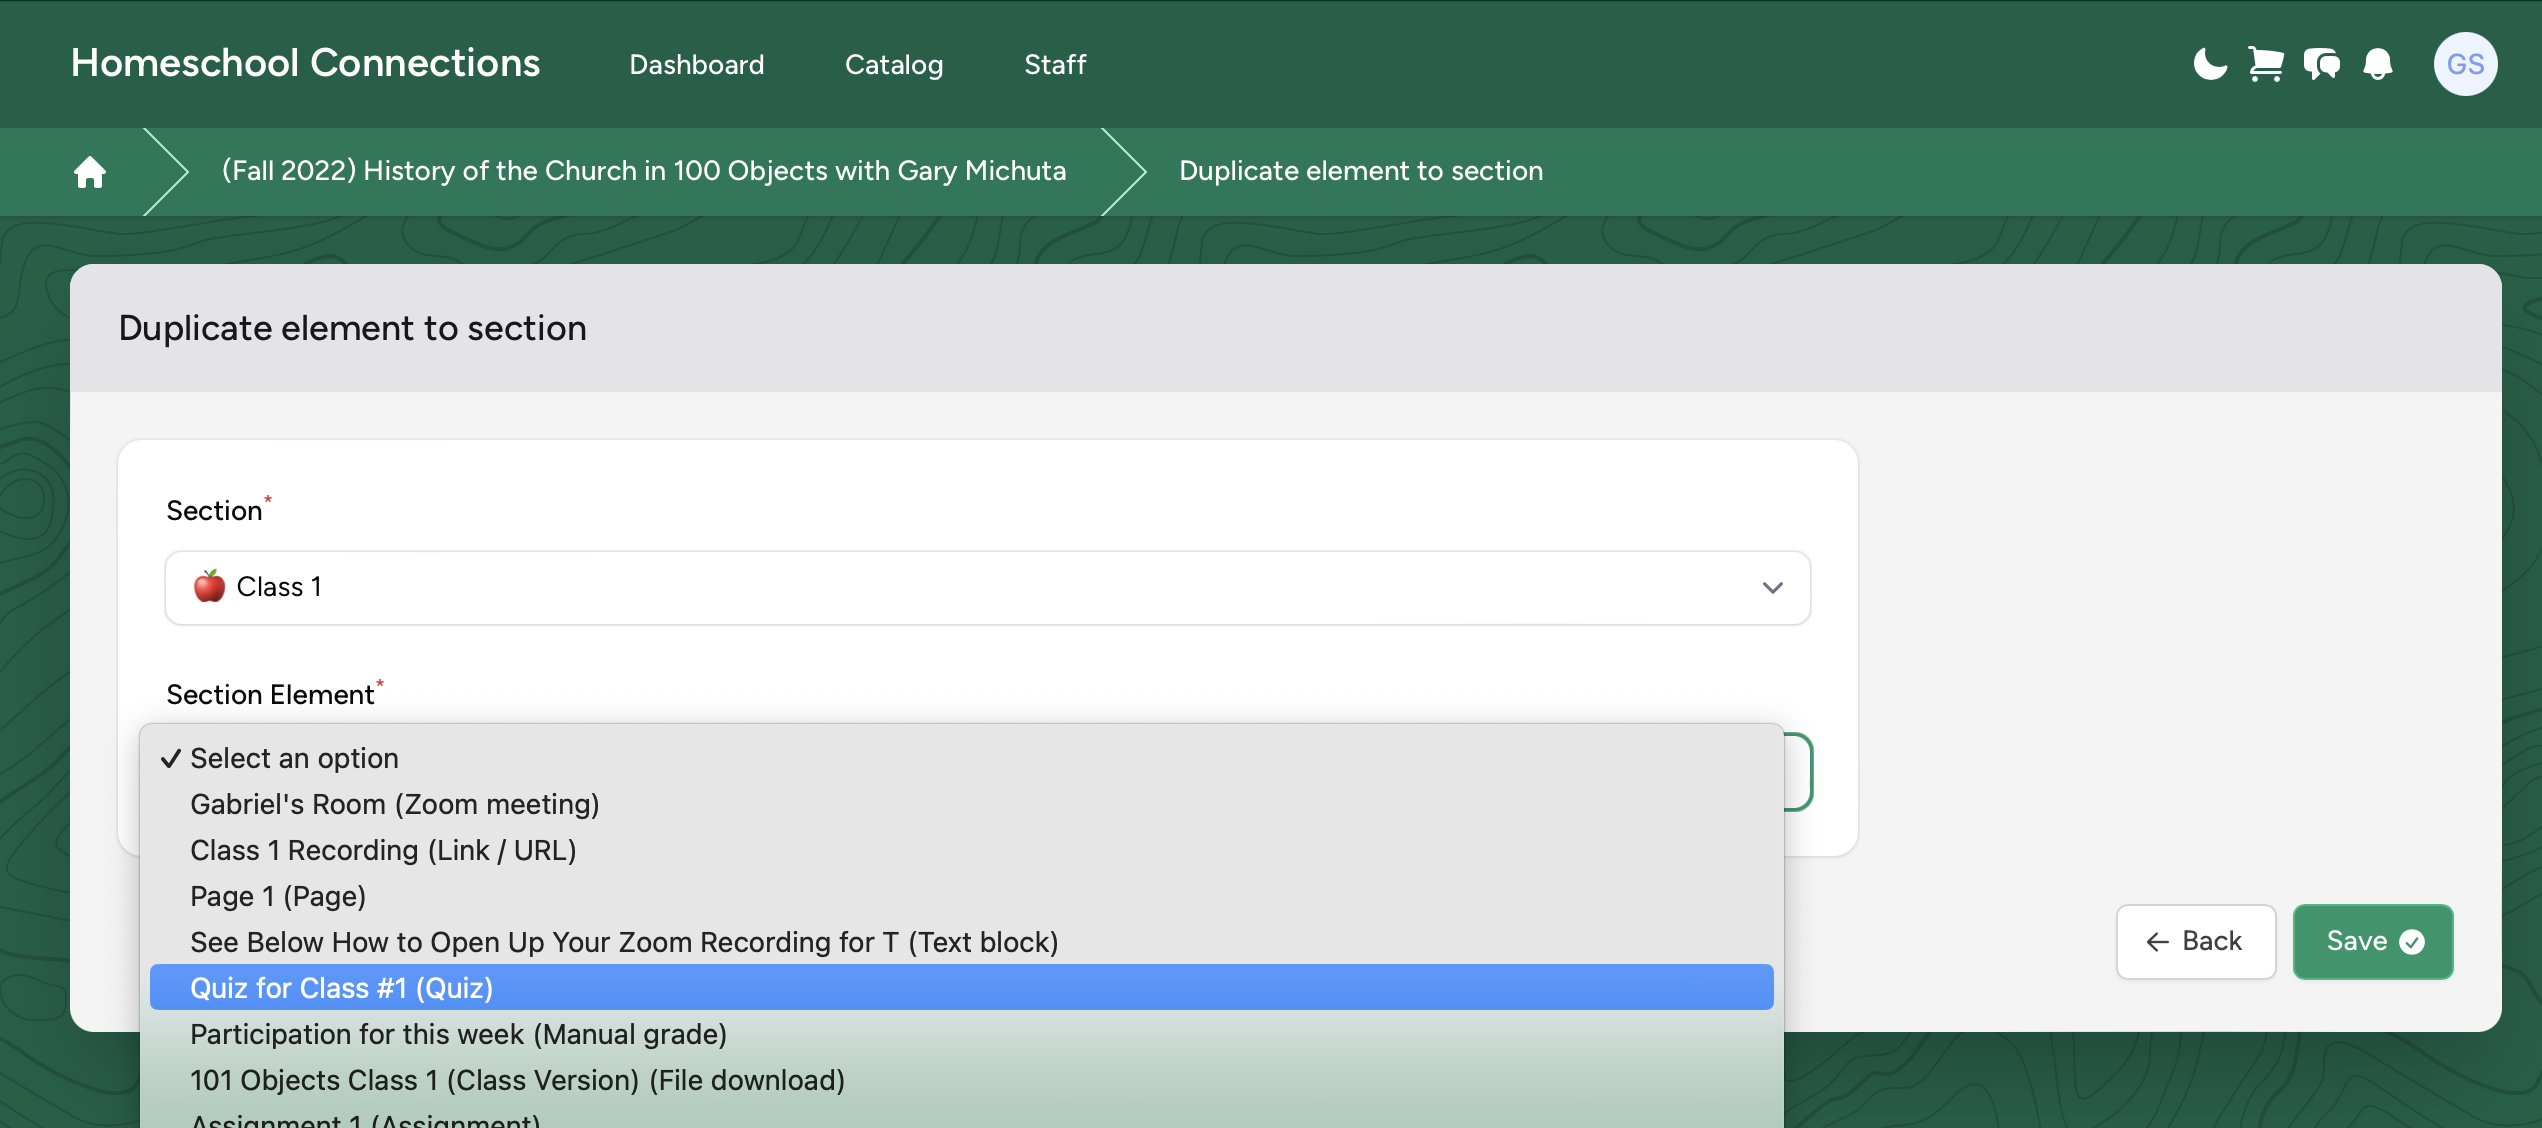
Duplicate Here is the only block that isn't actually a block. This is just a quick way to copy another block to this section:
File Download
File download is a very powerful block, with much more to it than meets the eye.
You initially have two fields:
- File: Obviously, the file to download
- Parental verification: This cool feature disables direct viewing and downloading of the file, and sends an access link to the student's parent's email. This can be useful for Answer Keys. While we cannot prevent against situations where a student can read their parent's email, the password for those Answer Keys would probably be emailed that there anyway.
If you upload any random file, it will give an option to download the file as it was uploaded; with two exceptions:
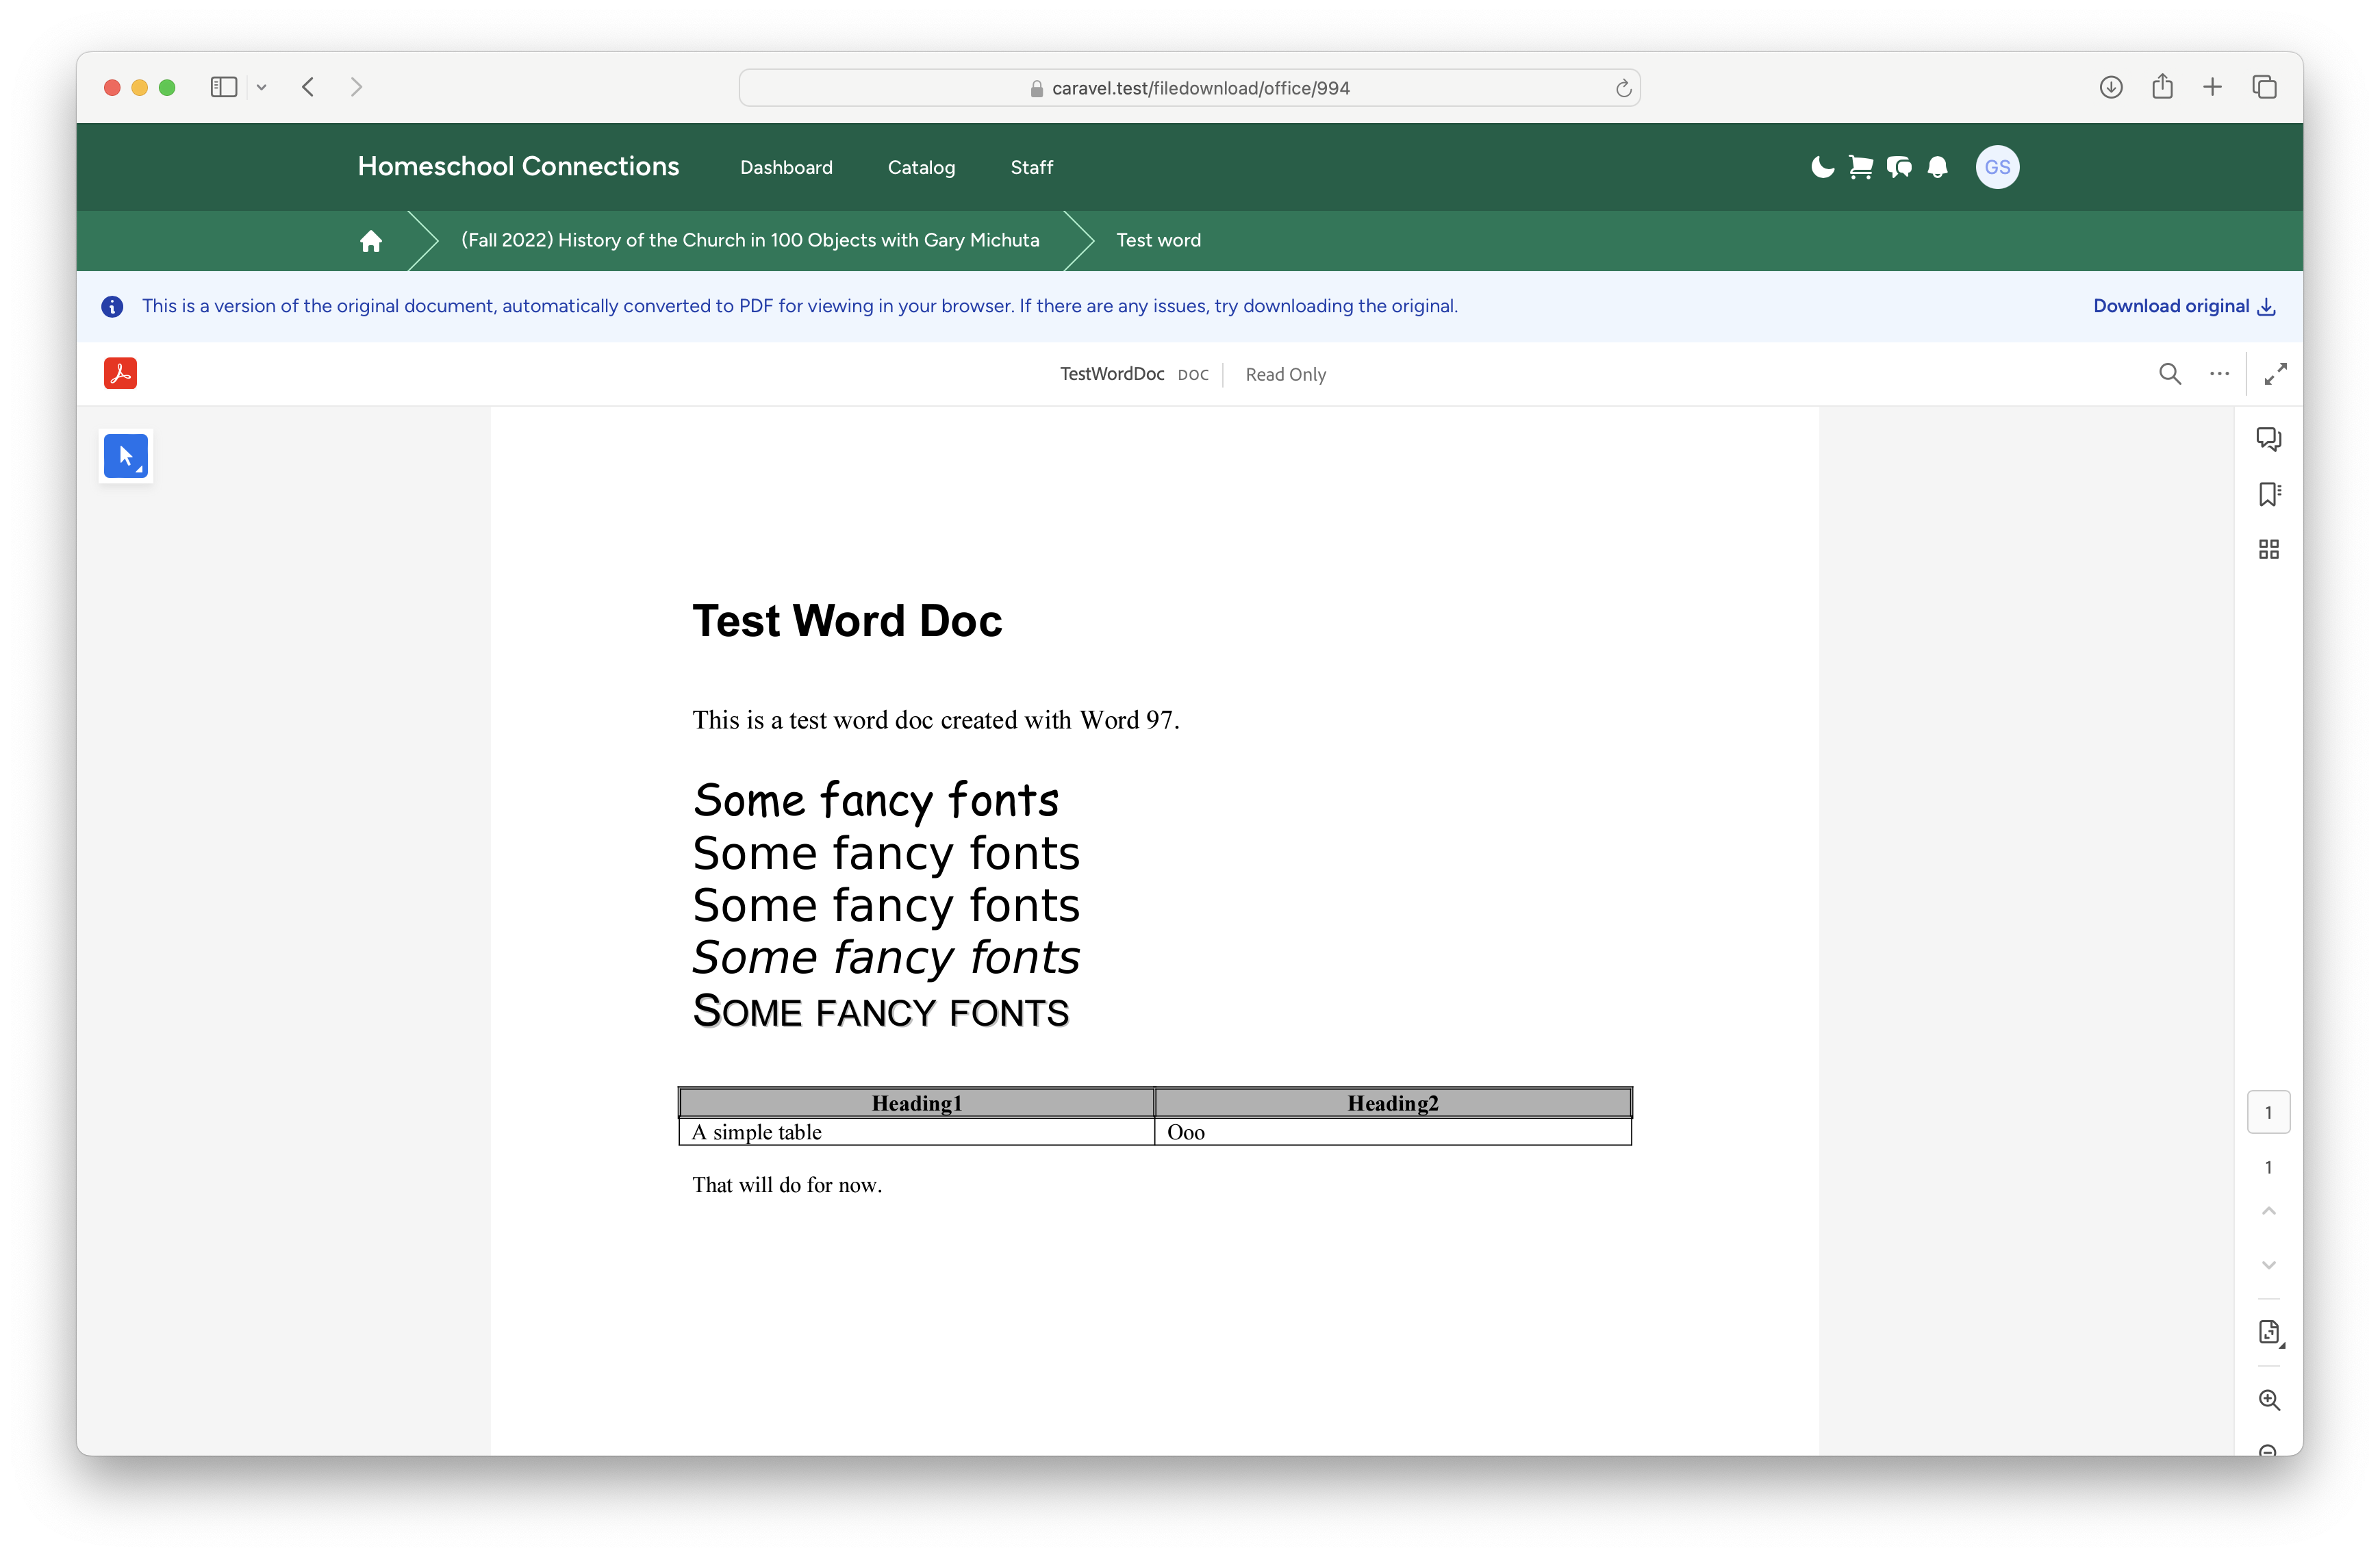
- Office files: If you upload a Word document, Excel spreadsheet, or PowerPoint file, the LMS will use the same engine that powers LibreOffice to convert it into a PDF for web viewing. A banner will be visible on the top of the page offering the ability to download the original file.

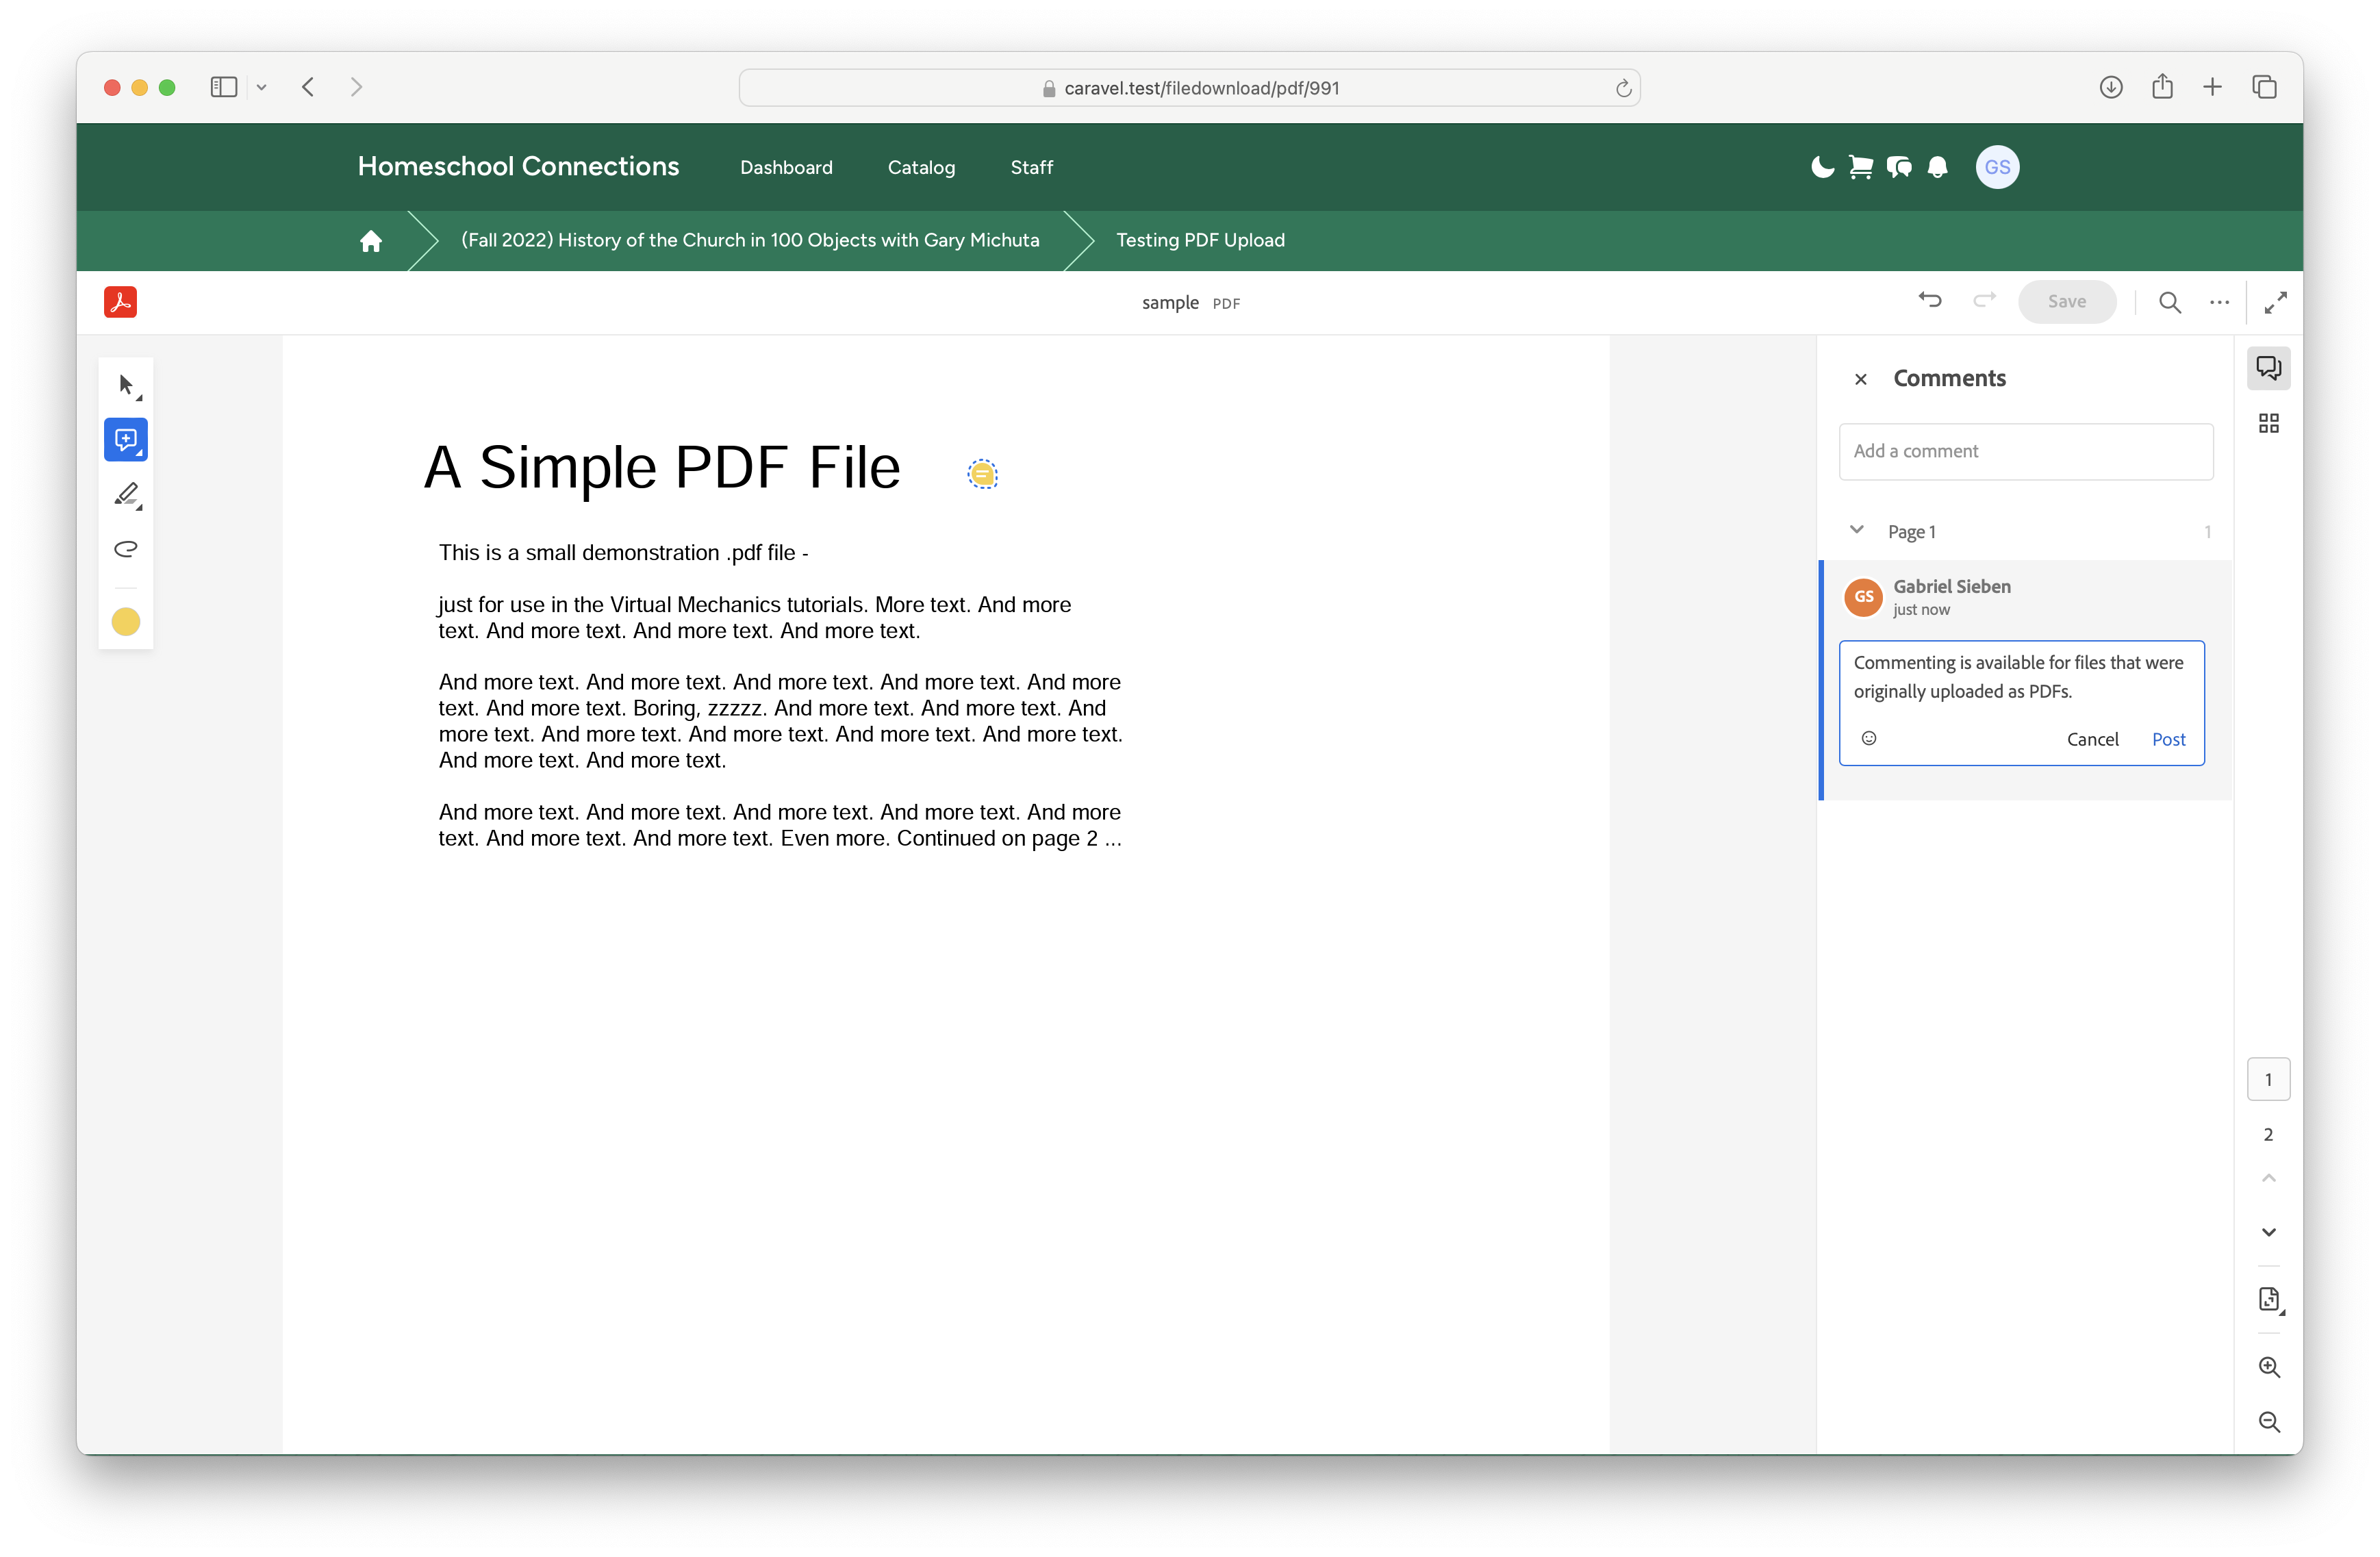
- PDF files: If you upload a PDF file, the web viewer will be available, but editing features for you as a teacher will also be available for you to mark up that PDF file in your web browser. These editing features are only available when you upload a file that was originally a PDF.